Use the Appointments List
The Appointments List displays future and missed appointments.
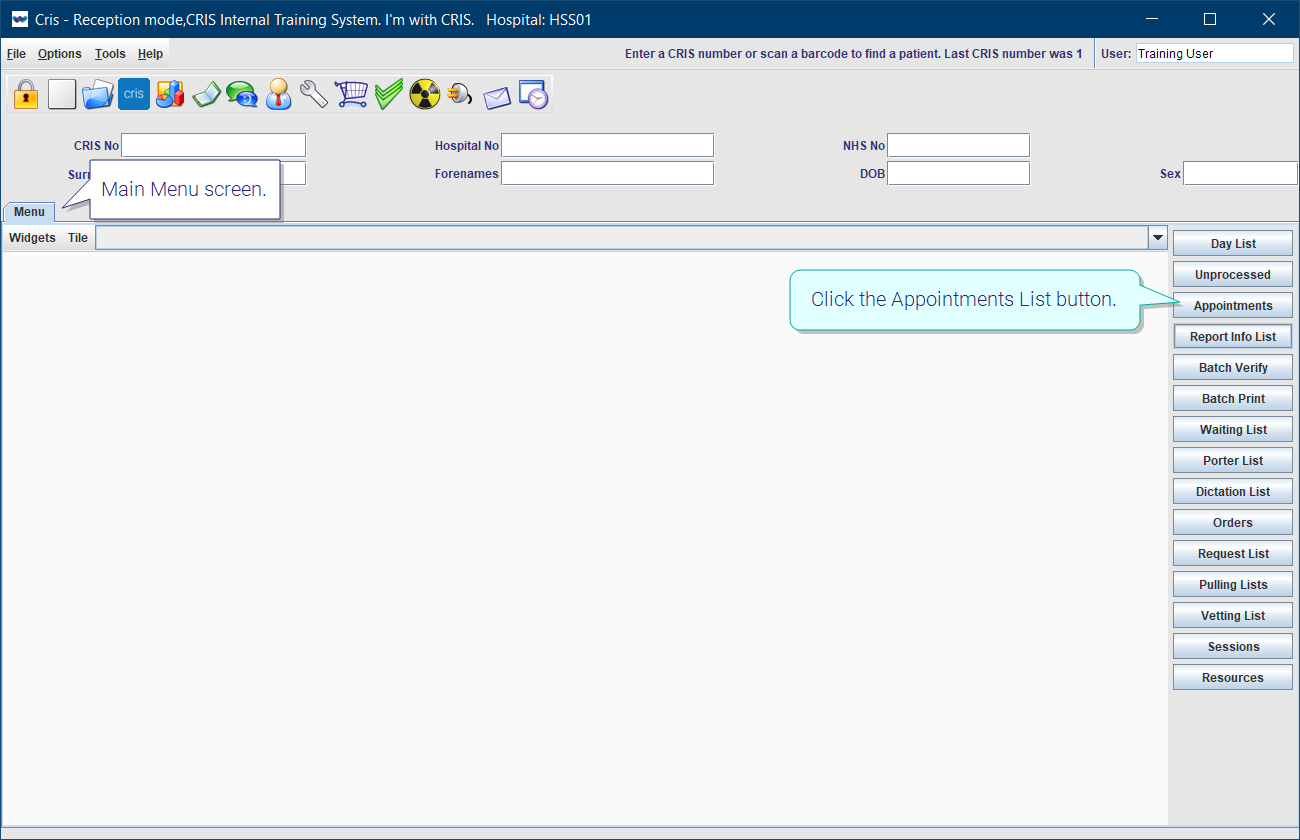
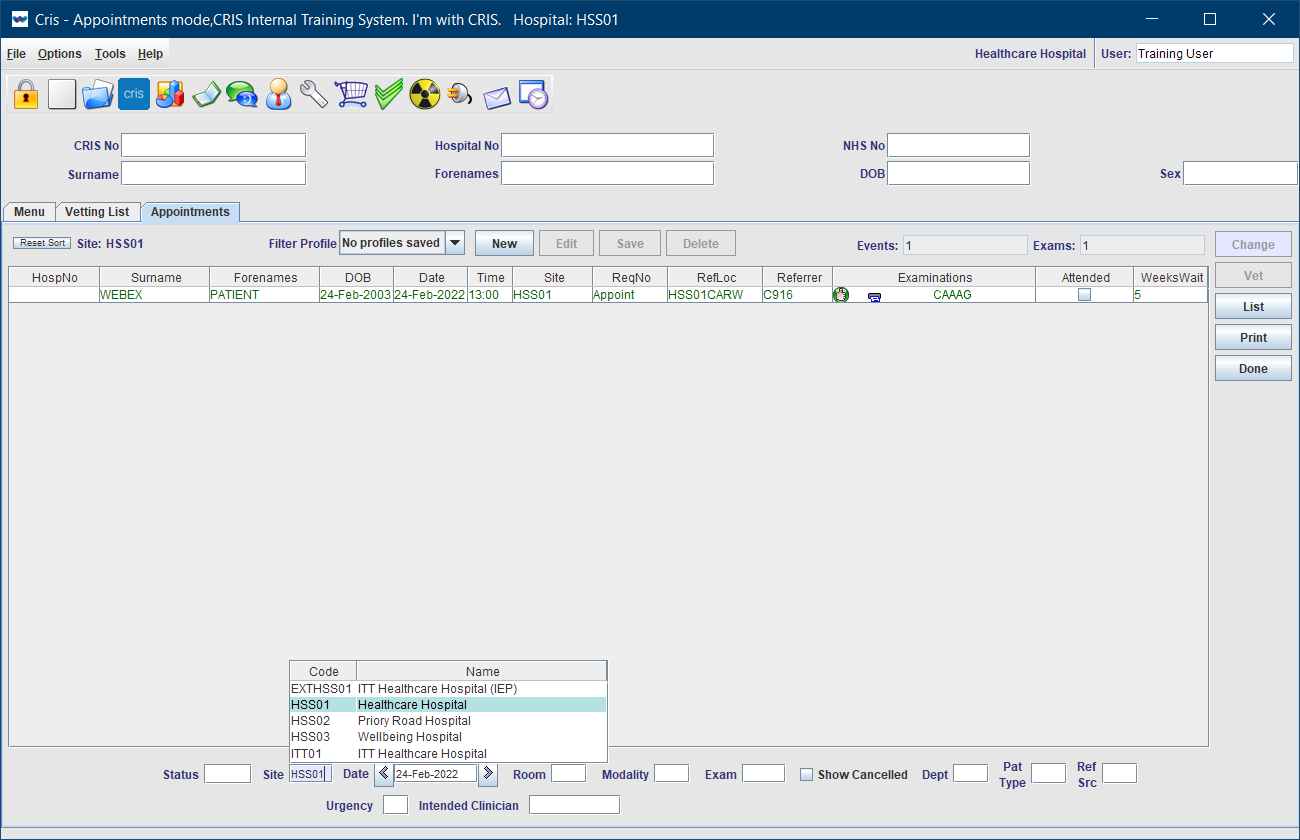
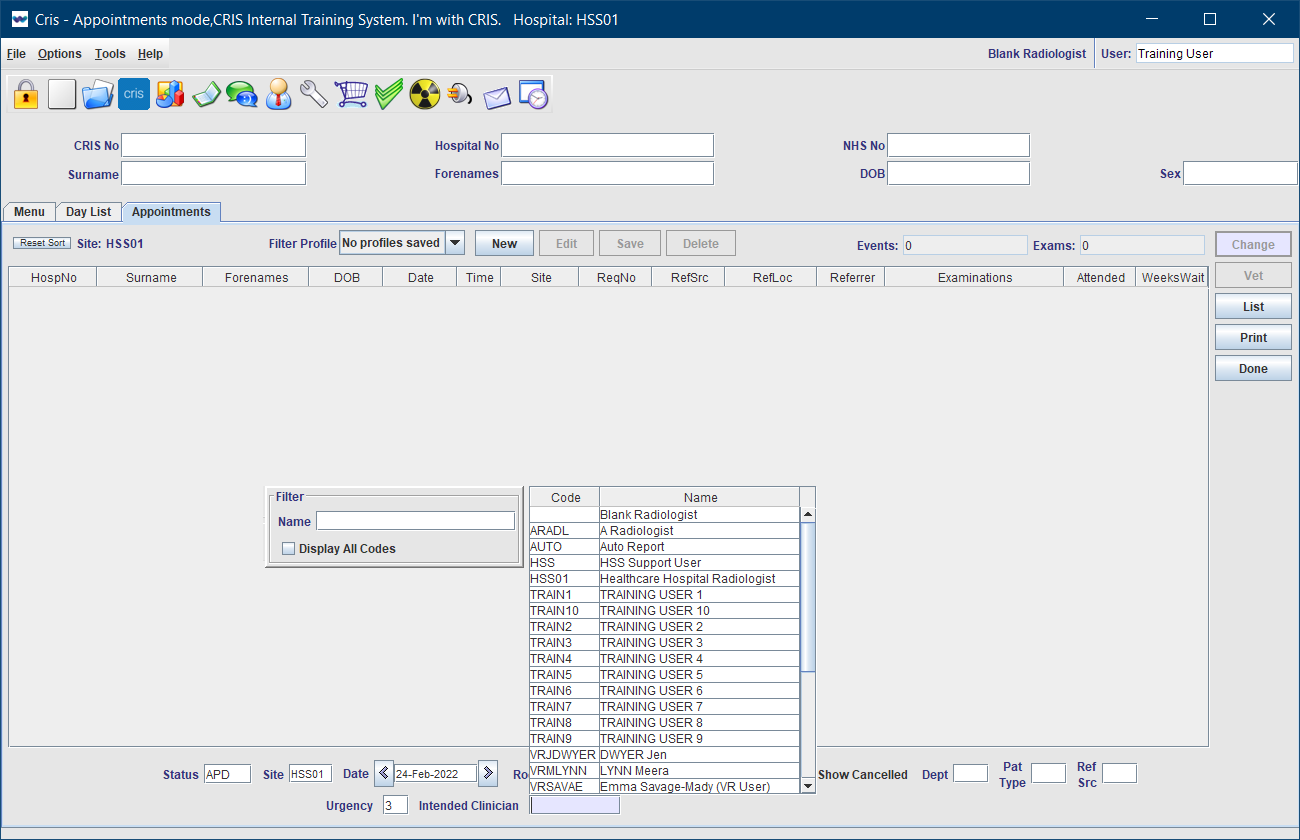
- From the Menu screen, click the Appointments button.
-
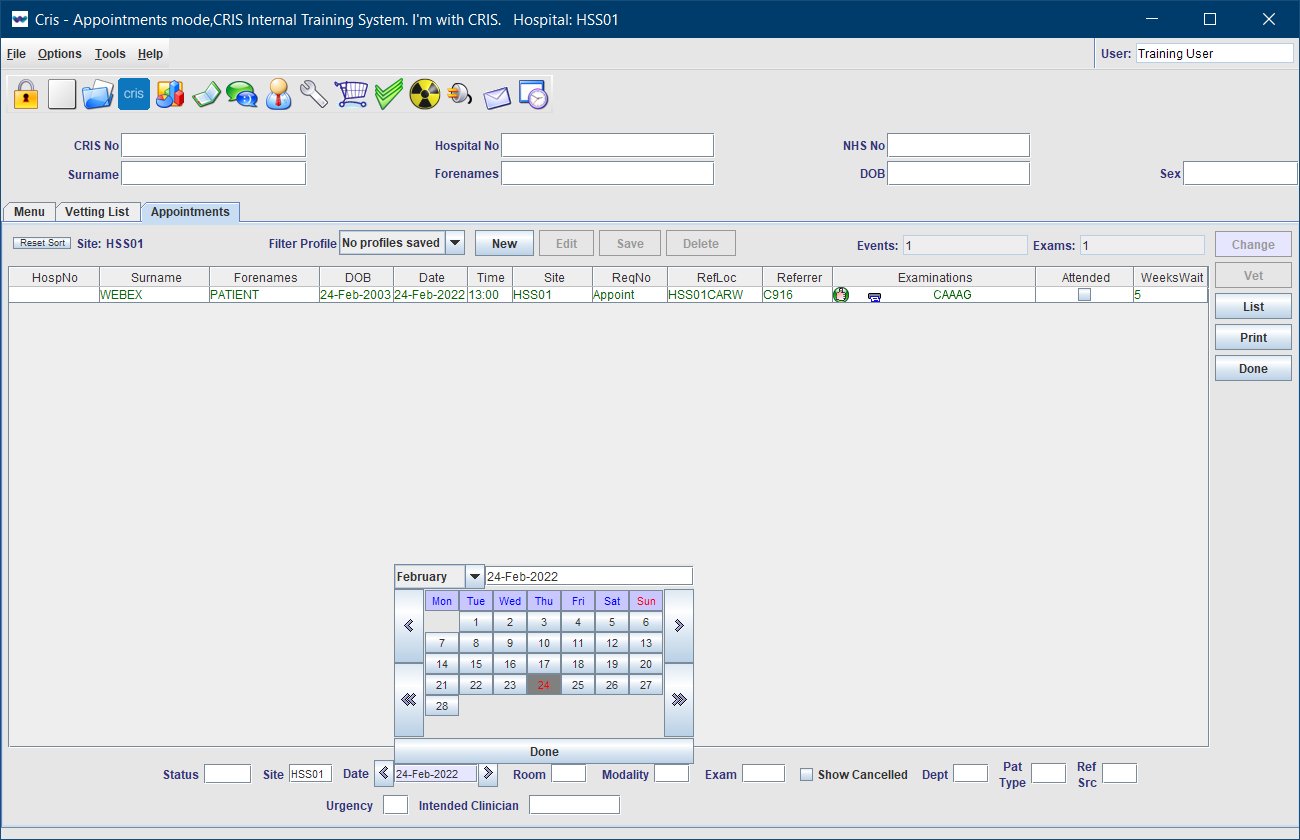
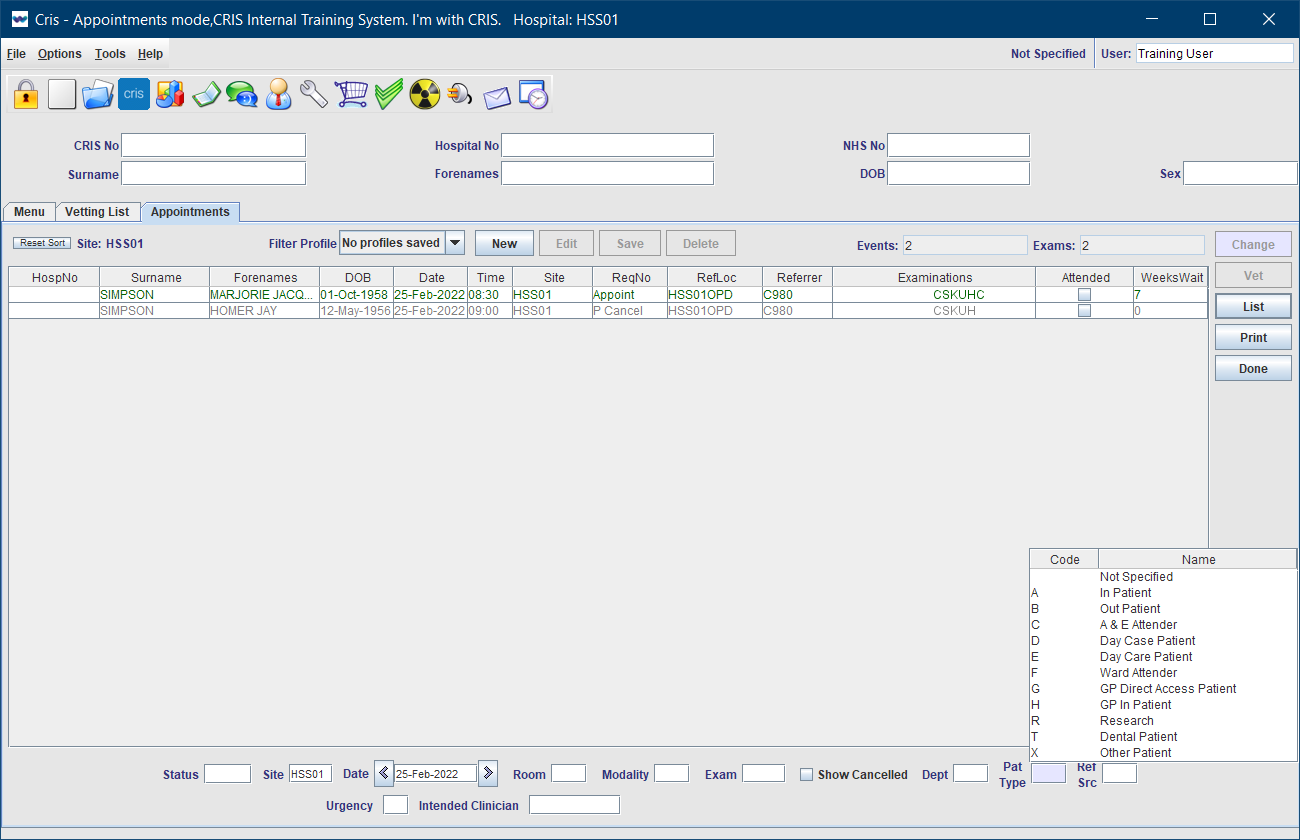
Apply filters in the fields at the bottom of the screen.
-
Click the List button to refresh whenever filters are added or removed.
OR
Select a Filter Profile from the dropdown.
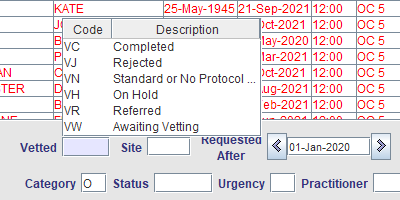
| Status | Status Code | Date | Description | Events move to | |
|---|---|---|---|---|---|
|
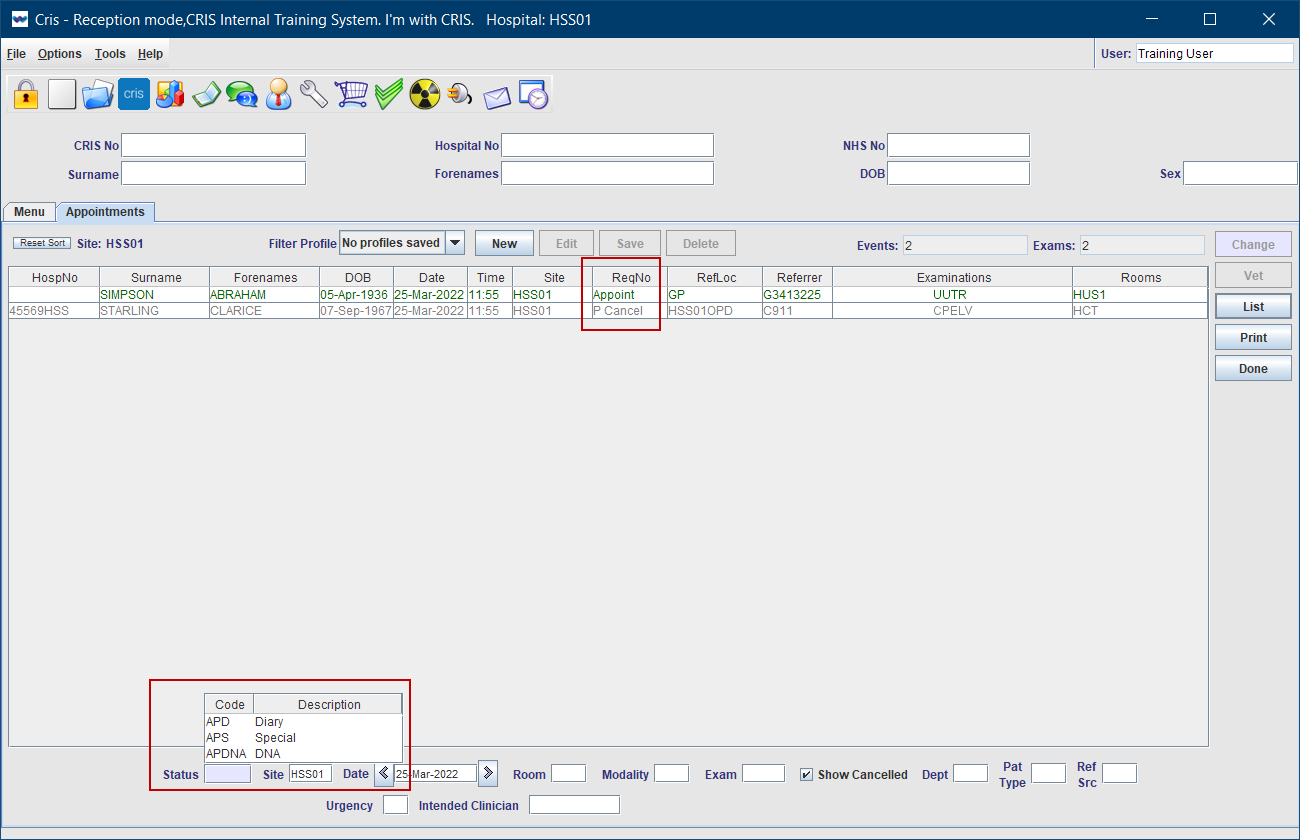
Appointment |
APD |
One day at a time, specified in the Date filter field. |
Events with an appointment between 00:00:01 and 23:59:59 on the selected date. Appointments also appear in the Cris Diary. |
Appointments no longer appear on the Appointments List once they have been attended. Attended events can be found on the Unprocessed, Unreported, or Unverified lists while in that status. Attended events always remain on the Day and Verified lists. |

|
Special Appointment |
APS |
Events with an appointment between 00:00:01 and 23:59:59 on the selected date. Special appointments do not appear in the Cris Diary. |
Special appointments no longer appear on the Appointments List once they have been attended. Attended events can be found on the Unprocessed, Unreported, or Unverified lists while in that status. Attended events always remain on the Day and Verified lists. |
|
|
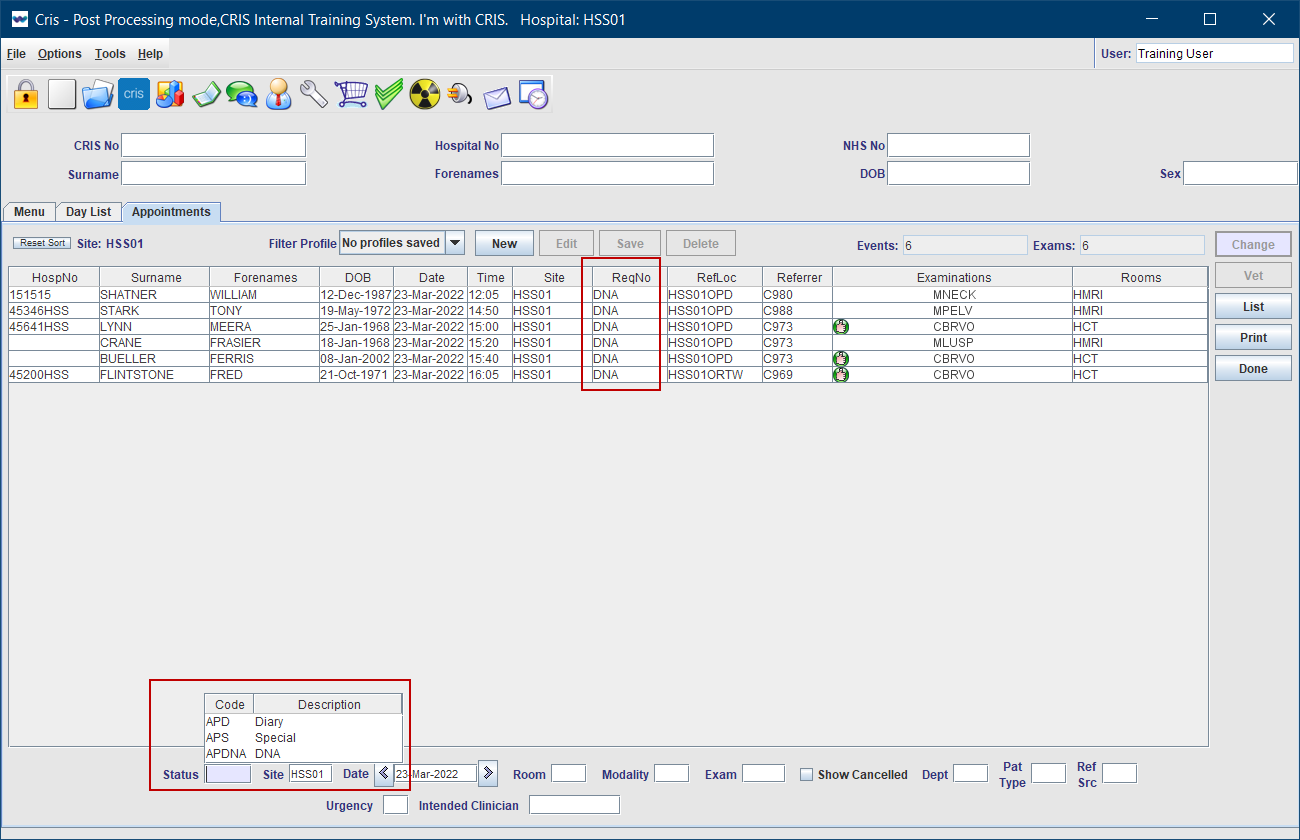
Did Not Attend (DNA) |
APDNA |
Past date only. A missed appointment is not marked as DNA until midnight on the day of the appointment. |
DNA appointments remain on the Appointments List until they are cancelled and rebooked. |
|

|
Cancelled | C | Cancelled appointment which was between 00:00:01 and 23:59:59 on the selected date. | Cancelled appointments remain on the Appointments List. until they are rebooked. |
| Colour | Category | Description |
|---|---|---|
|
Green |
Appointment |
Scheduled future appointment. |
|
Grey |
Cancelled |
An appointment which was cancelled by either the hospital or patient. |
|
Black |
DNA |
Patient did not attend the appointment. At midnight, the event changes to a DNA status. |


Note:
You will only see upcoming appointments. Events move from the Appointments List to the Day List after attendance. The only appointments you will see for previous days will be DNAs which have not yet been cancelled or rebooked.
Tip:
Filter worklists by the Department field to see multiple rooms.

Tip:
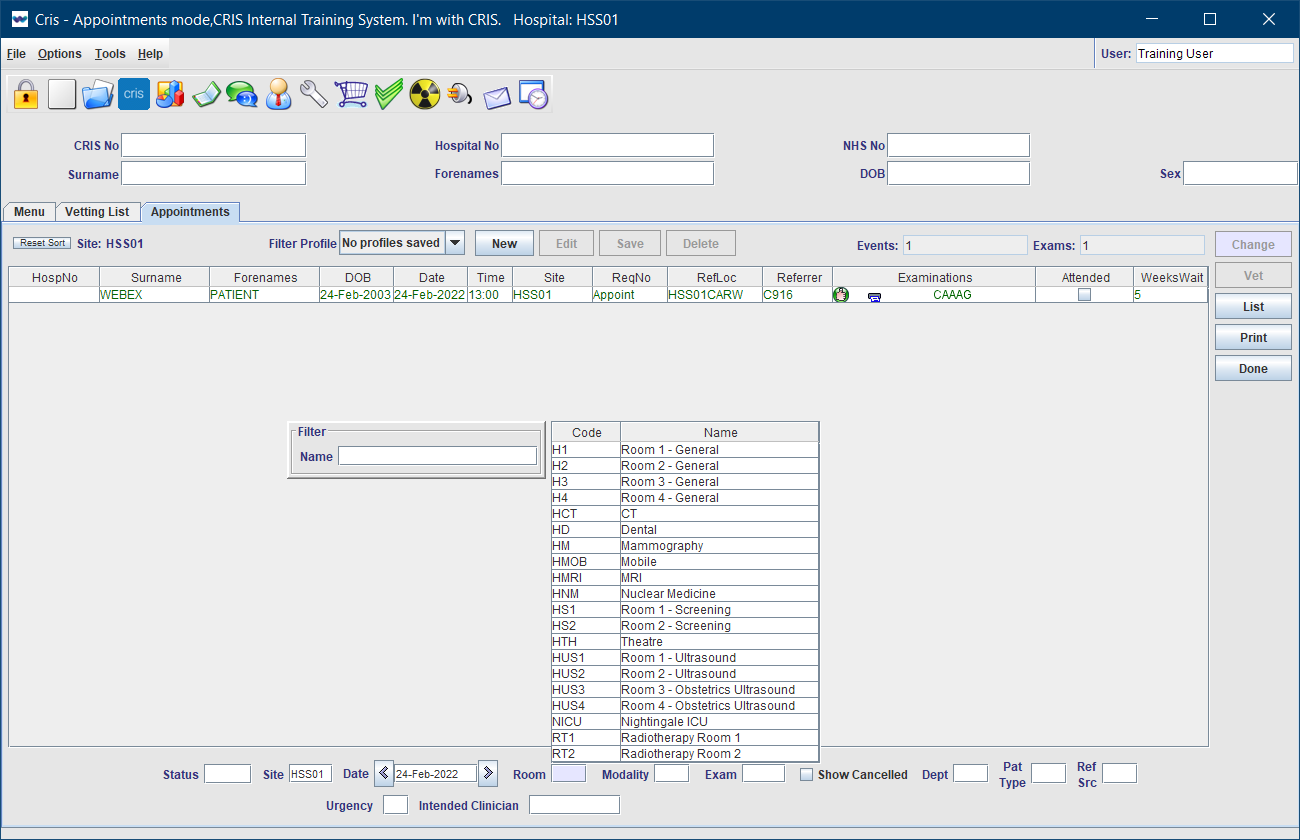
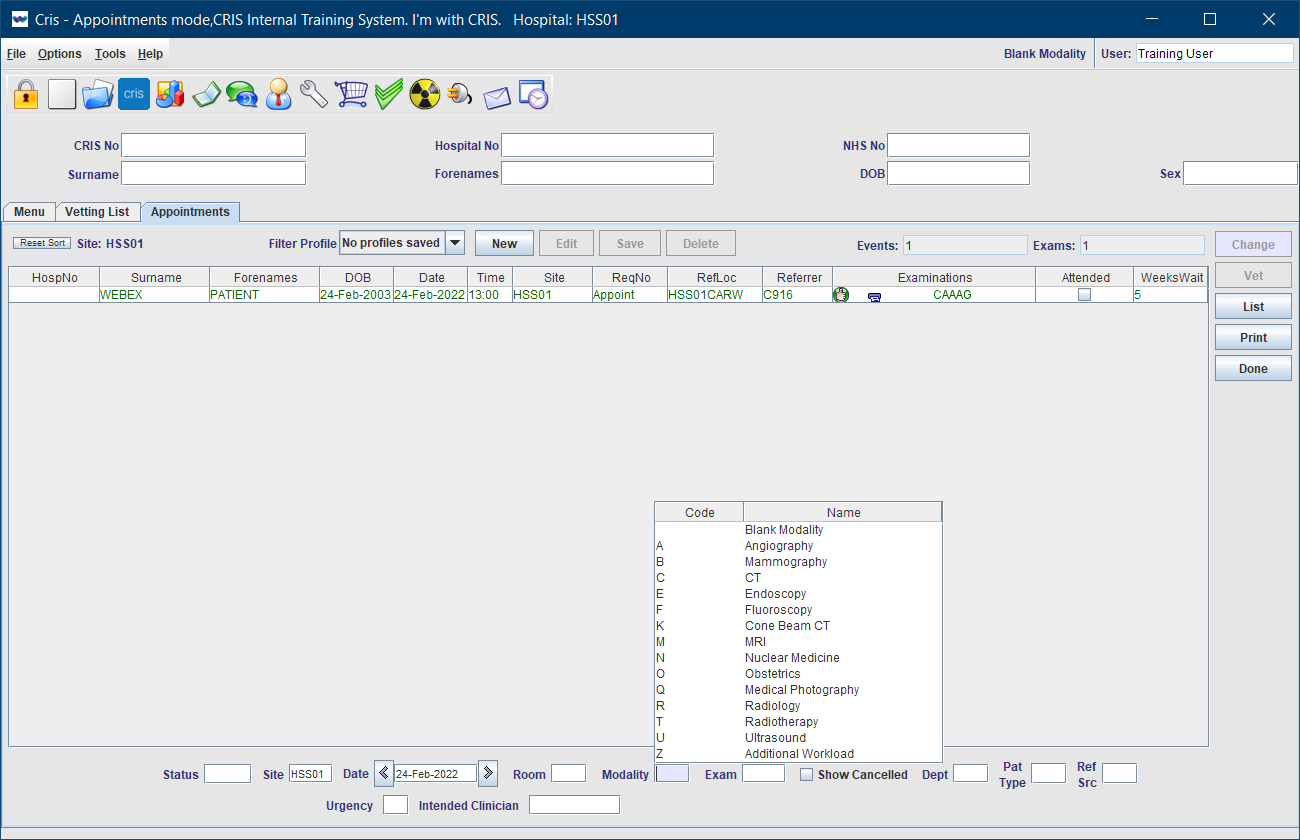
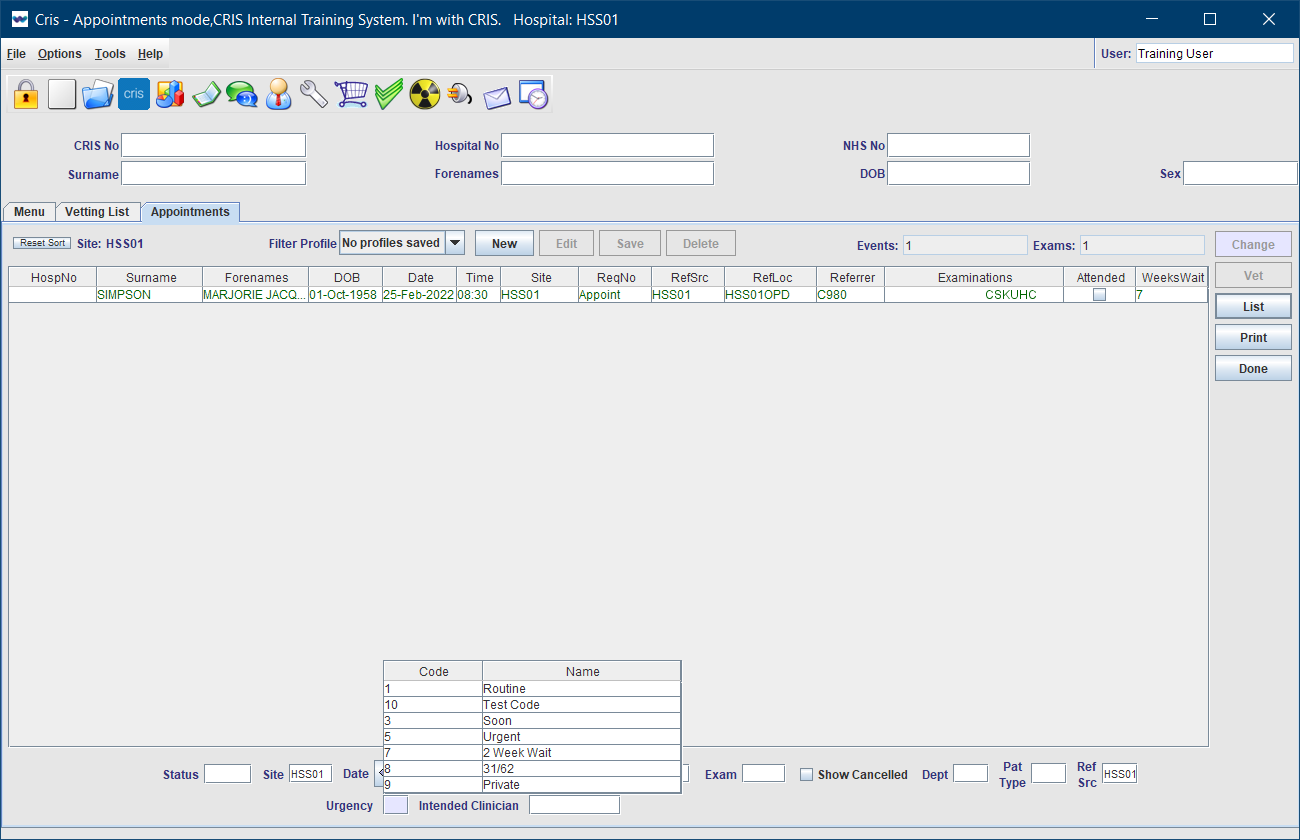
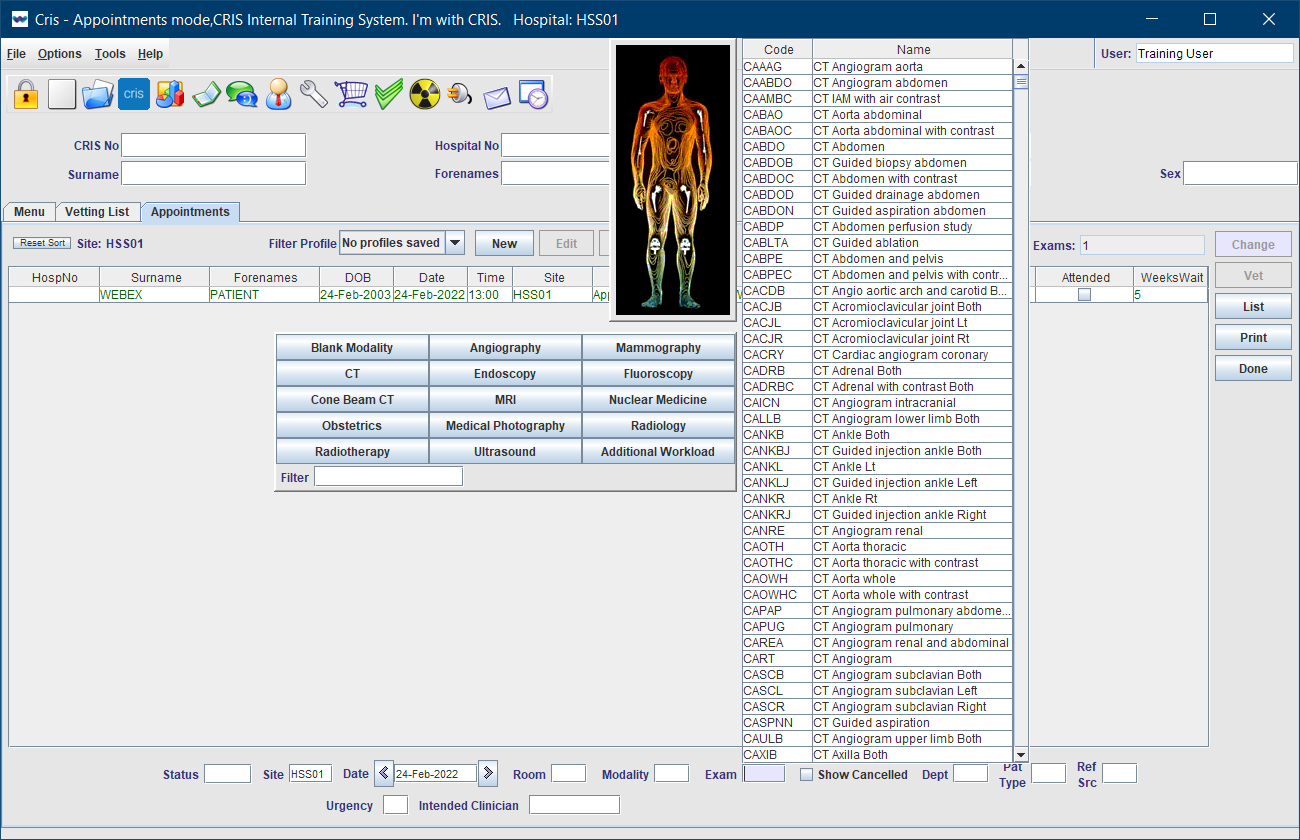
Double-click in a field, or press F4 with the cursor in that field to display available values. Select one value, or leave blank to see all.
Tip:
Filters fields can only contain one value. To filter by multiple values see Filter profiles - 7. Configure Table Filters.
Appointments List:

Waiting List:

| Column | Description | |
|---|---|---|
|
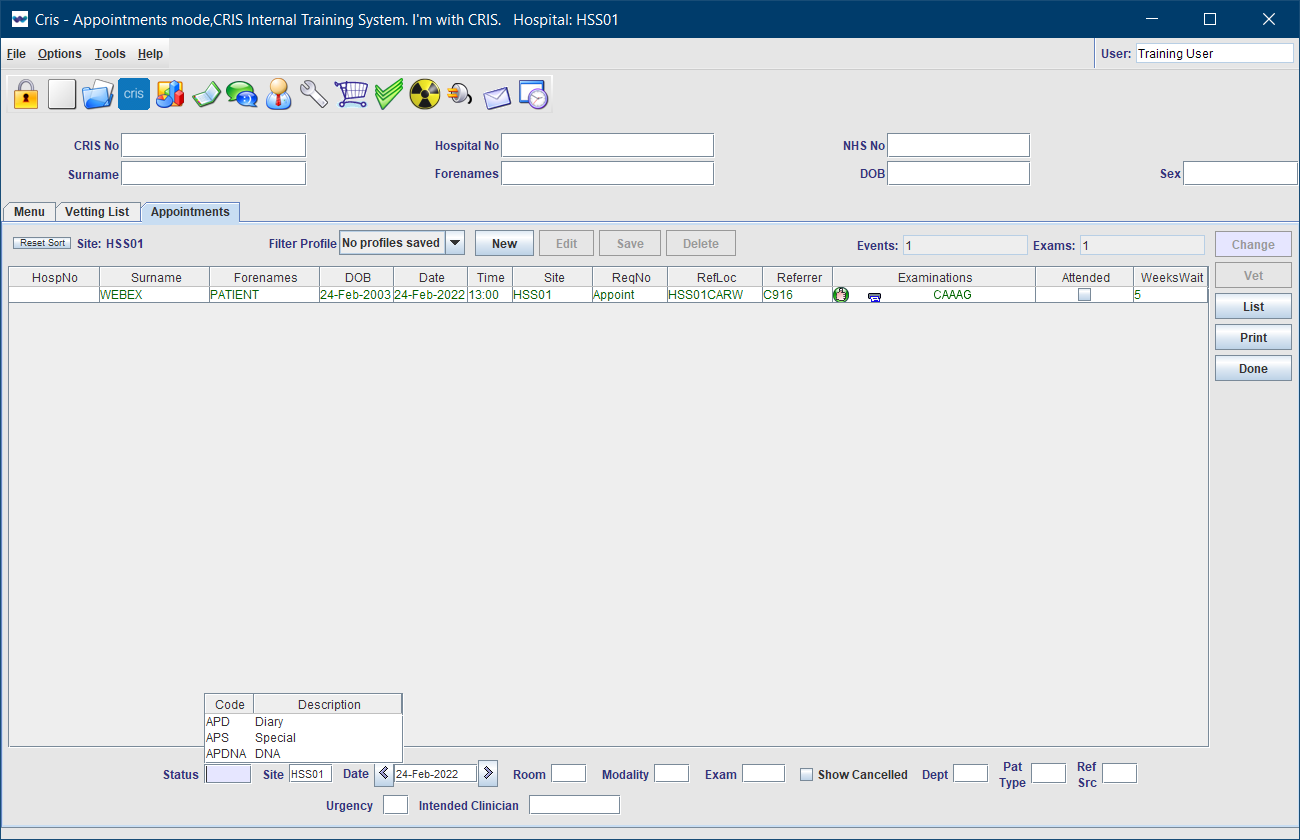
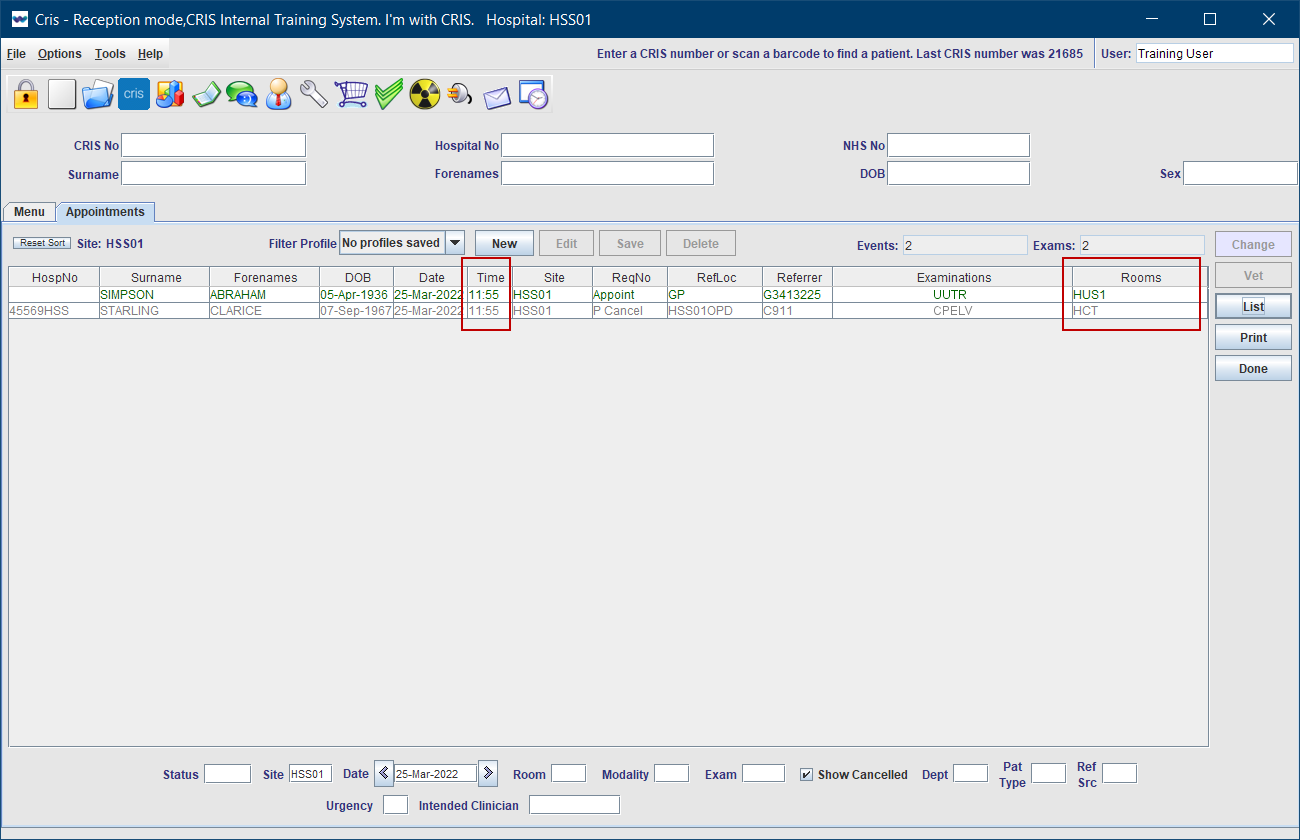
Time |
Sort the Appointments List by Time of attendance from earliest to latest (Ascending) so you can monitor waiting time. |
|
Rooms |
Adding a room to an event before or at attendance ensures that the event appears on the clinician's modality work list. Displaying Rooms on the Appointments List helps staff to locate or direct patients. |
|
|
Mobility |
Displaying Mobility on the Appointments List helps staff to assist patients or arrange for transport. |
Tip:
Hover over columns in lists to see more information.
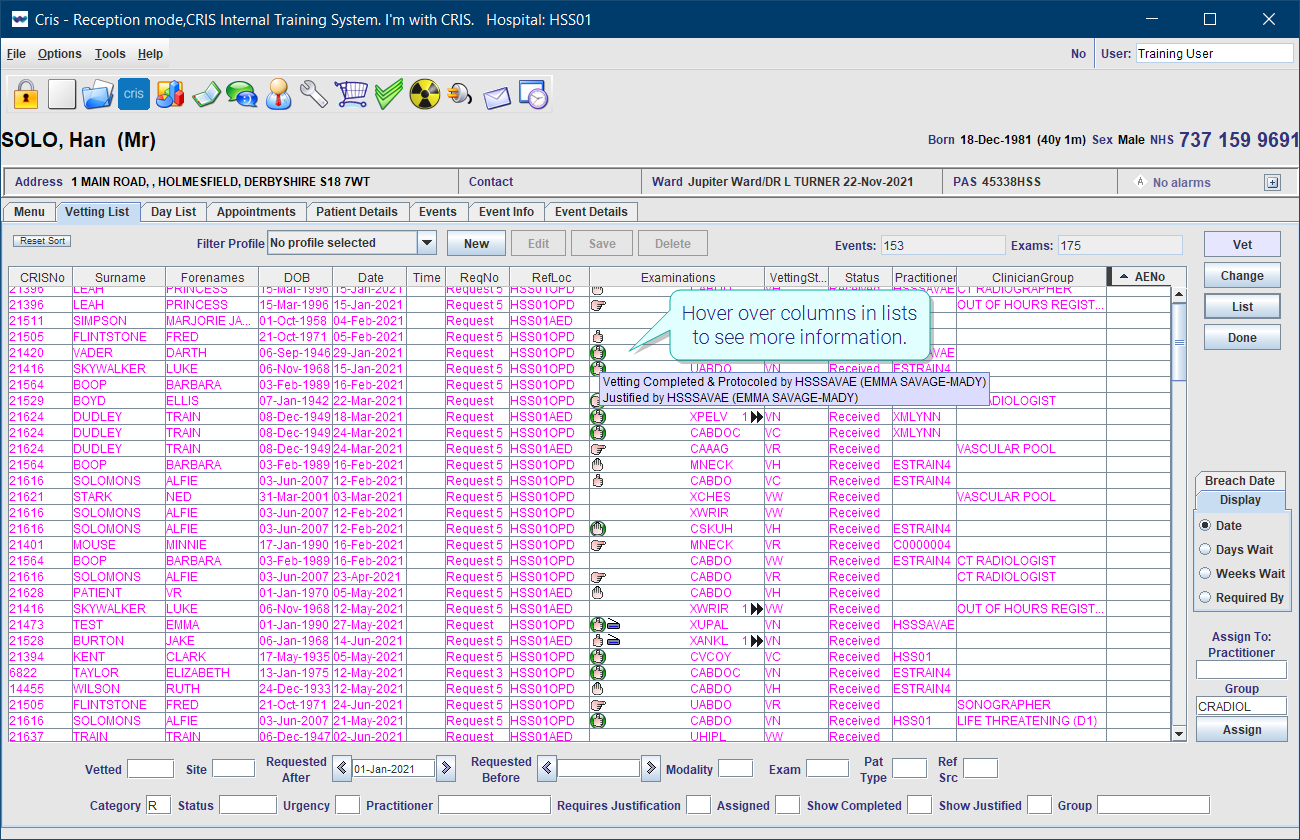
A system administrator can select the default worklist columns. Anyone with the relevant permissions can arrange and filter worklist columns.