XR settings for Post Processing
XR settings control and configure all of Cris.
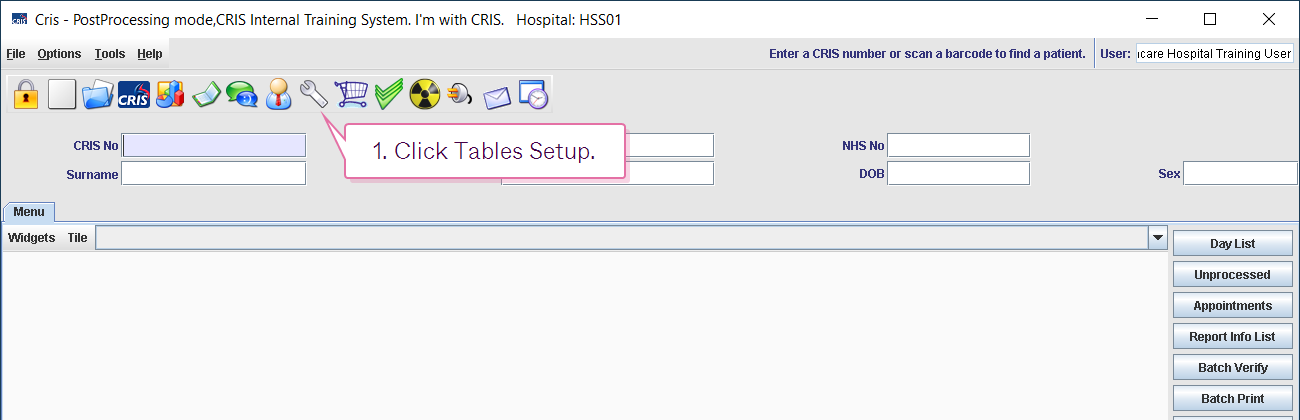
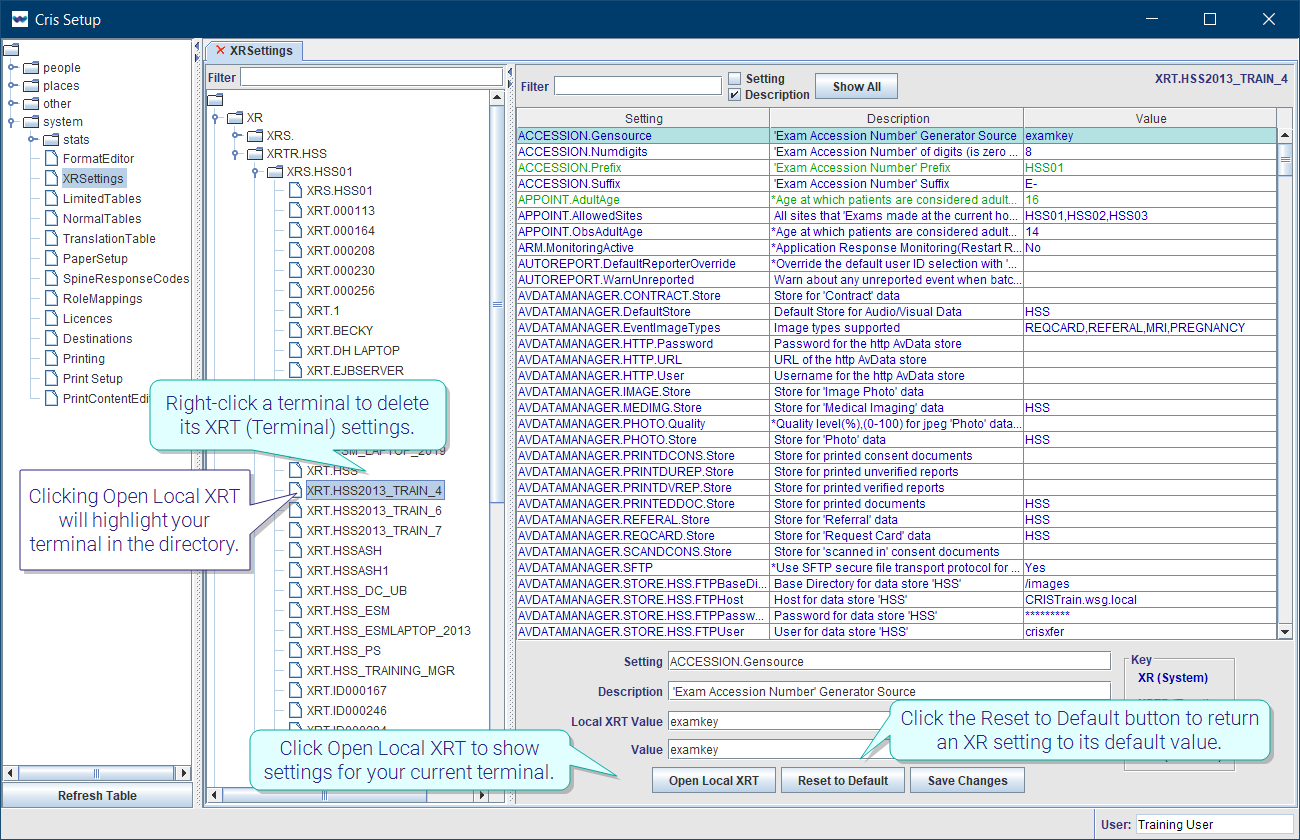
- Click Tables Setup.

- Select System > XR Settings.
- Filter the list by entering a keyword in the Filter field.
- Click to select a setting.
- Enter a value in the Value field.
- Click the Save Changes button.
- Click the Refresh Table button.
OR
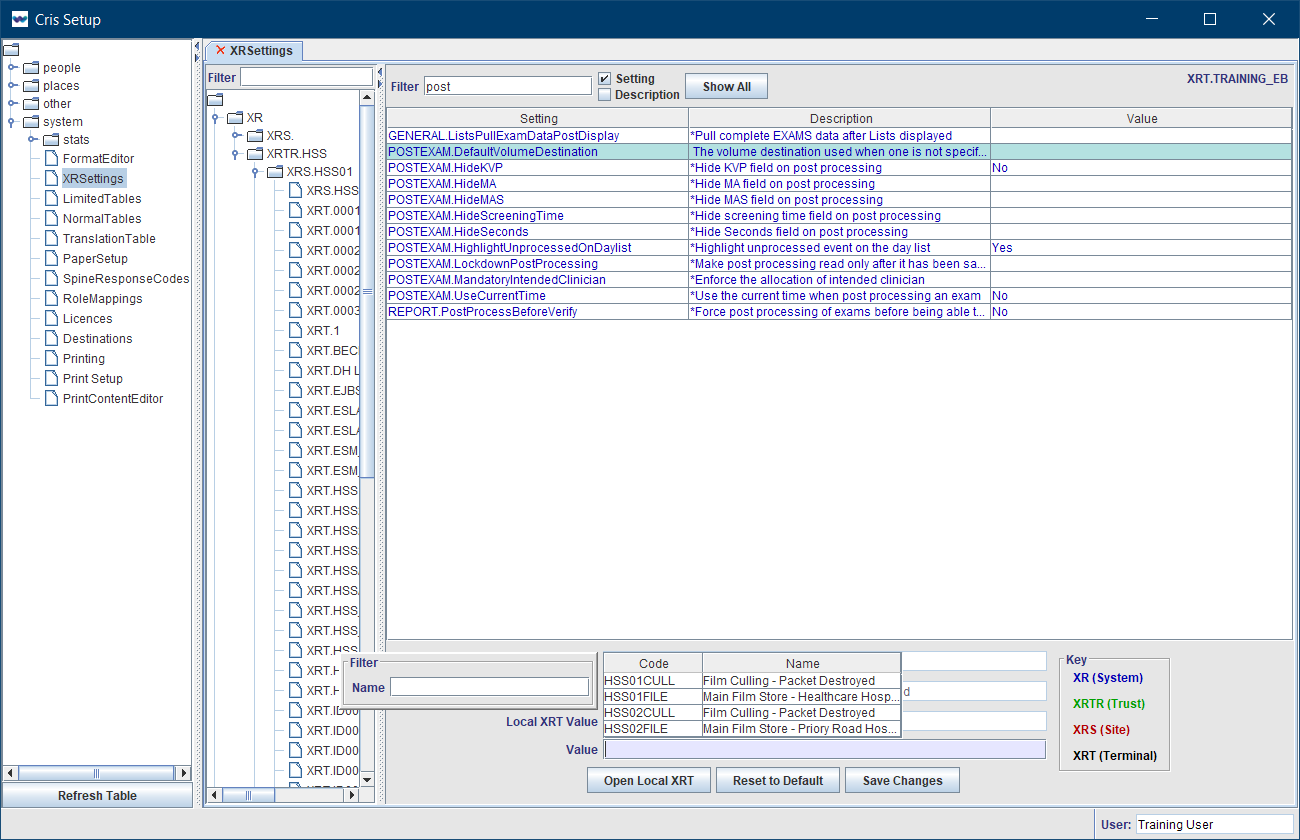
Double-click the Value field then double-click to select a value from the options.
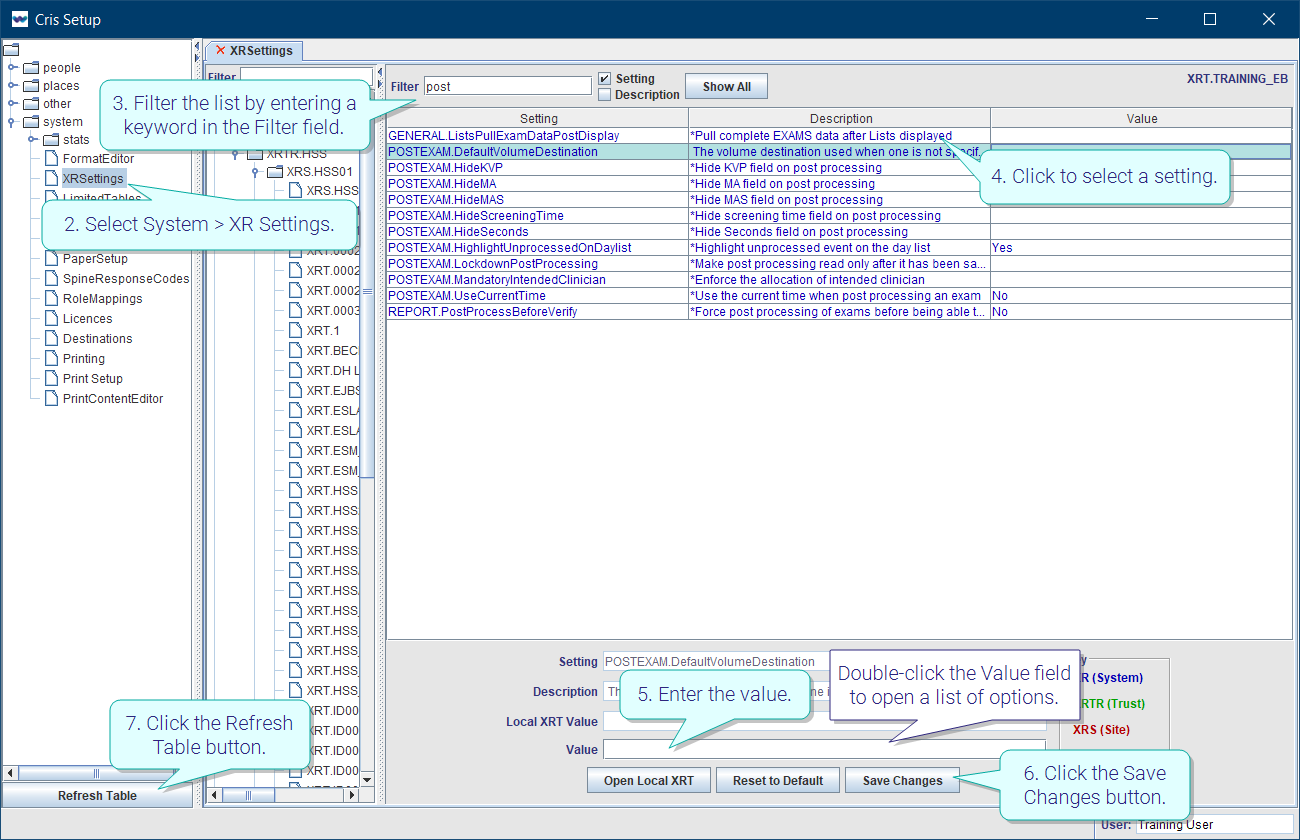
Post Processing
| Level | Setting | Value | Description | |
|---|---|---|---|---|
|
XR, XRTR, XRS |
POSTEXAM.DefaultVolumeDestination |
Network location |
Default volume destination used when one is not specified. Legacy setting used for Hard Copy film tracking to specify a default location. |
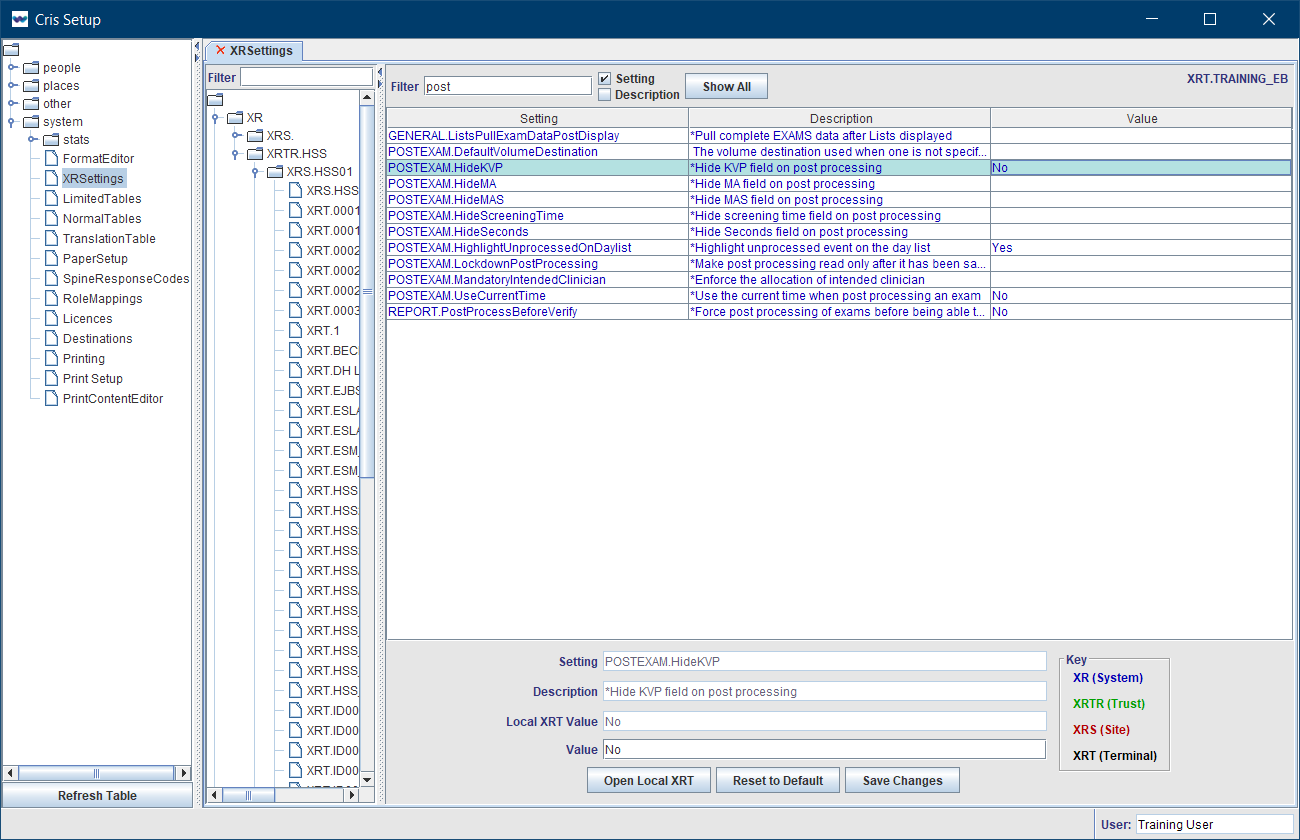
|
XR, XRTR, XRS |
POSTEXAM.HideKVP |
Yes, No, Default (No). |
Hide kVp field on post processing. |
|
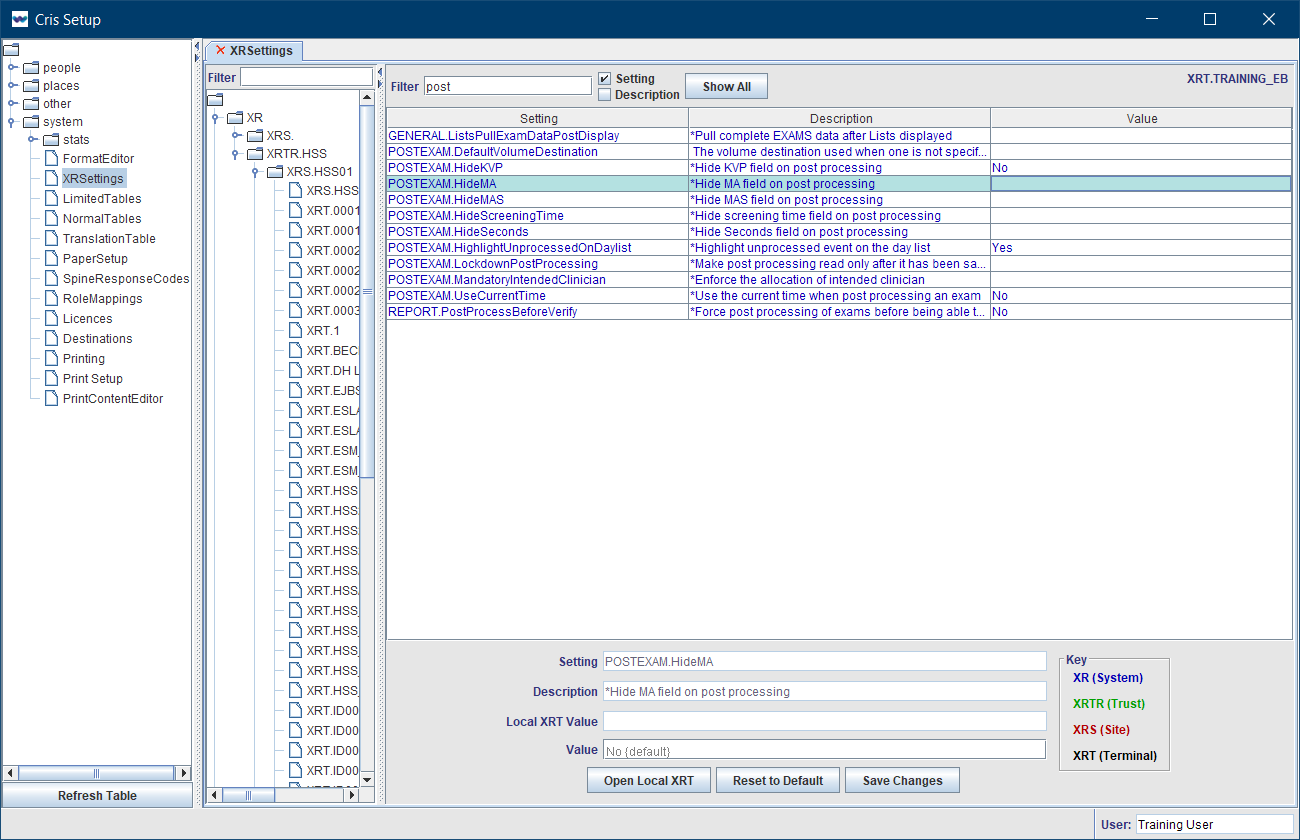
XR, XRTR, XRS |
POSTEXAM.HideMA |
Yes, No, Default (No). |
Hide mA field on post processing. |
|
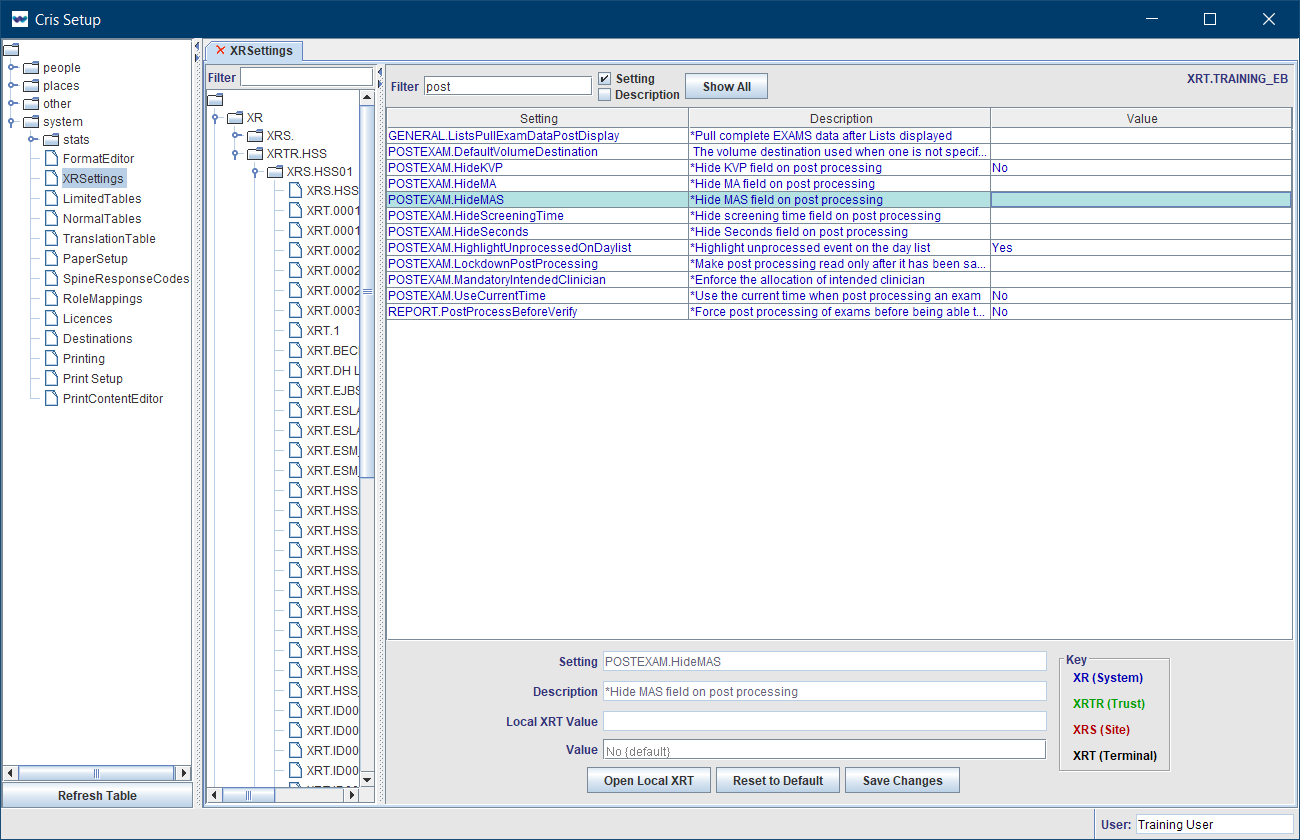
XR, XRTR, XRS |
POSTEXAM.HideMAS |
Yes, No, Default (No). |
Hide mAs field on post processing. |
|
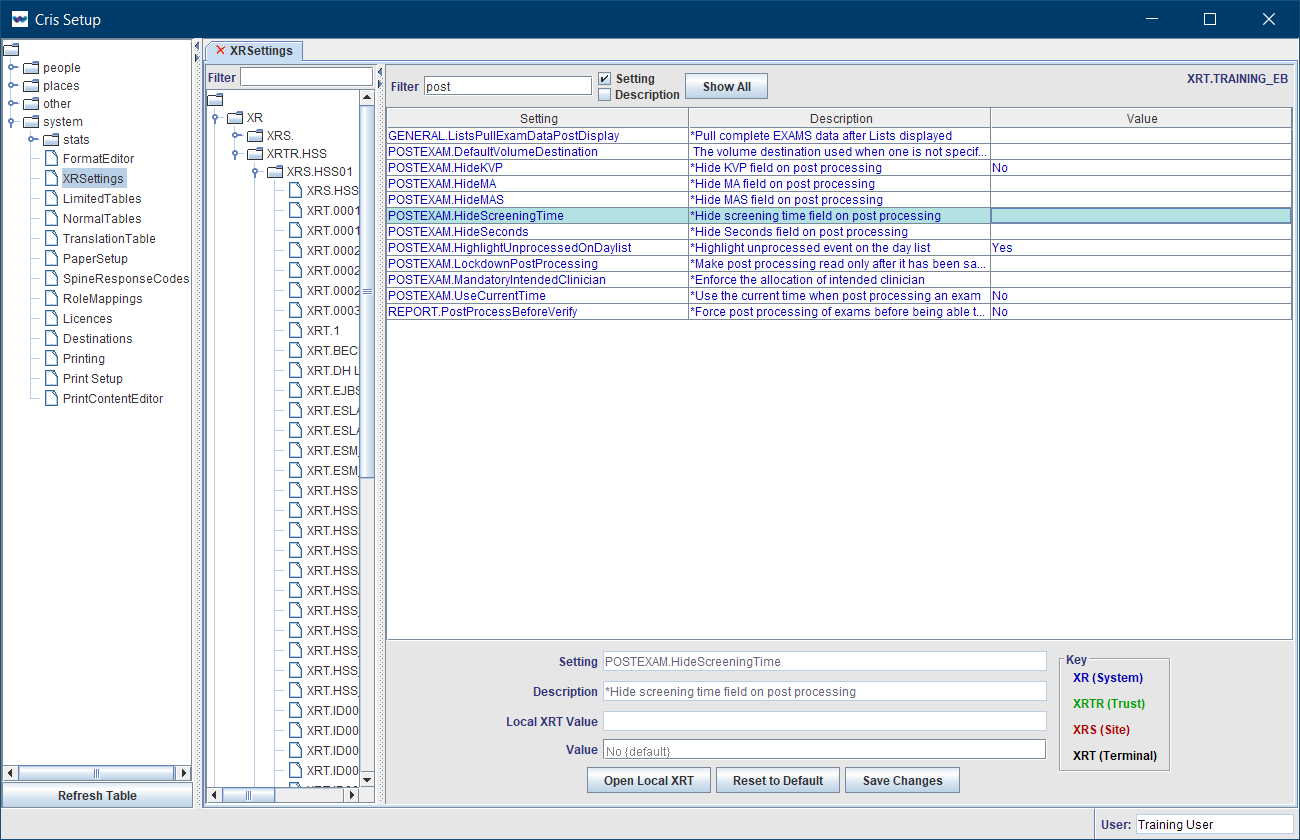
XR, XRTR, XRS |
POSTEXAM.HideScreeningTime |
Yes, No, Default (No). |
Hide Screening Time field on post processing. |

|
XR, XRTR, XRS |
POSTEXAM.HideSeconds |
Yes, No, Default (No). |
Hide Seconds field on post processing. |

|
XR, XRTR, XRS |
POSTEXAM.LockdownPostProcessing |
Yes, No, Default (No). |
Make post processing read-only once it has been saved. |
|
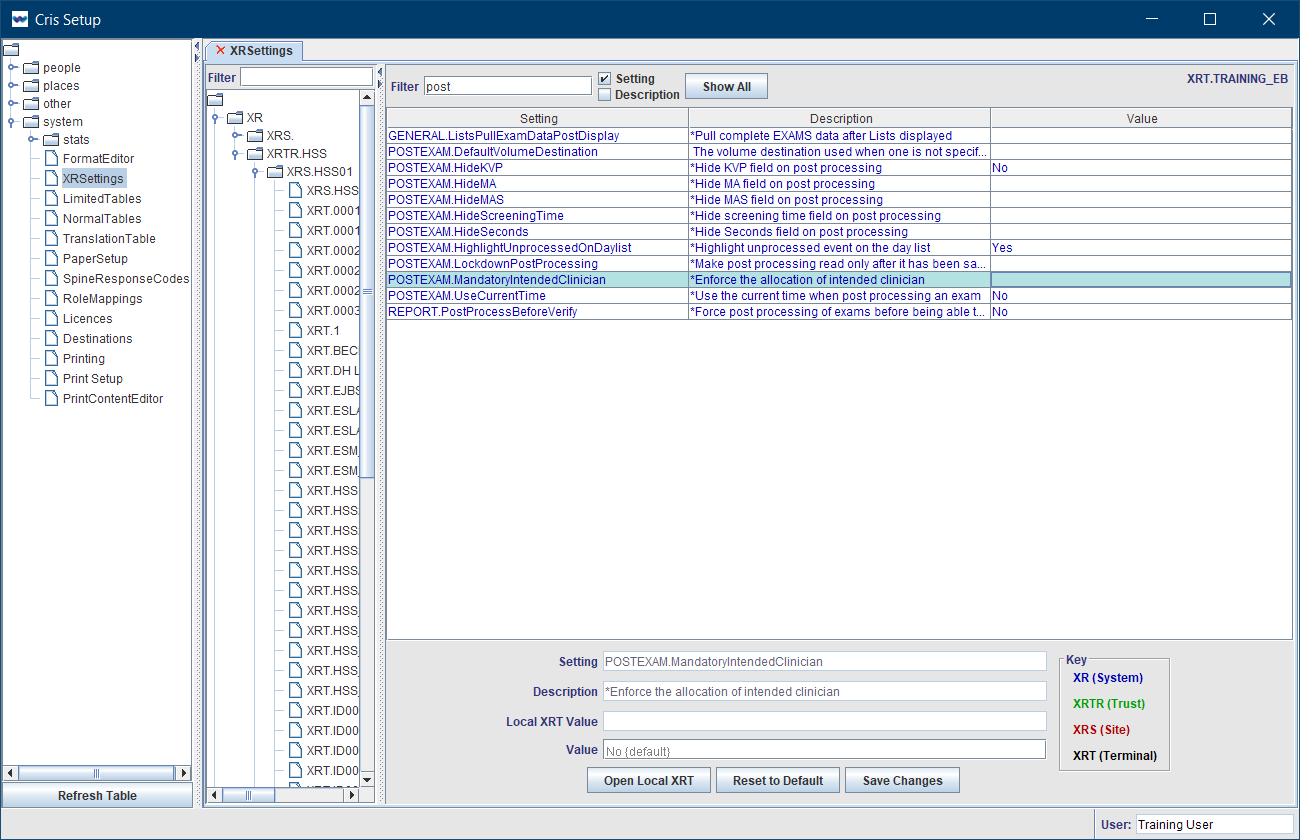
XR, XRTR, XRS |
POSTEXAM.MandatoryIntendedClinician |
Yes, No, Default (No). |
Make Intended Clinician field mandatory. Set to Yes to force an Intended Clinician to be entered for reporting purposes (i.e. PACS worklists) during post processing. |
|
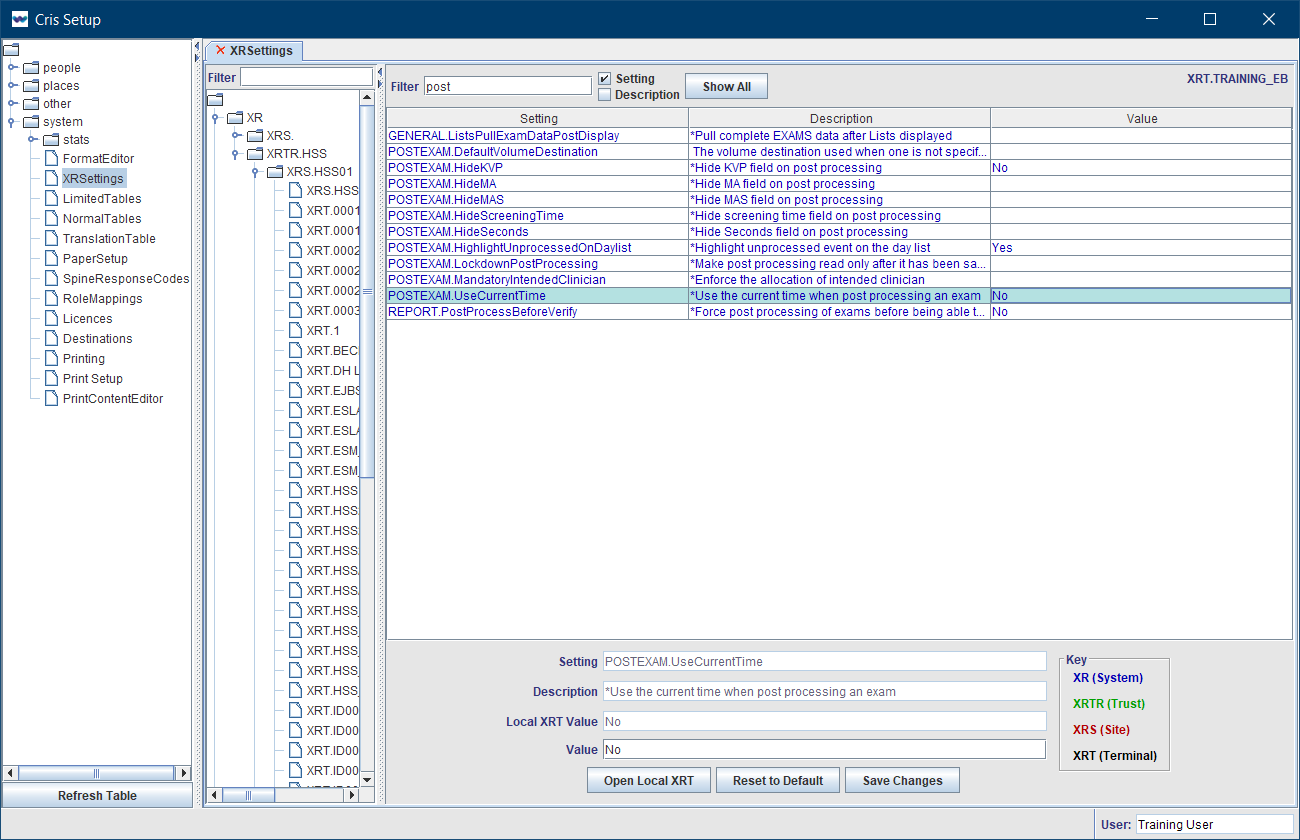
XR, XRTR, XRS |
POSTEXAM.UseCurrentTime | Yes, No, Default (No). | Use the current time for calculating the start and end time of an exam. |
|
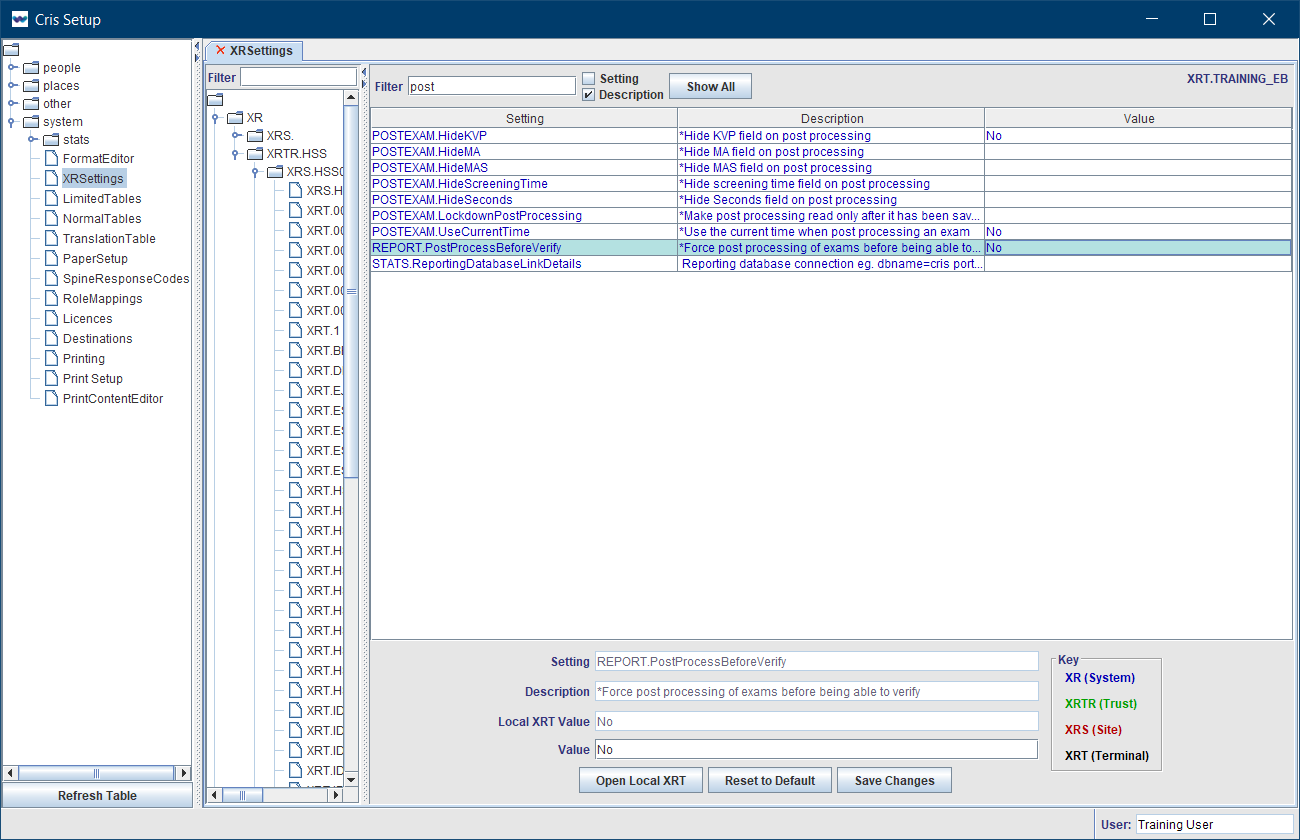
XR, XRTR, XRS |
REPORT.ProcessBefore Verify | Yes, No, Default (No). | Force post processing to be completed before a report can be verified. |
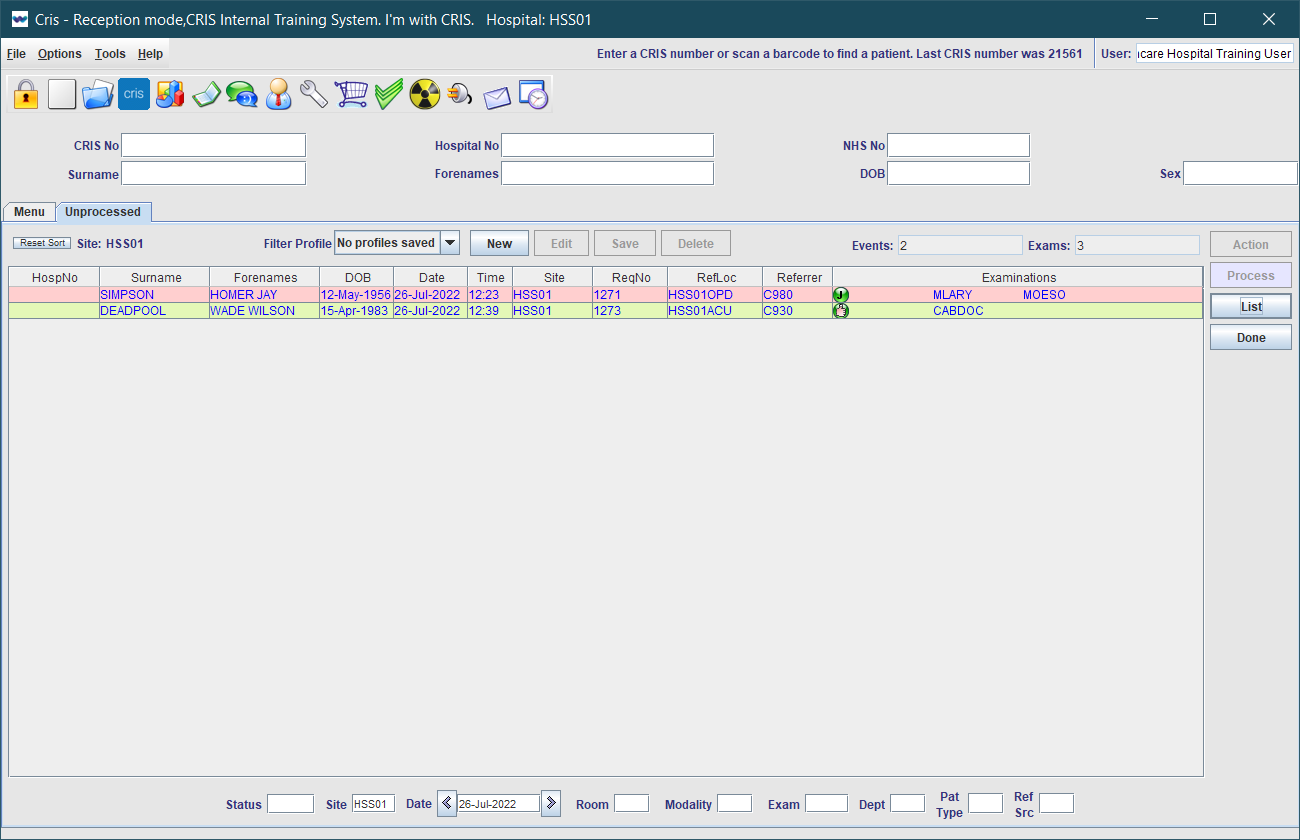
Unprocessed List
| Level | Setting | Value | Description | |
|---|---|---|---|---|
|
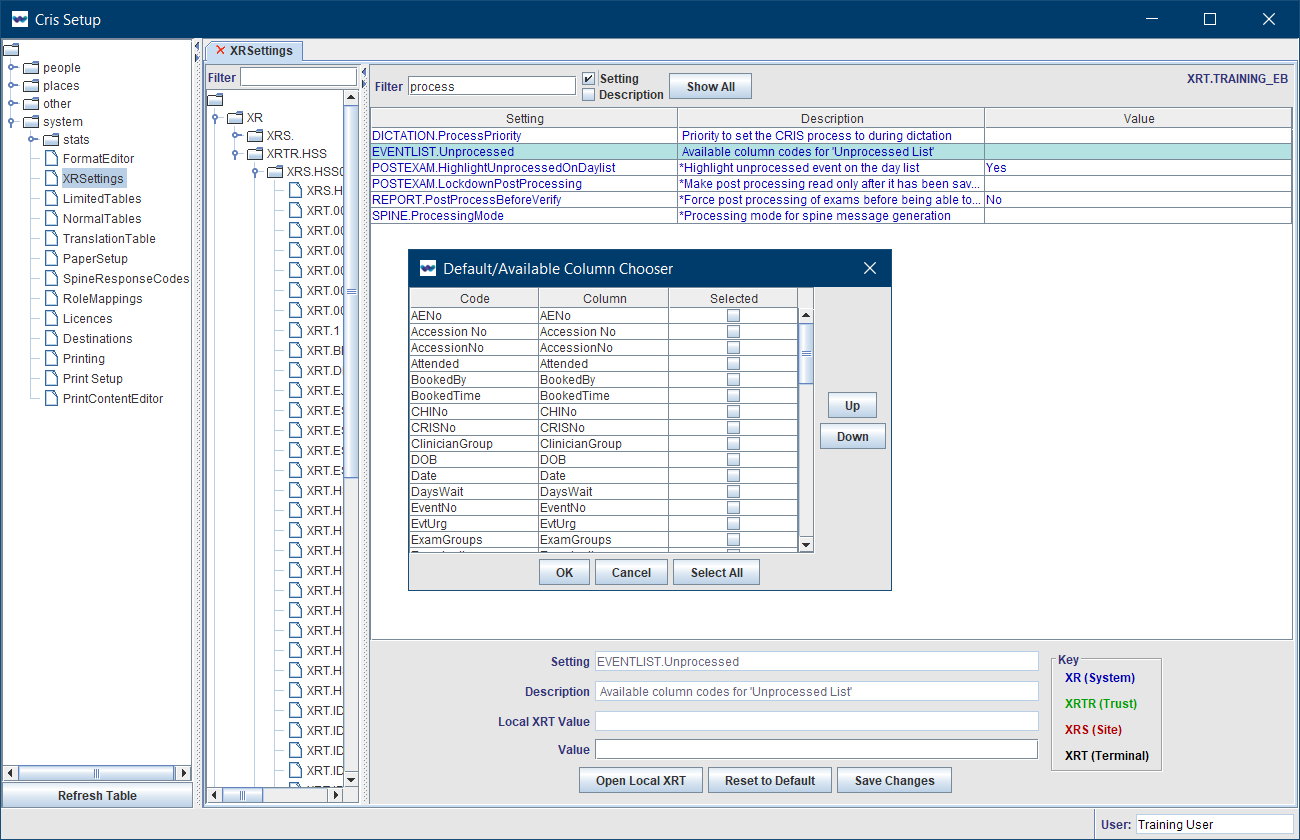
XR, XRTR, XRS |
EVENTLIST.Unprocessed |
Select columns from the list of options. Available columns |
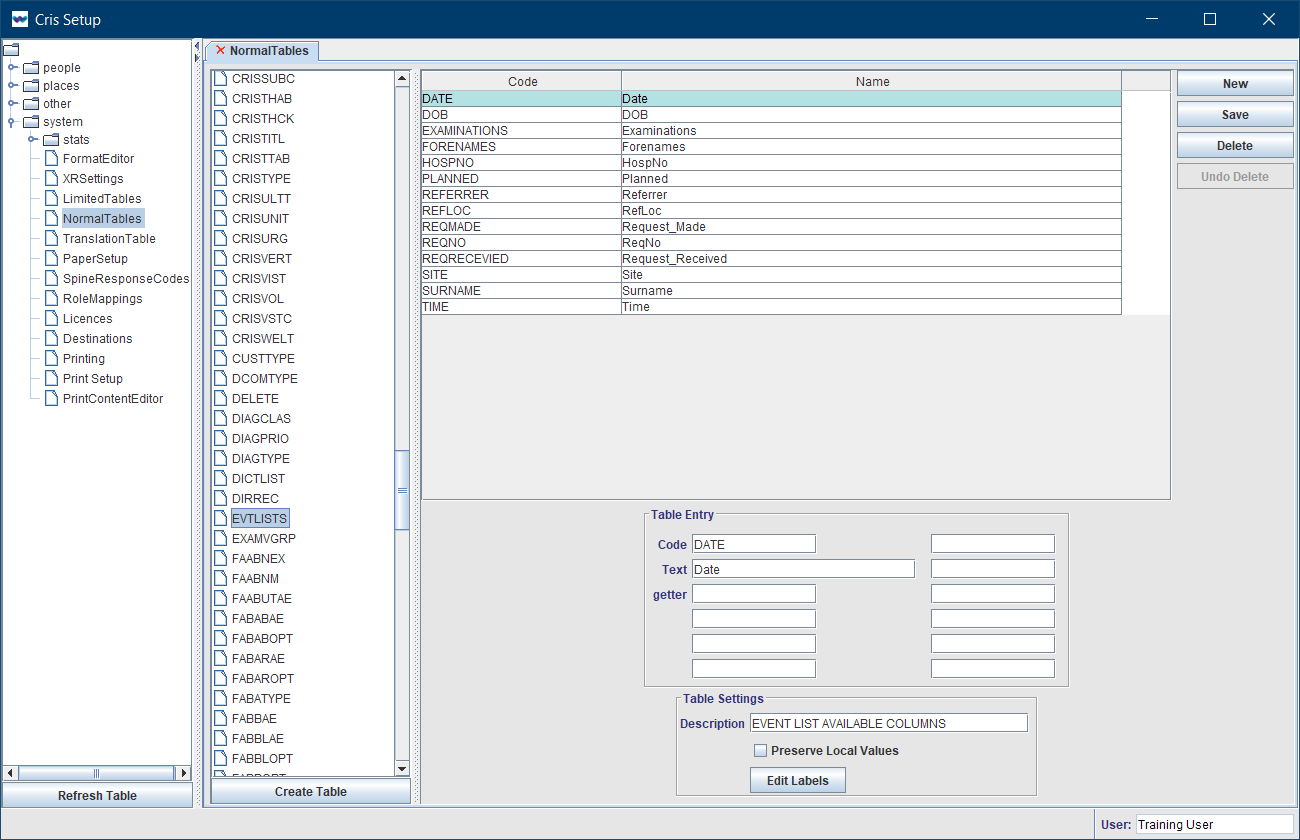
Select which columns are available in the Unprocessed List. See also System > Normal Tables.
|
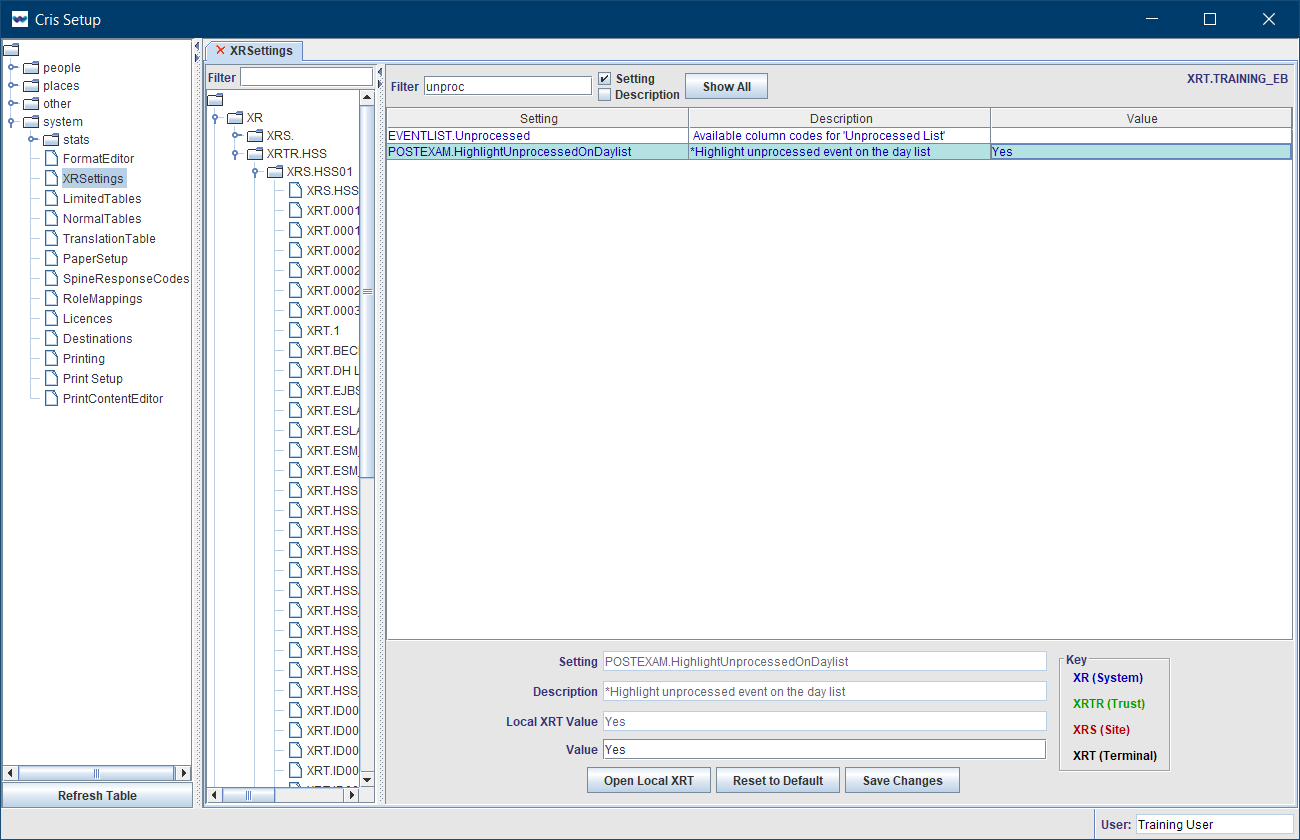
|
XR, XRTR, XRS |
POSTEXAM.HighlightUnprocessedOnDaylist | Yes, No, Default (Yes). |
Applies a coloured background to unprocessed events on the Day List after a period of time. Over 30 minutes = green, over 60 minutes = pink.
|
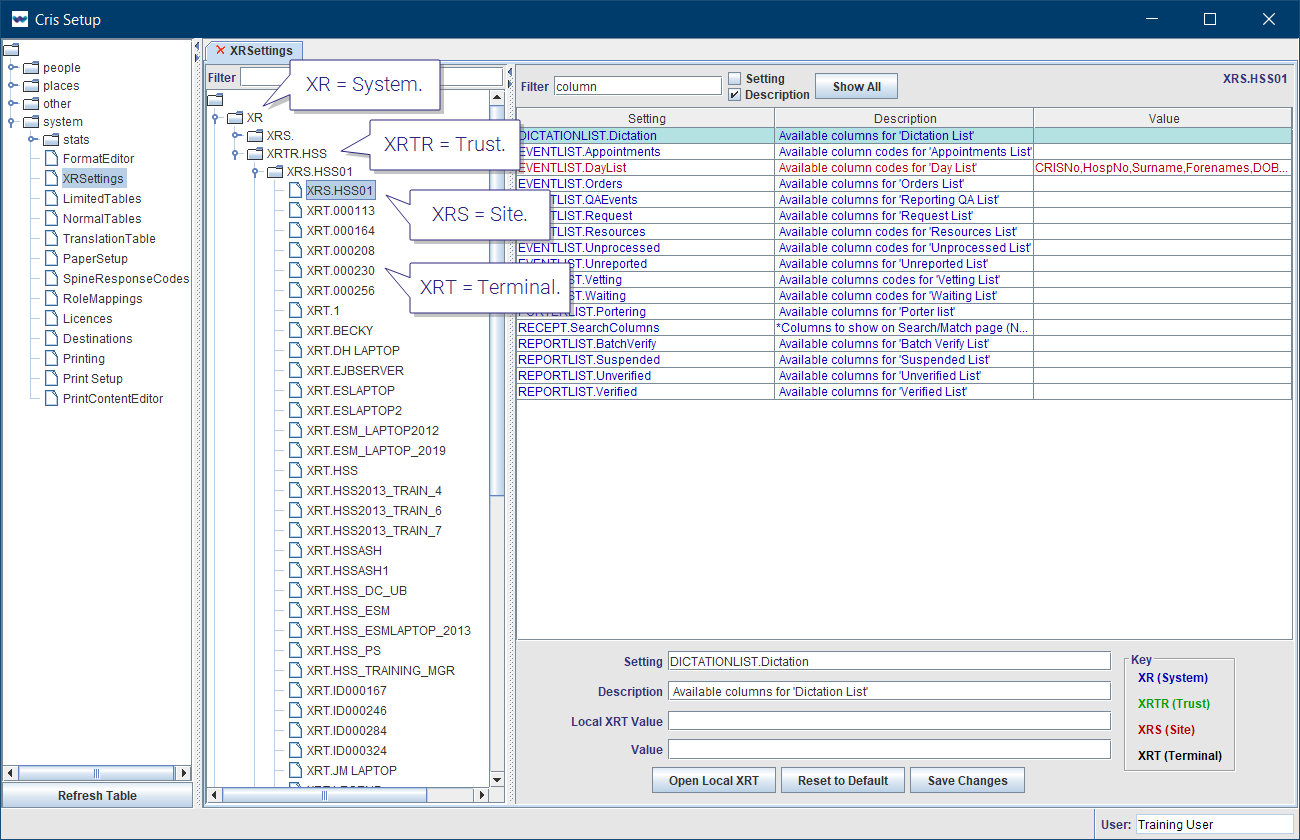
It is essential to consider the level of an XR setting when making changes. System and Trust should not be altered without agreement from all stakeholders.
| Level | Description |
|---|---|
| XR (System) | Changes made here will affect the entire Cris system across all connected trusts. |
| XRTR (Trust) | Changes made here will override XR and affect the whole trust. |
| XRS (Site) | Changes made here will override XRTR and affect the entire hospital / site. |
| XRT (Terminal) | Changes made here will override XRS Setting and only apply to that terminal / workstation. |
Note:
When you open the Cris Setup window, you will see that your terminal is highlighted in the directory tree. Therefore, if you change XR settings, they will be applied at Terminal level. If you want XR settings to apply across your Site, Trust, or System, select a higher level folder before making changes.
Tip:
-
Click Open Local XRT to show settings for your current terminal. Clicking Open Local XRT will highlight your terminal in the directory.
-
Click the Reset to Default button to return an XR setting to its default value.
-
Right-click a terminal to delete its XRT (Terminal) settings.
Tip:
Press the Esc key to exit a field without making a selection from an options list.
XR Settings for Modules:

|
|
Orders |

|
|
Vetting |

|
|
Appointments |

|
|
Reception |

|
|
Post processing |

|
|
Reporting |

|
|
Resources |

|
|
Sessions |

|
|
Portering |
|
|
|
Medical Photography |