XR settings for Resources
XR settings control and configure all of Cris.
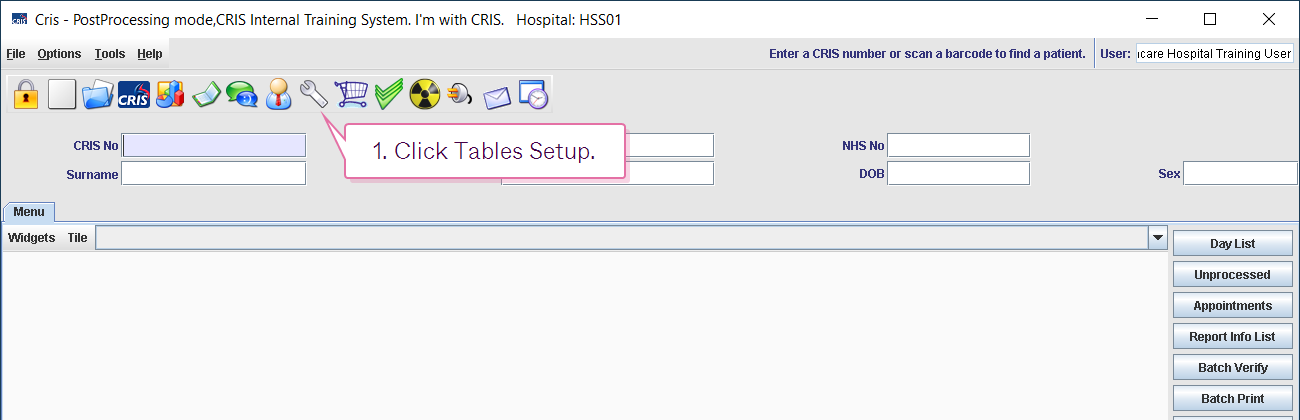
- Click Tables Setup.

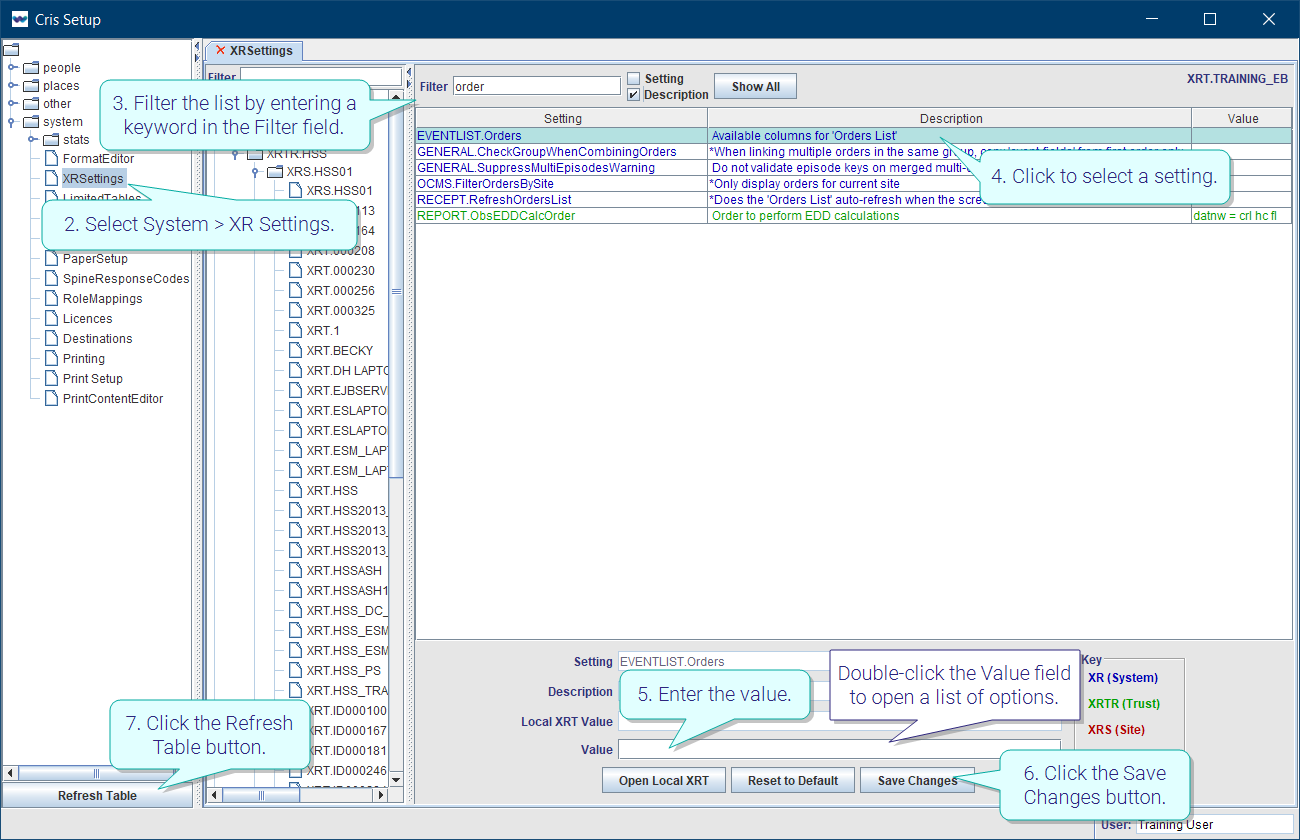
- Select System > XR Settings.
- Filter the list by entering a keyword in the Filter field.
- Click to select a setting.
- Enter a value in the Value field.
- Click the Save Changes button.
- Click the Refresh Table button.
OR
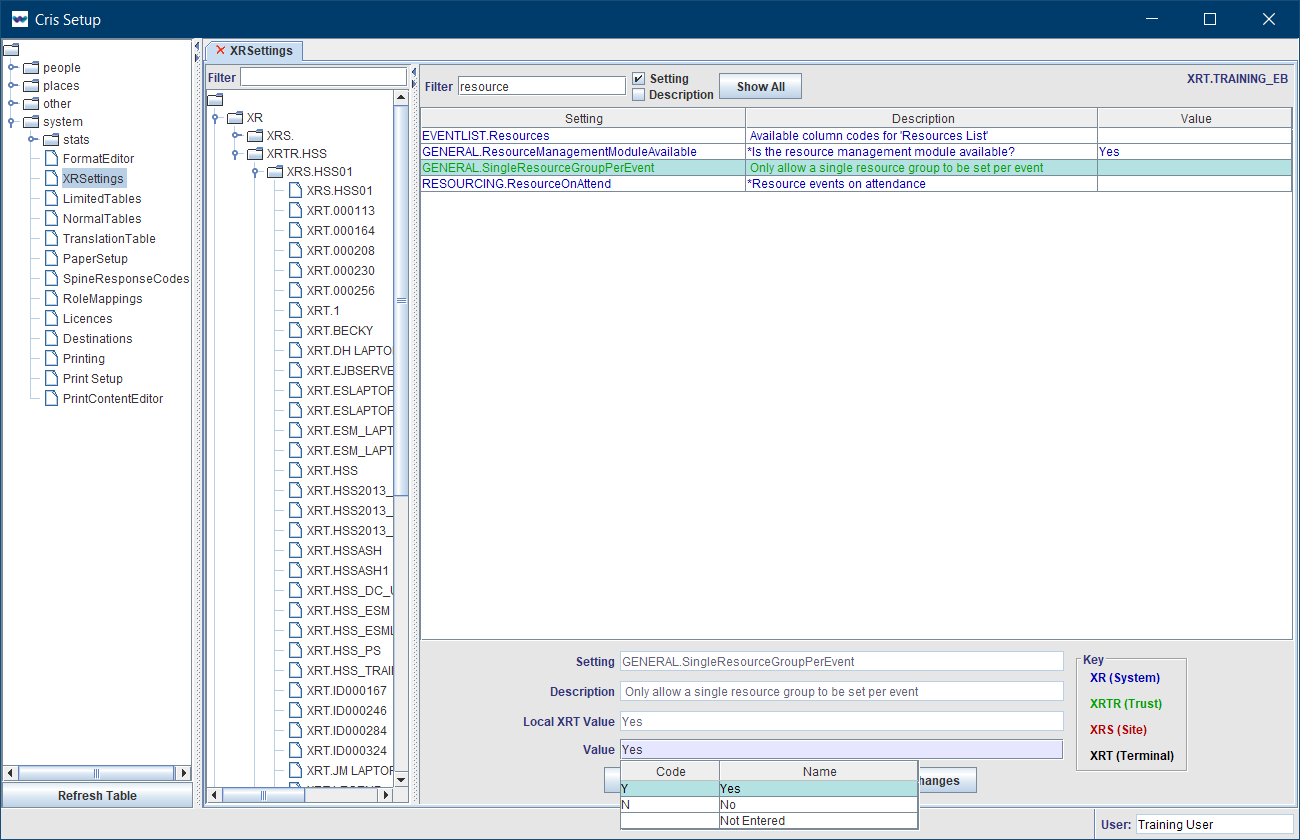
Double-click the Value field then double-click to select a value from the options.
Resource groups
| Level | Setting | Value | Description | |
|---|---|---|---|---|

|
XR, XRTR, XRS | GENERAL.ResourceManagementModuleAvailable | Yes, No, Default (No). | Display the Groupfield on Reporting Lists, Vetting List, Event Details, and Post Processing screens when the Resource module is enabled. |
|
XR, XRTR, XRS | GENERAL.SingleResourceGroupPerEvent | Yes, No, Default (Blank). | Only allow a single resource group to be assigned to an event. |
Resourcing
| Level | Setting | Value | Description | |
|---|---|---|---|---|
|
XR, XRTR, XRS |
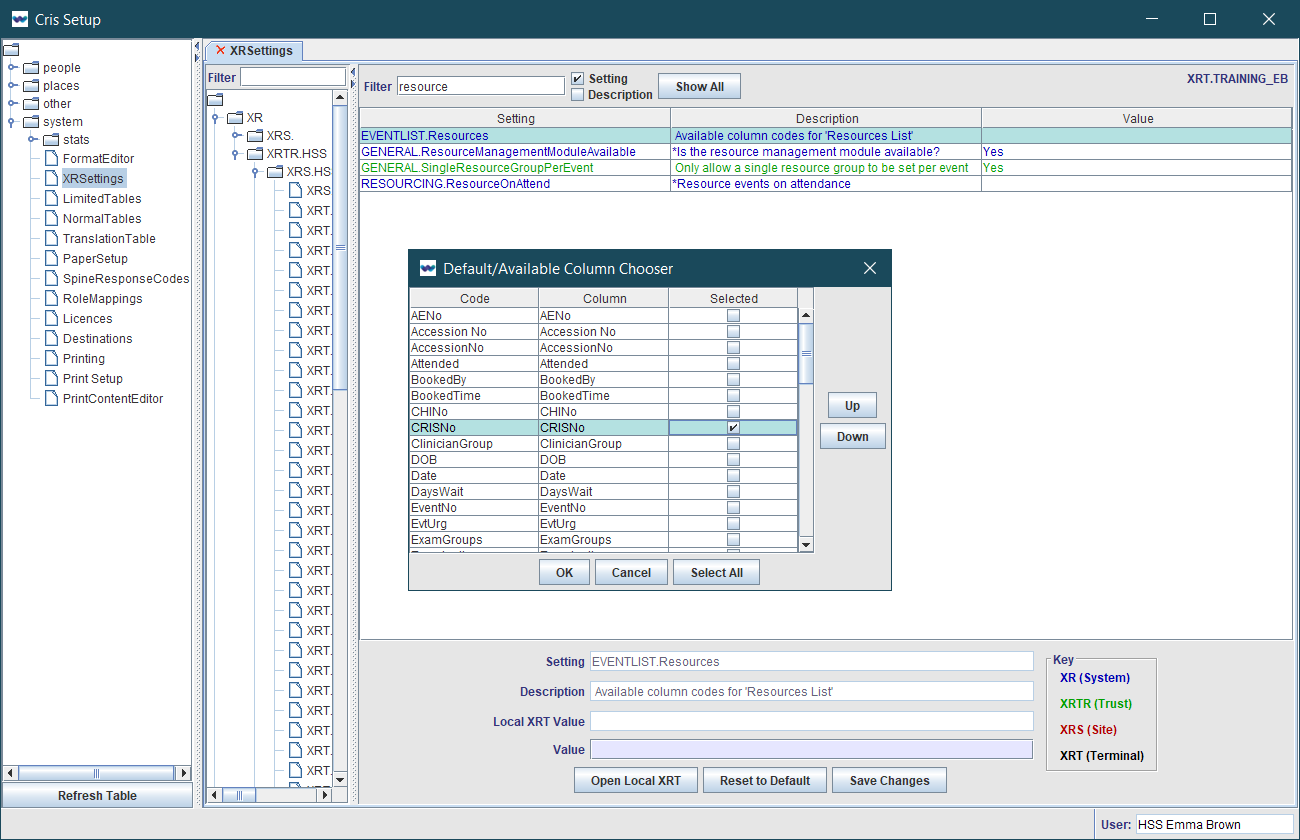
EVENTLIST.Resources |
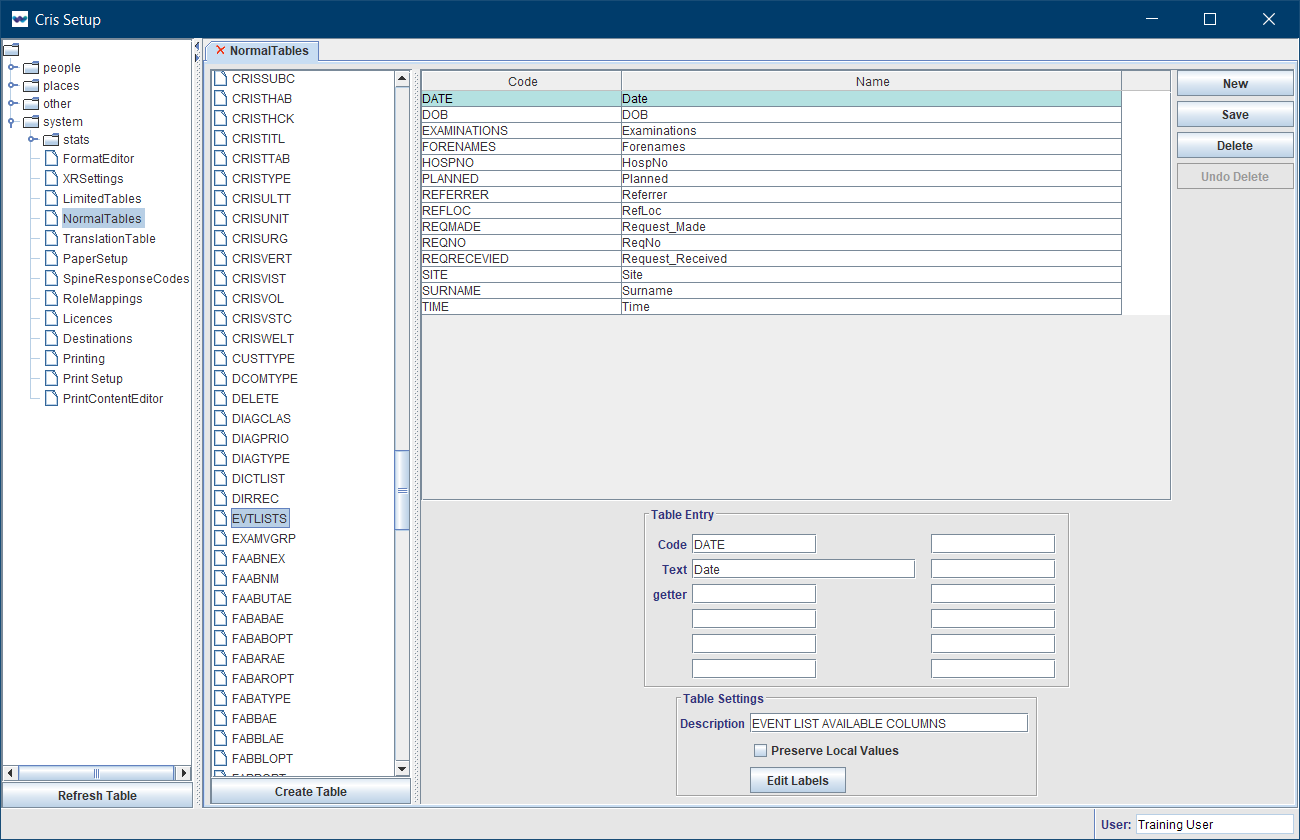
Select columns from the list of options. Available columns. |
Select which columns are available in the Resources List. See also System > Normal Tables.
|
|
XR, XRTR, XRS |
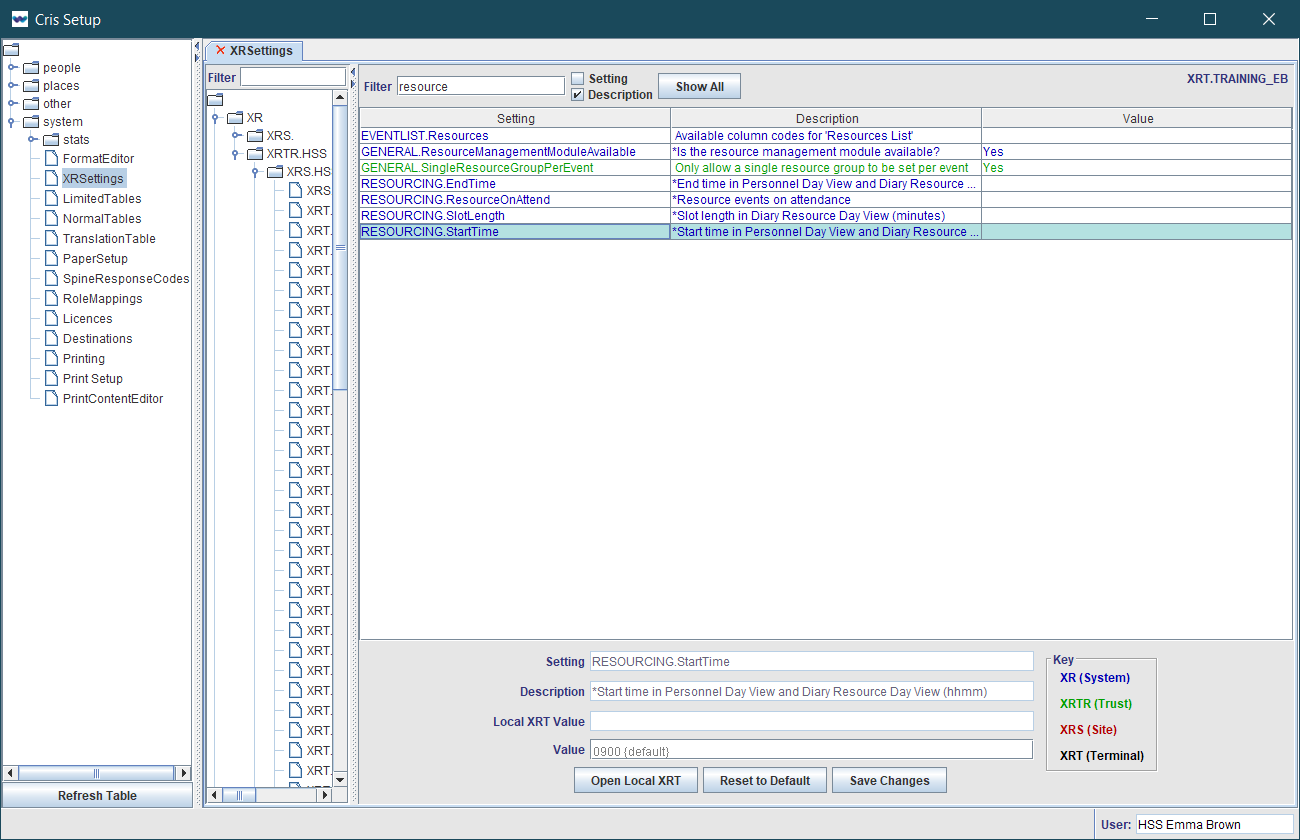
RESOURCING.StartTime | Default (0900). |
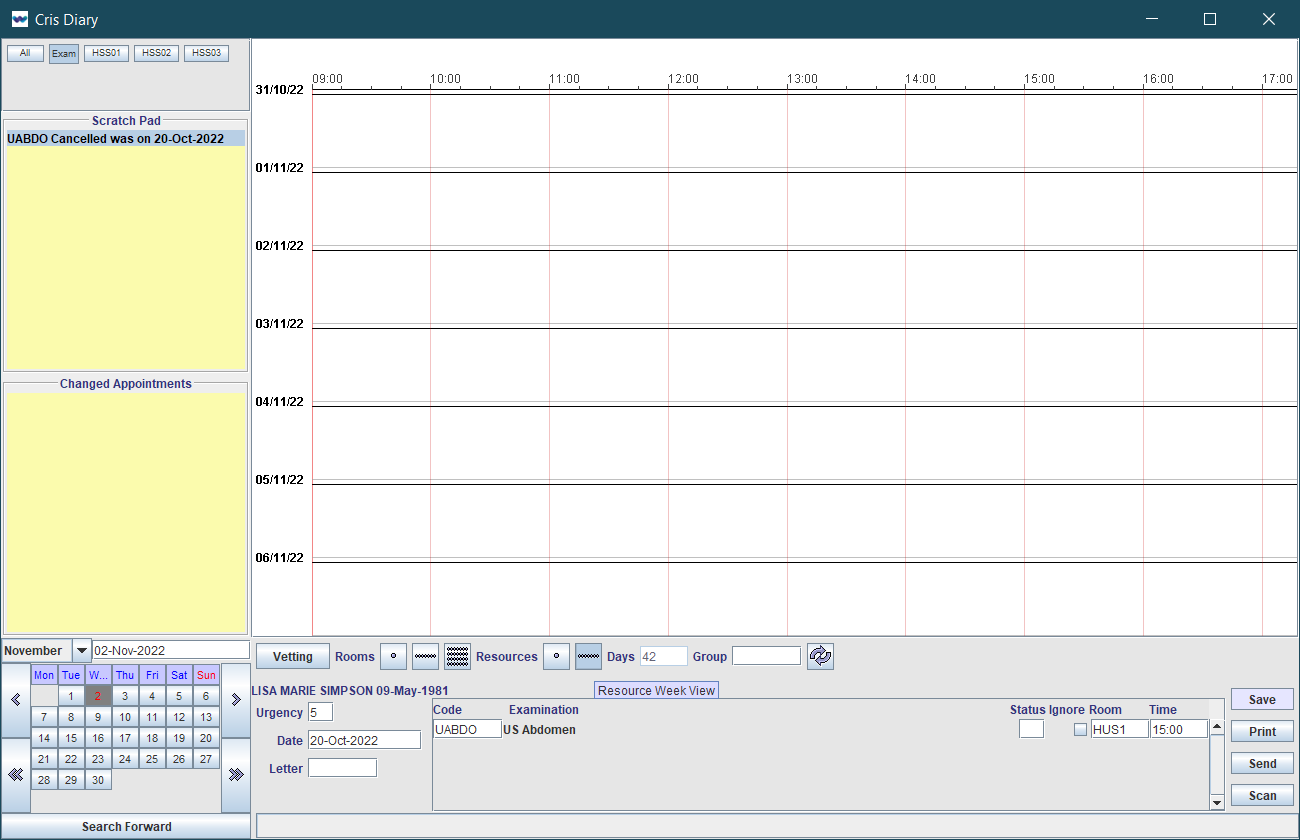
Set the default (day) start time for the Diary Resources view. Enter a 4-digit 24-hour time with no punctuation (for example, 0830 for 8:30 AM).
|

|
XR, XRTR, XRS |
RESOURCING.EndTime | Default (1700). |
Set the default (day) end time for the Diary Resources view. Enter a 4-digit 24-hour time with no punctuation (for example, 1645 for 4:45 PM).
|

|
XR, XRTR, XRS |
RESOURCING.ResourceOnAttend | Yes, No, Default (No). | Check if the resource is still available upon attendance and display an appropriate message to the user. Selecting Yes allows the user to ignore (i.e. override) the resource requirement. |
|
XR, XRTR, XRS |
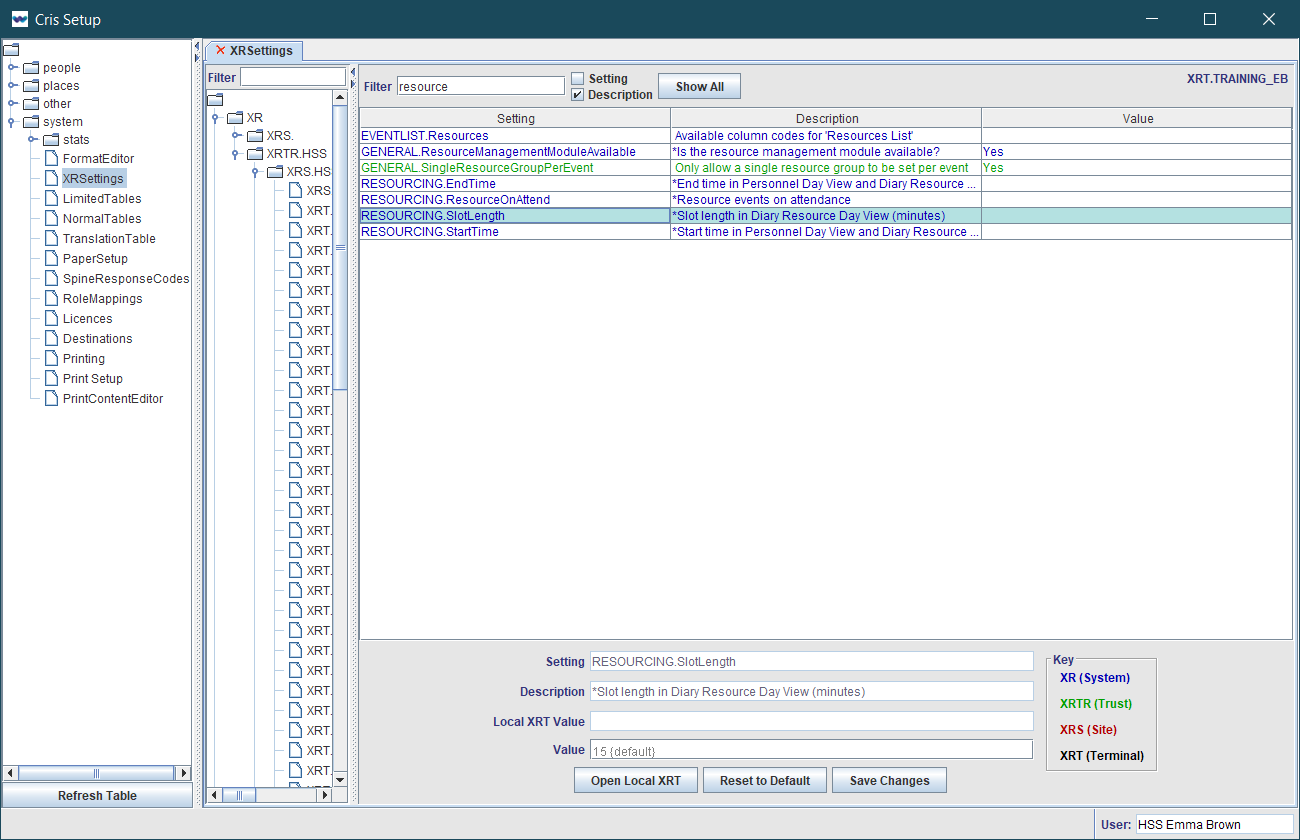
RESOURCING.SlotLength | Yes, No, Default (15). | Enter the length of slot, in minutes, which will be displayed via the Diary. See also Diary Setup. |
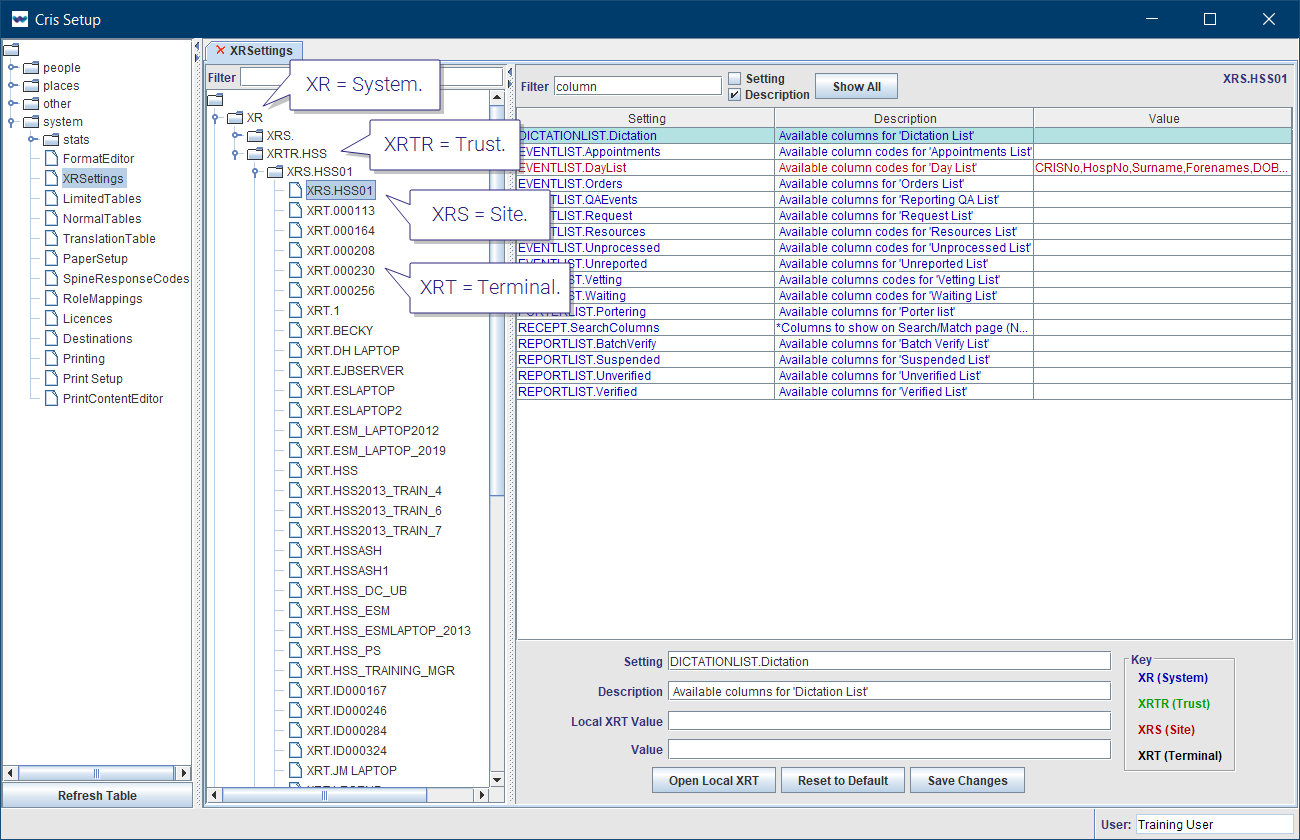
It is essential to consider the level of an XR setting when making changes. System and Trust should not be altered without agreement from all stakeholders.
| Level | Description |
|---|---|
| XR (System) | Changes made here will affect the entire Cris system across all connected trusts. |
| XRTR (Trust) | Changes made here will override XR and affect the whole trust. |
| XRS (Site) | Changes made here will override XRTR and affect the entire hospital / site. |
| XRT (Terminal) | Changes made here will override XRS Setting and only apply to that terminal / workstation. |
Note:
When you open the Cris Setup window, you will see that your terminal is highlighted in the directory tree. Therefore, if you change XR settings, they will be applied at Terminal level. If you want XR settings to apply across your Site, Trust, or System, select a higher level folder before making changes.
Tip:
-
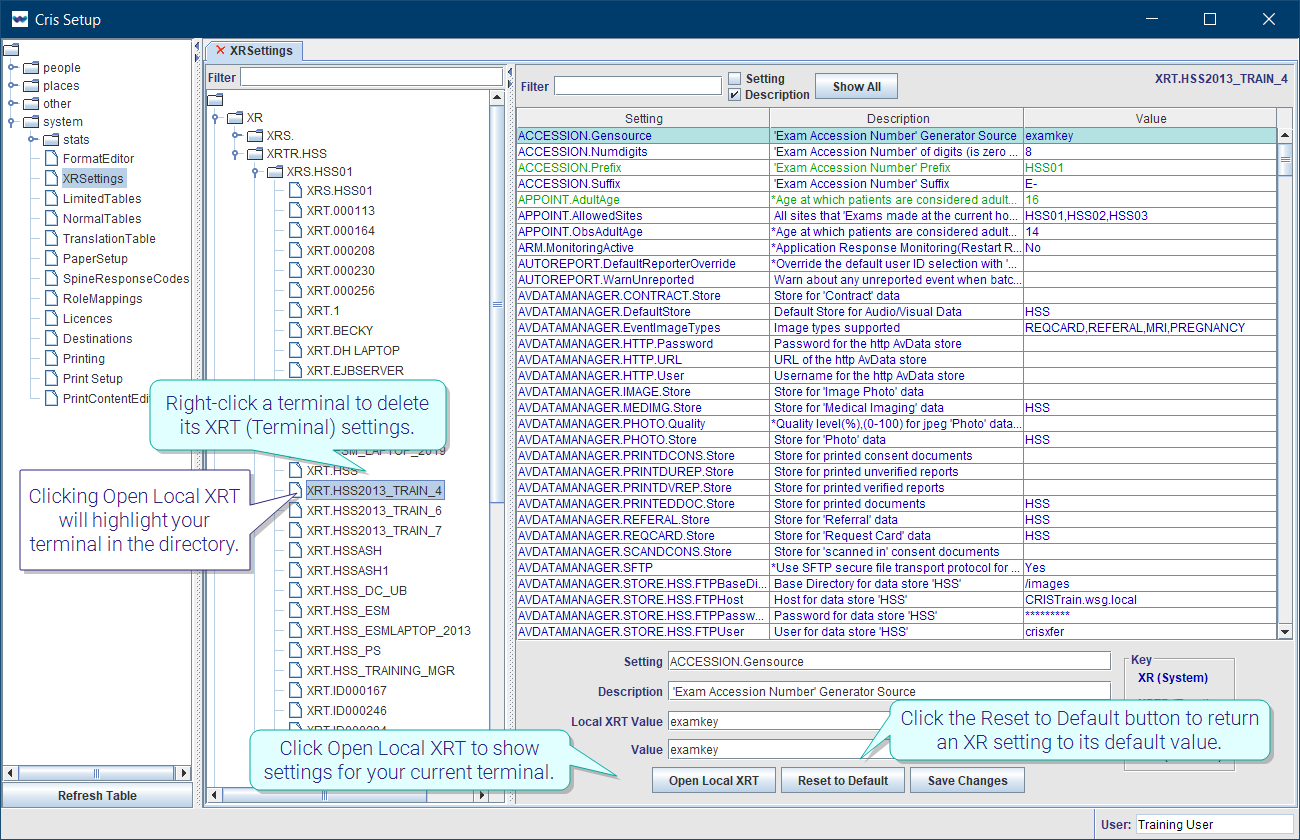
Click Open Local XRT to show settings for your current terminal. Clicking Open Local XRT will highlight your terminal in the directory.
-
Click the Reset to Default button to return an XR setting to its default value.
-
Right-click a terminal to delete its XRT (Terminal) settings.
Tip:
Press the Esc key to exit a field without making a selection from an options list.
System Administration: Resources
XR Settings for Modules:

|
|
Orders |

|
|
Vetting |

|
|
Appointments |

|
|
Reception |

|
|
Post processing |

|
|
Reporting |

|
|
Resources |

|
|
Sessions |

|
|
Portering |
|
|
|
Medical Photography |
Resources:
|
|
| Assign for vetting |
|
|
| Assign for reporting |

|
|
Resource management |