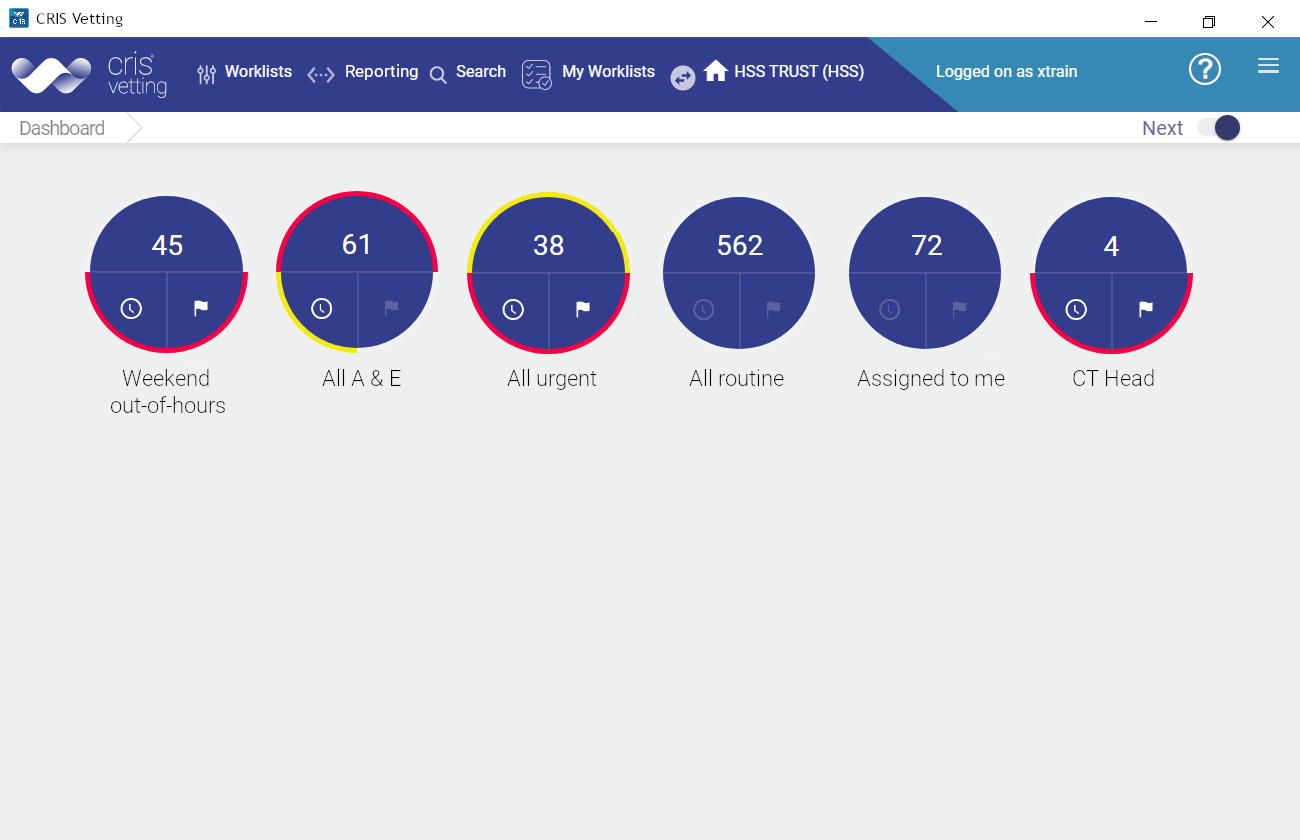

View event information
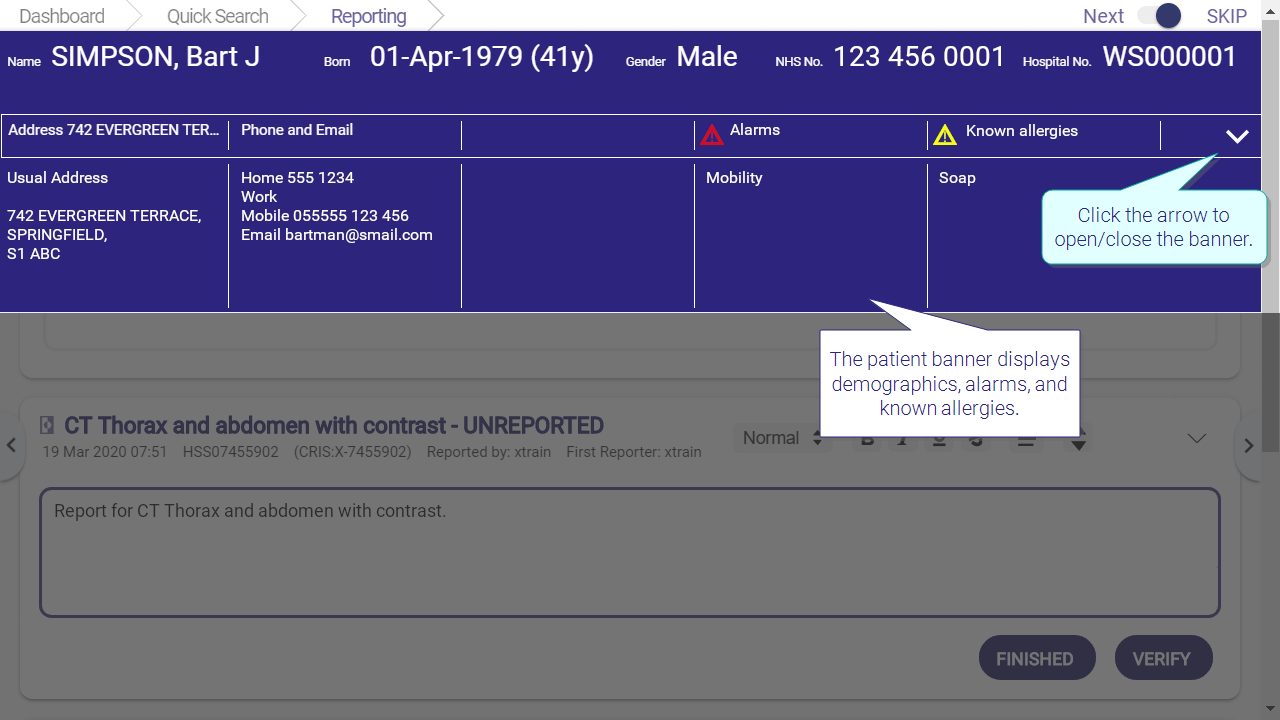
The patient banner displays demographics, alarms, and known allergies.
Click the Arrow ![]() to open / close the banner.
to open / close the banner.
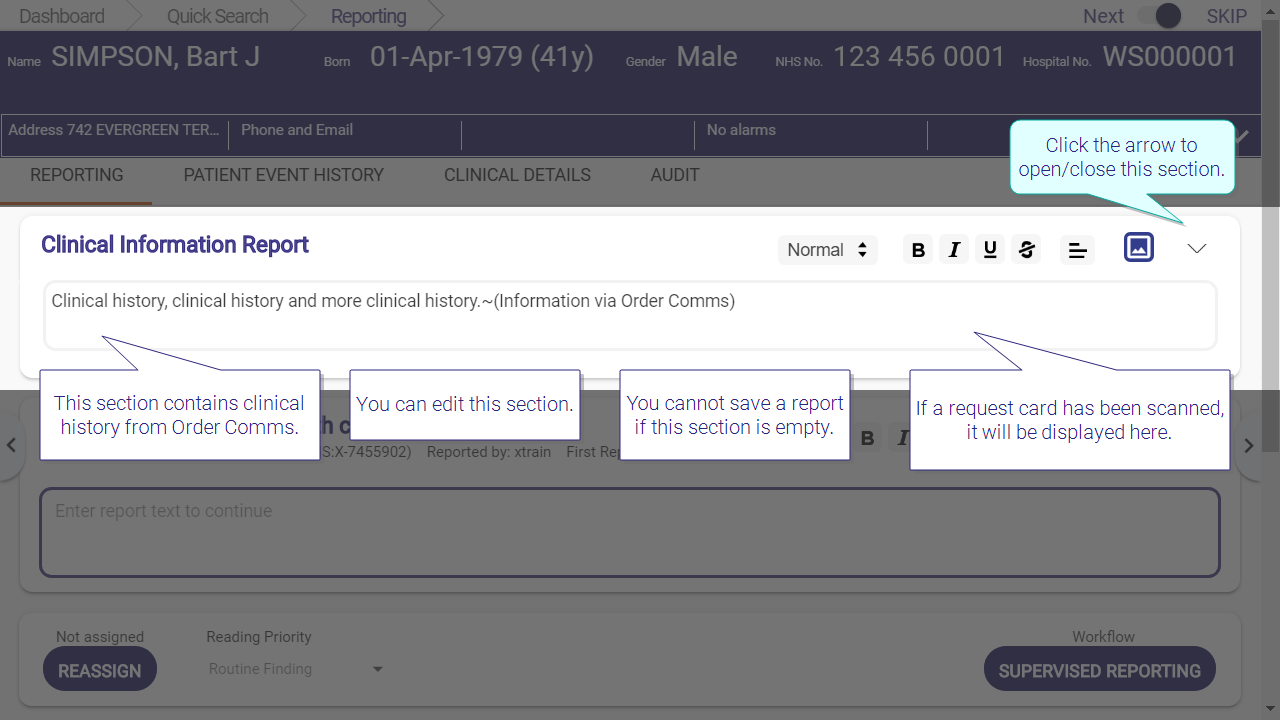
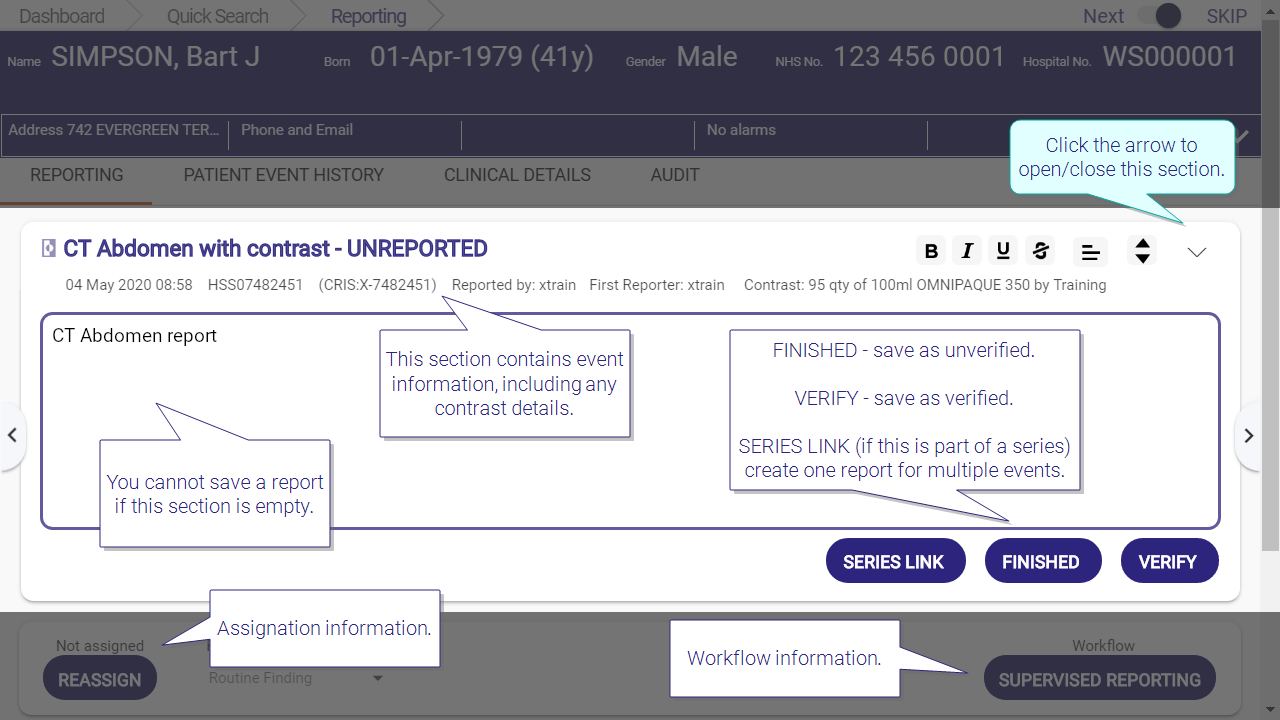
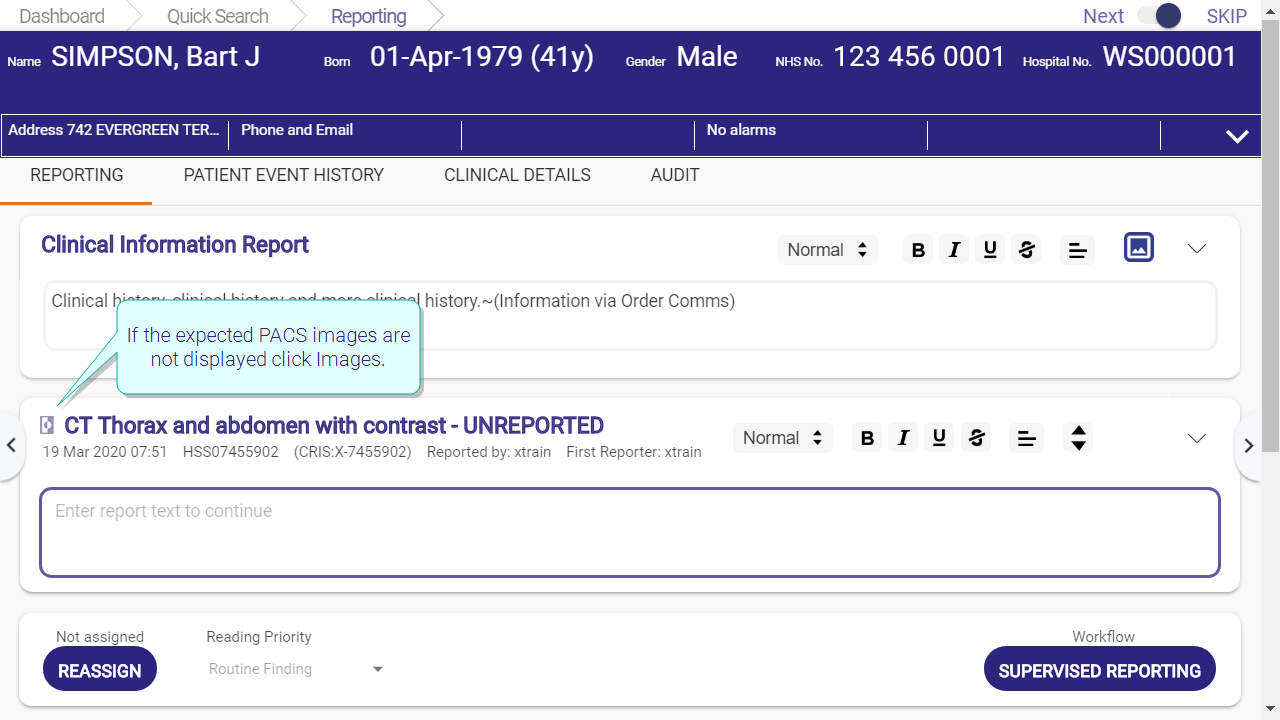
Clinical Information Report
This section contains clinical history from Order Comms and any clinical history entered manually.
- You can edit this section.
- You cannot save a report if this section is empty.
- Once you verify a report, the text becomes read-only.
- If a request card has been scanned, it will be displayed here.
- Click
 to open / close this section.
 - Click
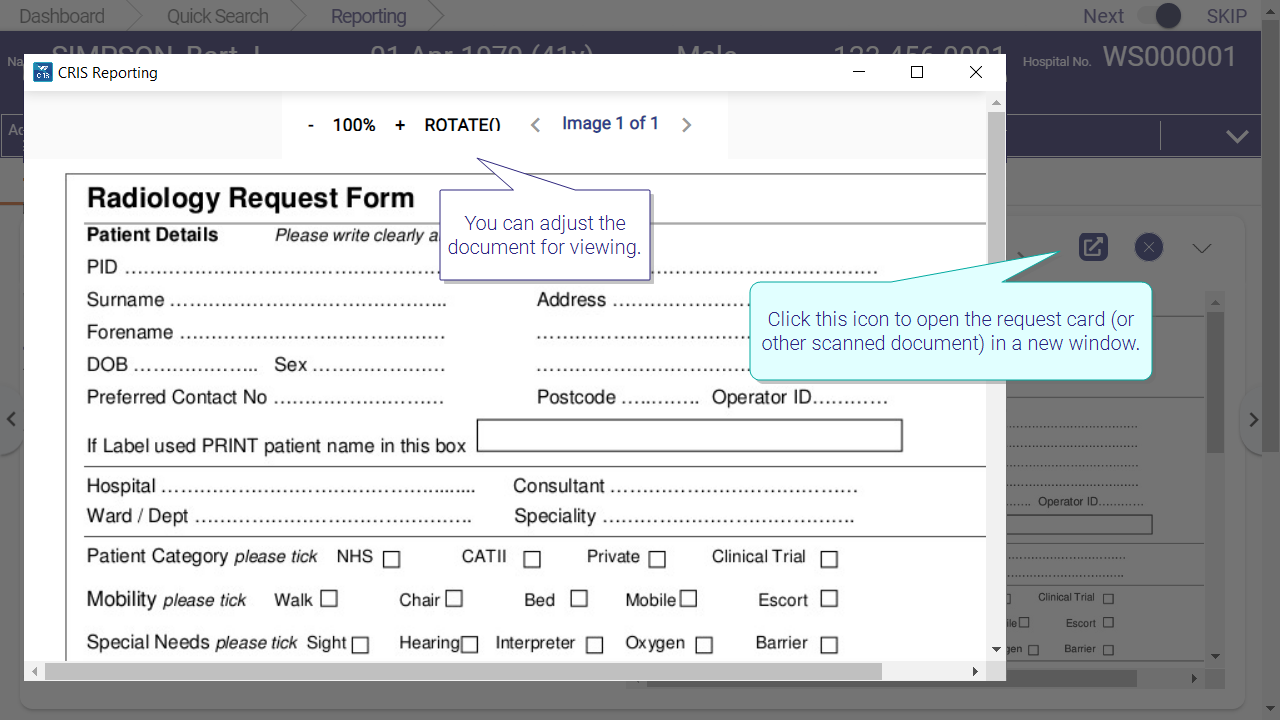
 to open the request card (or other scanned document) in a new window.
 You can adjust the document for viewing.
Exams
This section contains a tab for each exam in the event with the following information:
- Report urgency.
- Date and time of exam.
- Contrast details.
- Accession and Cris event numbers.
- Assigned / reporting and verifying clinician.
- Reading priority (for Communicator users).
- Type of workflow (for example Supervised Reporting).
- Click to open / close this section.
View images
- When an exam is selected from a worklist the Reporting screen opens.
- Corresponding images will be opened automatically via your PACS.
- If the expected PACS images are not displayed click Images

Tags
You can tag a report to help you find it again, via a worklist of reports tagged with that word/phrase.
- Click Enter tag here in the Tags section.
- Enter your tag text.
- If your tag is not in the list of matches press Enter to save it as a new tag.
- Click X to remove a tag from this report.
- Click Enter tag here to add more tags.
As you type, a list of matching tags will be displayed to select from if required.

- Use only standard alphabet characters.
- You can add multiple tags to an event.
- If you remove a tag (from a report) that is not assigned to any other reports, the tag will be removed from the report and the tag list.
- Tags are not user-specific. Tagged reports will appear in all clinician's worklists that have been configured to display matching tag text.
Tip:
Tag interesting cases for teaching purposes, or reports to be discussed at MDT meetings. You can find tagged events via a custom worklist.
Tip:
Use tags to mark out-of-hours (already verified) reports as checked. You can find tagged events via a custom worklist.
If you agree with the report, add a tag (for example, #agreewithreport).
If you disagree with the report, add an addendum.
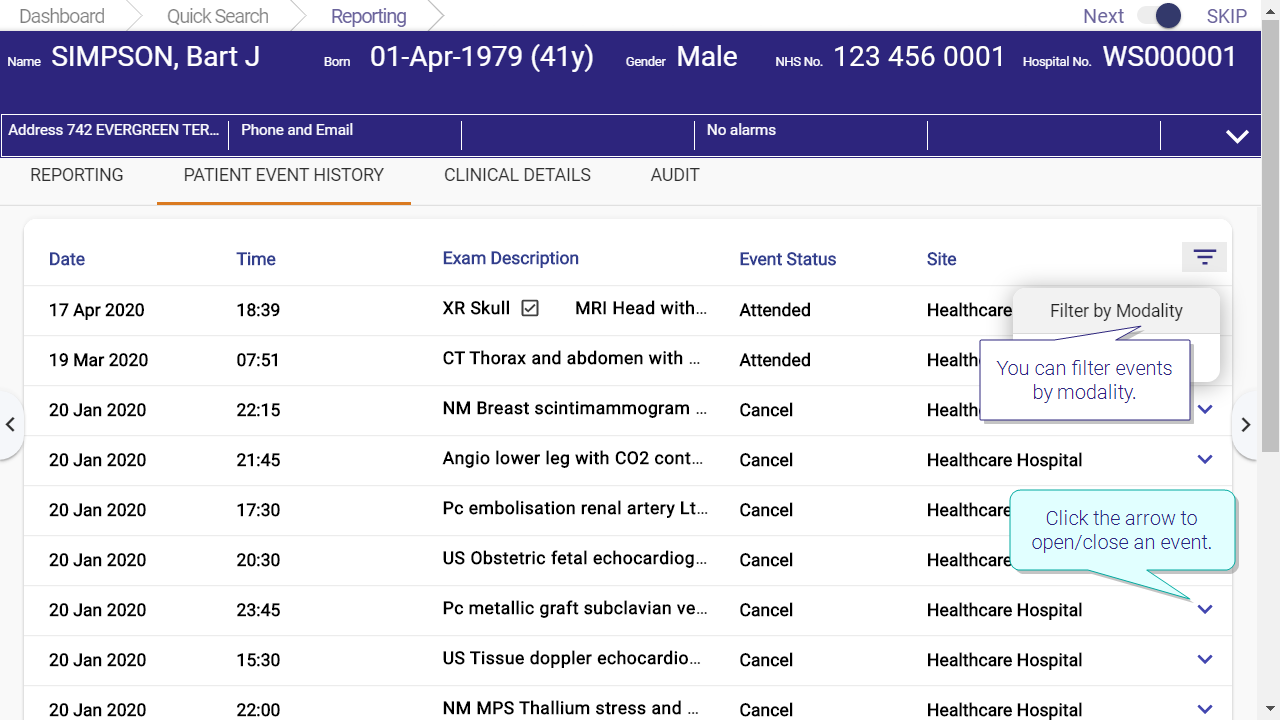
History
Patient events, including requests; appointments; cancellations; and attendances, are shown on this screen.
- You can filter events by modality.
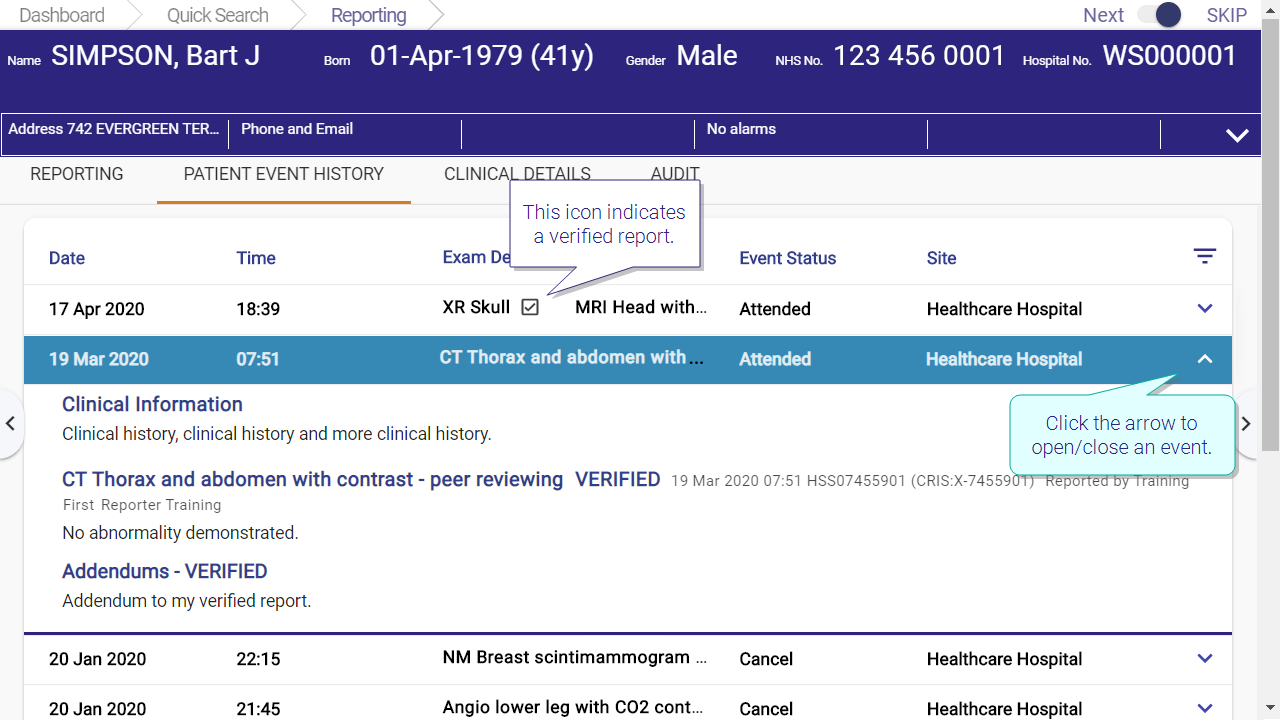
- Click
 to open / close an event.
 - This icon
 indicates a verified report.
Note:
Toggle: By default only events from your local Cris are shown. If you have cross-trust reporting (Cris Connect), there will be a View all available trusts toggle switch on both the Patient Event History and the Report Viewer screens. Click this switch on to show events from all available instances of Cris .
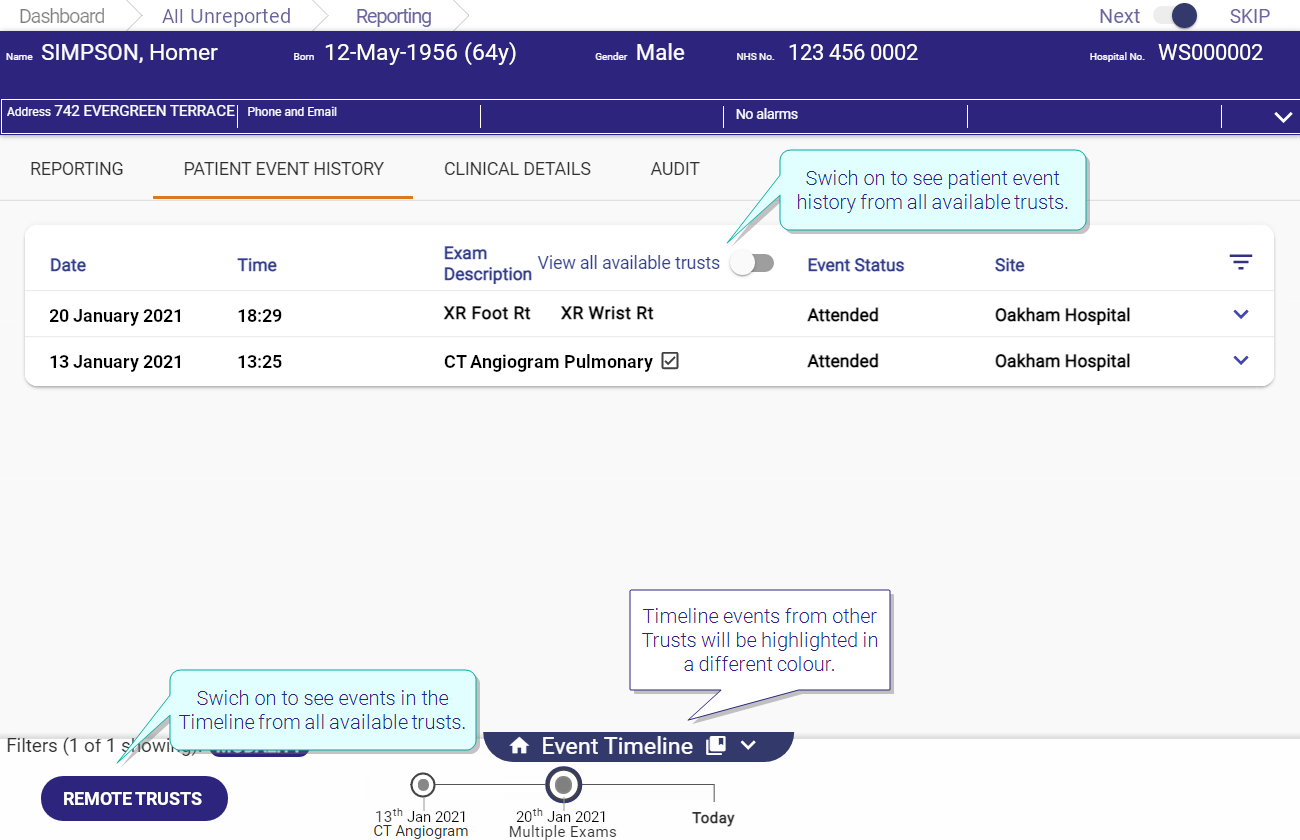
Timeline
Events, including requests; appointments; cancellations; and attendances, are shown in the timeline at the bottom of the screen. Events are displayed in ascending date order from left to right.
- Filter the timeline to show only events matching the modality of the event currently being reported.
- Hover over a circle to view the event and its status.
- Click a circle to open that event in the main reporting window, and load its images on PACS.
- If there are lots of events, you can drag the timeline sideways by clicking and holding any of the circles.
- Click Home
 to return to the original event.
 - Click Report viewer
 to open report history in a new window, without changing the images you see on PACS.
 - Click Hide
 to minimise the timeline.
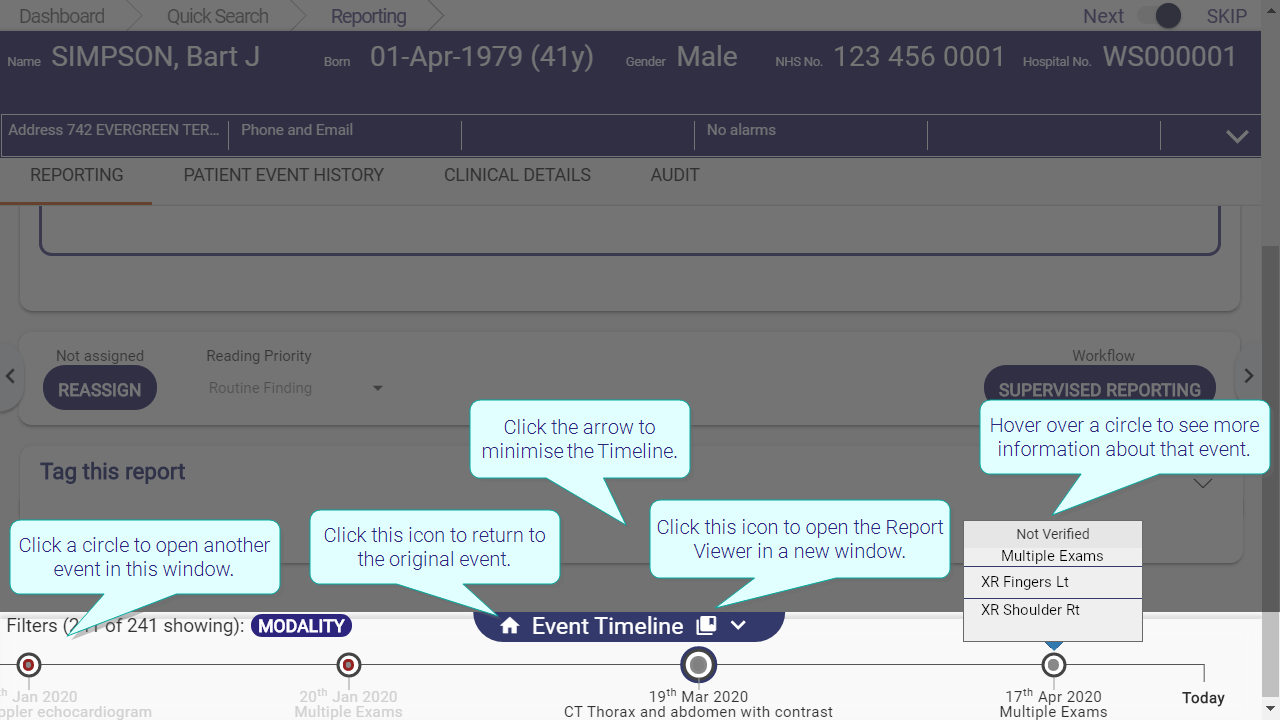
Note:
| Blue border = Event in focus. | Grey = Other events. Click to view. |
Note:
Timeline: By default only events from your local Cris are shown. If you have cross-trust reporting (Cris Connect), there will be a Remote trust button in the timeline. Click this button to show events from all available instances of Cris. Non-local events will be a different colour. Click X to hide non-local events.
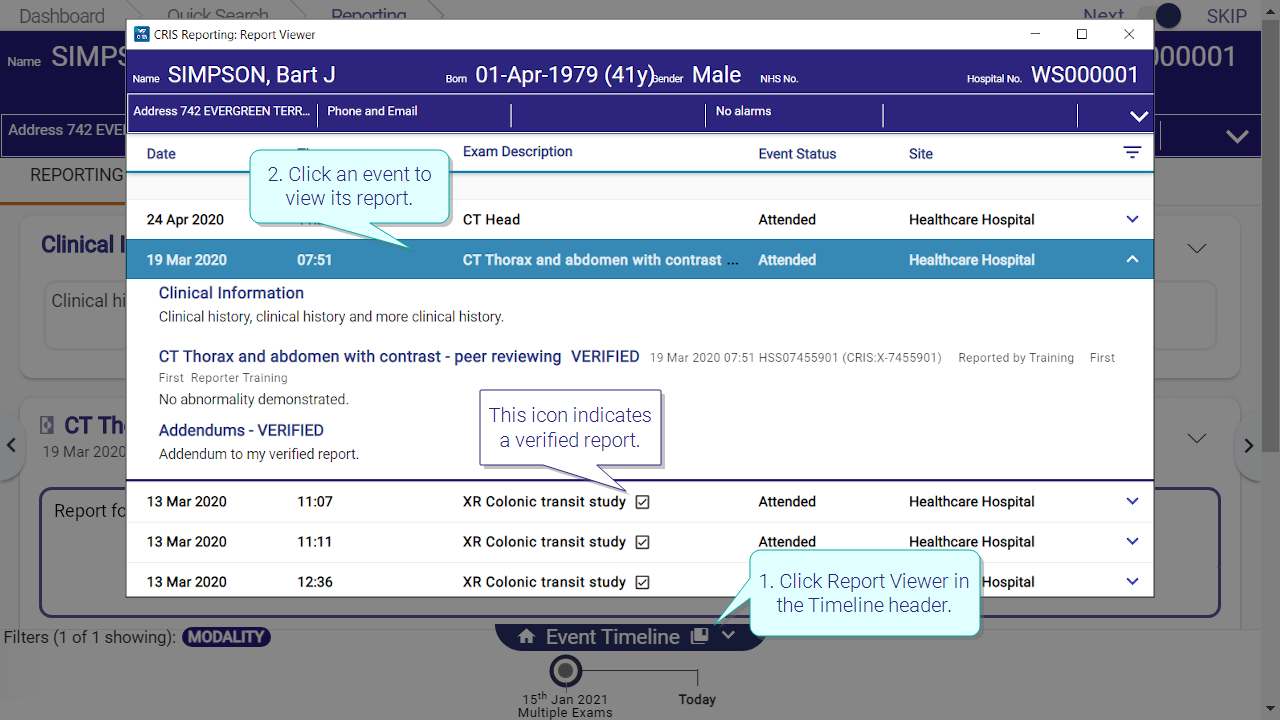
Report viewer
Event history, including requests; appointments; cancellations; and attendances, are shown in the report viewer, which opens in a new window. This is useful when you want to keep the current report and images open while you read a previous report.
- Click Report viewer in the timeline header.
- Click an event to view its report (if one is available). This icon indicates a verified report.
When you navigate away from the exam you are reporting in the main window, the report viewer window will close.
Note:
Toggle: By default only events from your local Cris are shown. If you have cross-trust reporting (Cris Connect), there will be a View all available trusts toggle switch on both the Patient Event History and the Report Viewer screens. Click this switch on to show events from all available instances of Cris .
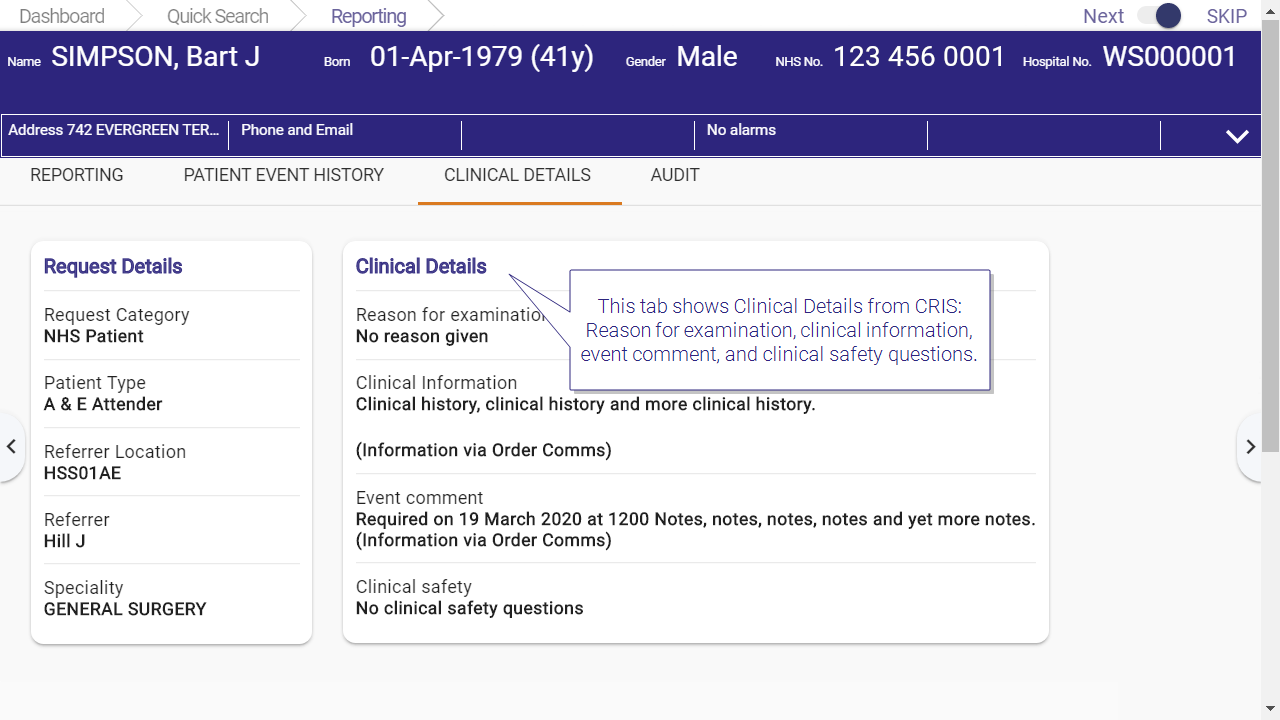
Request Details
Request details from Cris: Request category; patient type; referrer location, name, and specialty.
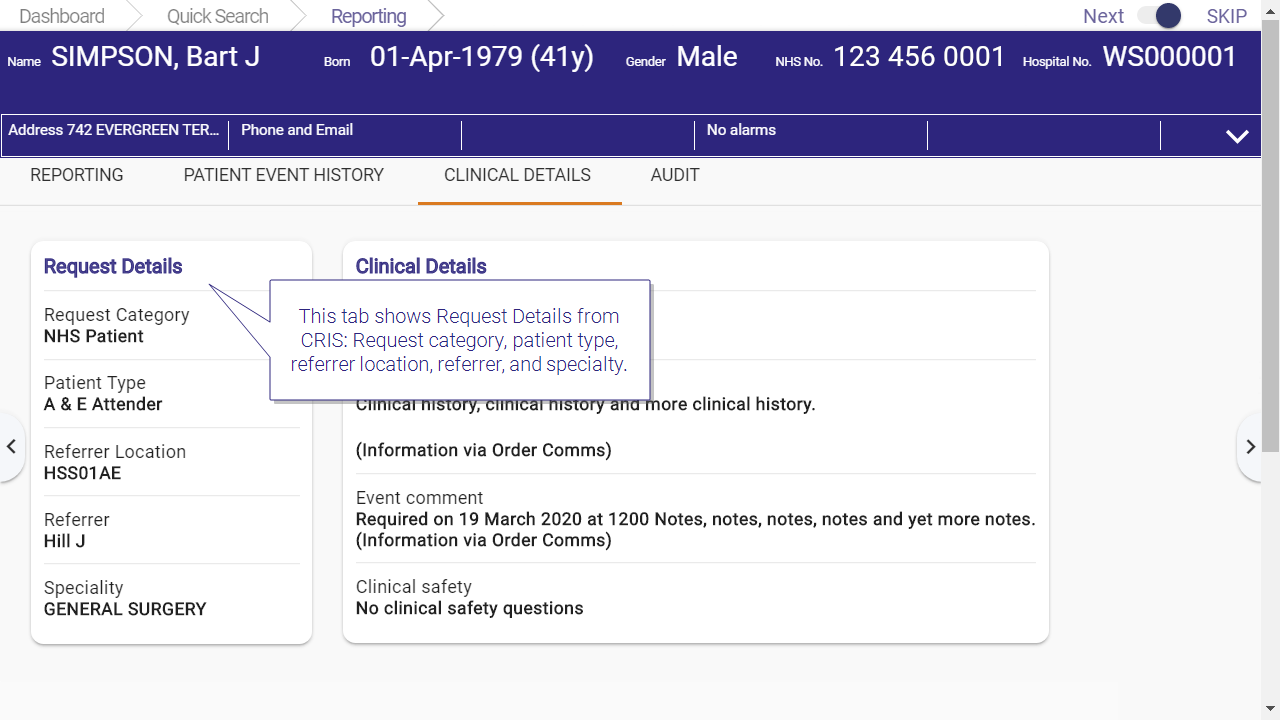
Clinical Details
Clinical details from Cris: Reason for examination, clinical information, event comment, and clinical safety questions.
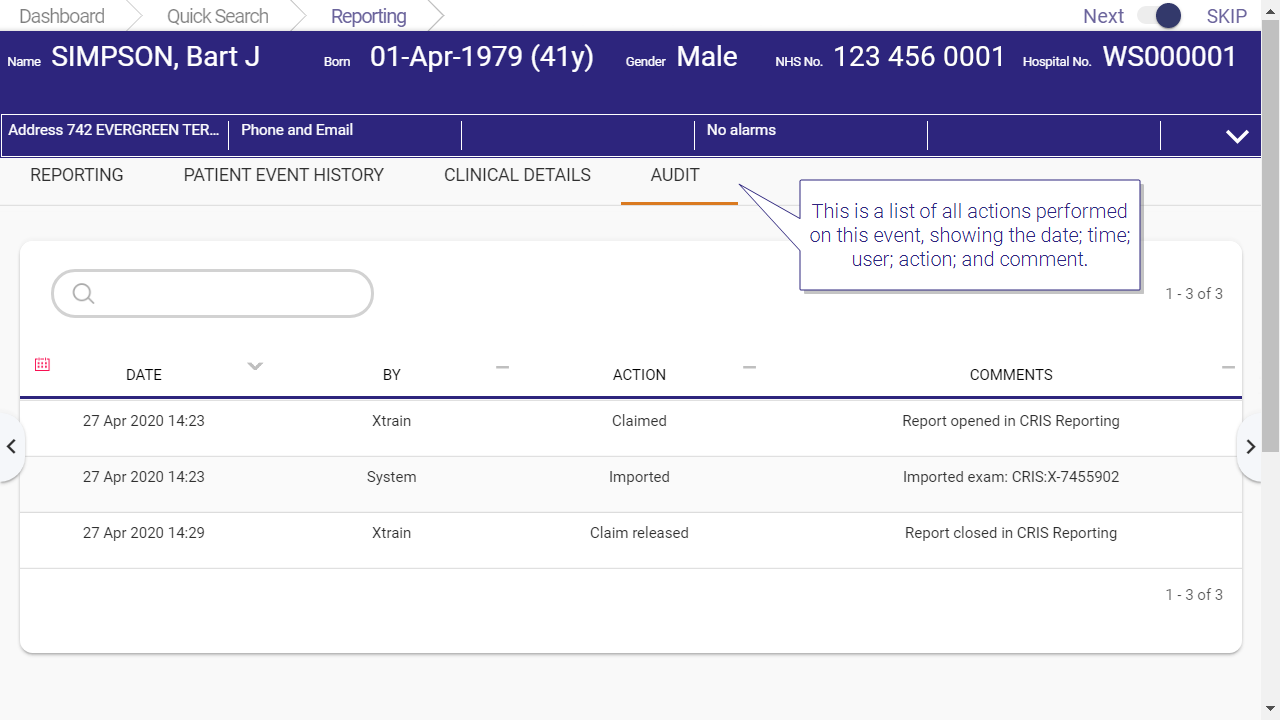
This is a list of all actions performed on this event, showing the date; time; user; action; and comment.
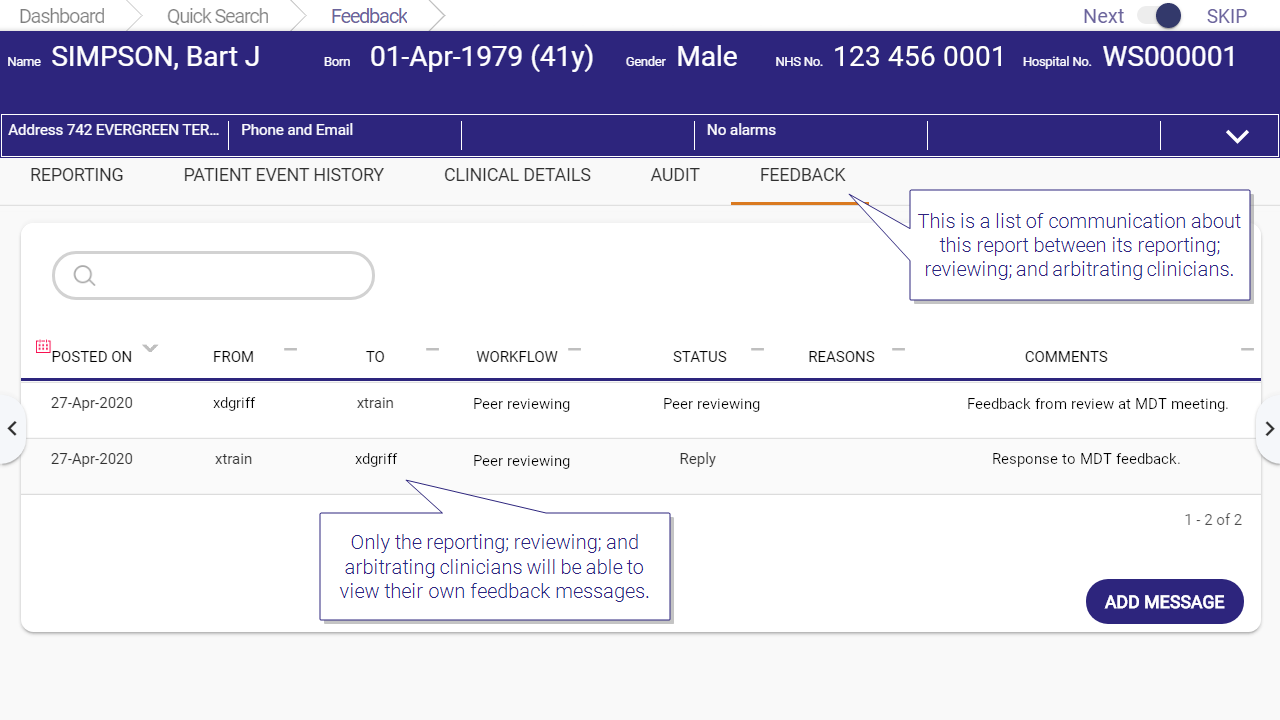
This is a list of communication about this report between its reporting; reviewing; and arbitrating clinicians, showing the date; from; to; workflow; status; reason; and comments.
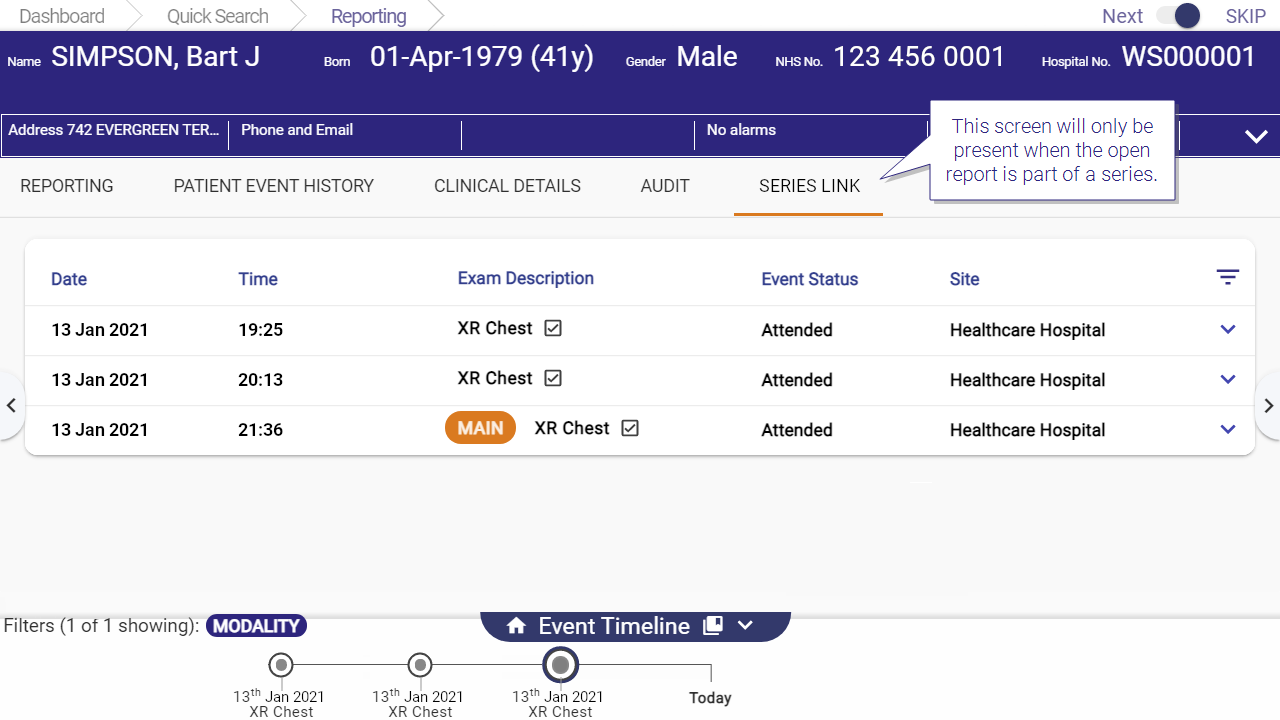
This screen will only be present when the open report is part of a series; where more than one procedure is performed, but only one report is required. See Series linking