Departments
Basic departments may be set up in the Departments table when Cris is installed. You can add or edit departments, and define details for use in appointment letters.
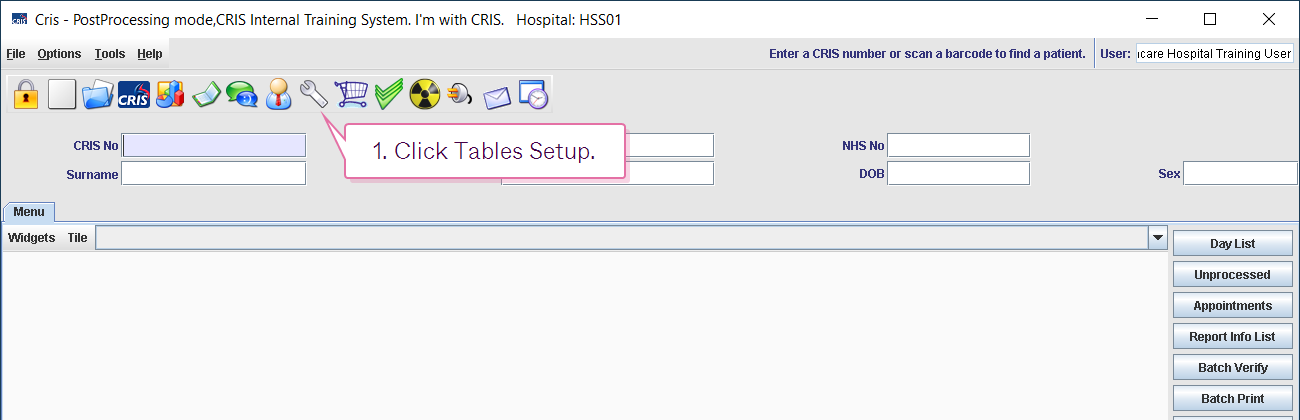
- Click Tables Setup.

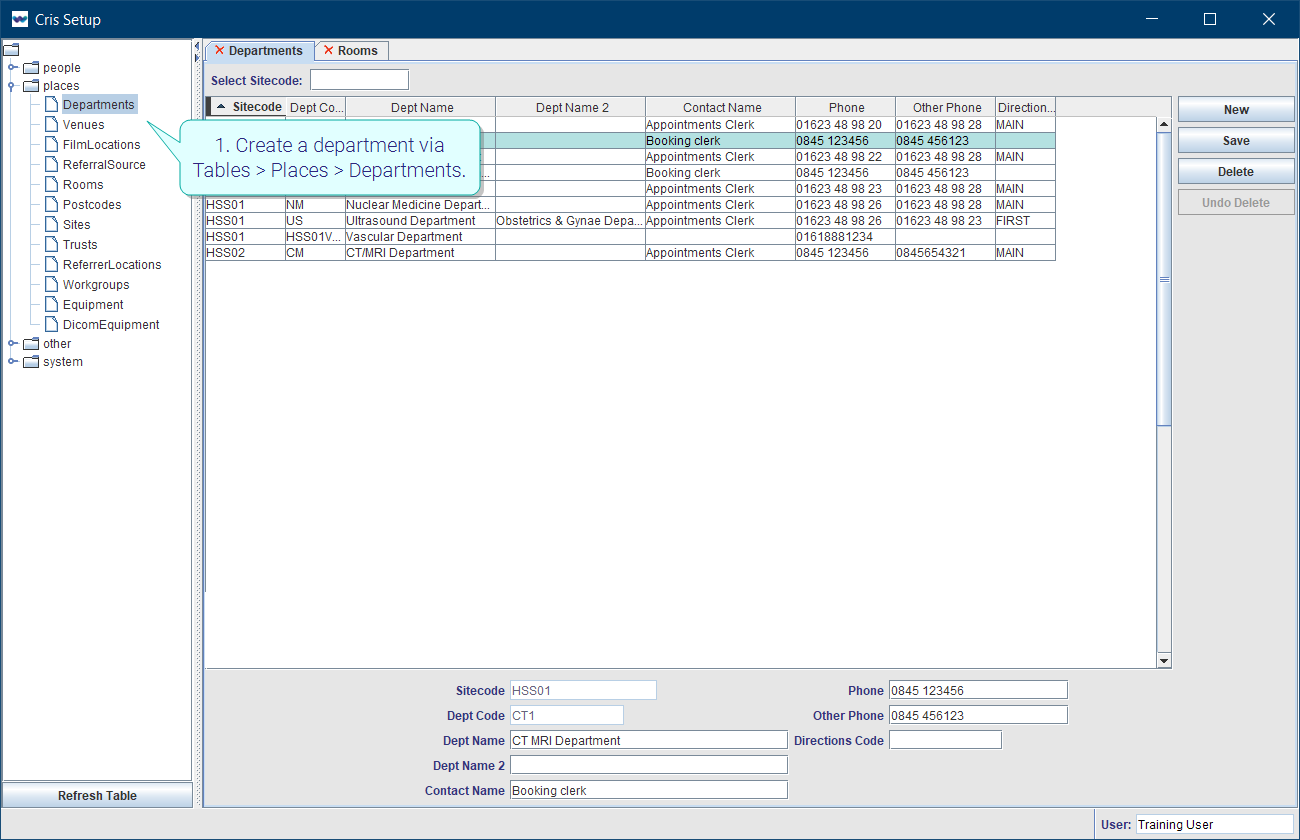
- Select Places > Departments.
- Click the New button.
- Complete the fields as shown below.
- Click the Save button.
- Click the Refresh Table button.

| Departments | ||
| Field | Description | Example |
| Sitecode | Enter the site code (as defined in Places > Sites) or press the F4 key and select from the options. | HSS07 |
| Department Code | Enter a short code for the department. |
USD for Ultrasound, CMD for CT and MRI combined. |
| Department Name | Enter a name for the department, as you want it to appear on letters. | Ultrasound Department. |
| Department Name 2 | Enter a second name / description for the department. | Obstetric Ultrasound or General Ultrasound. |
| Contact Name | Enter a generic contact name. | Appointments Clerk. |
| Phone, Other Phone | Enter up to two telephone numbers. | |
| Directions Code | Enter the direction code as defined via |
MAIN |
Tip:
-
Create a department via Tables > Places > Departments.
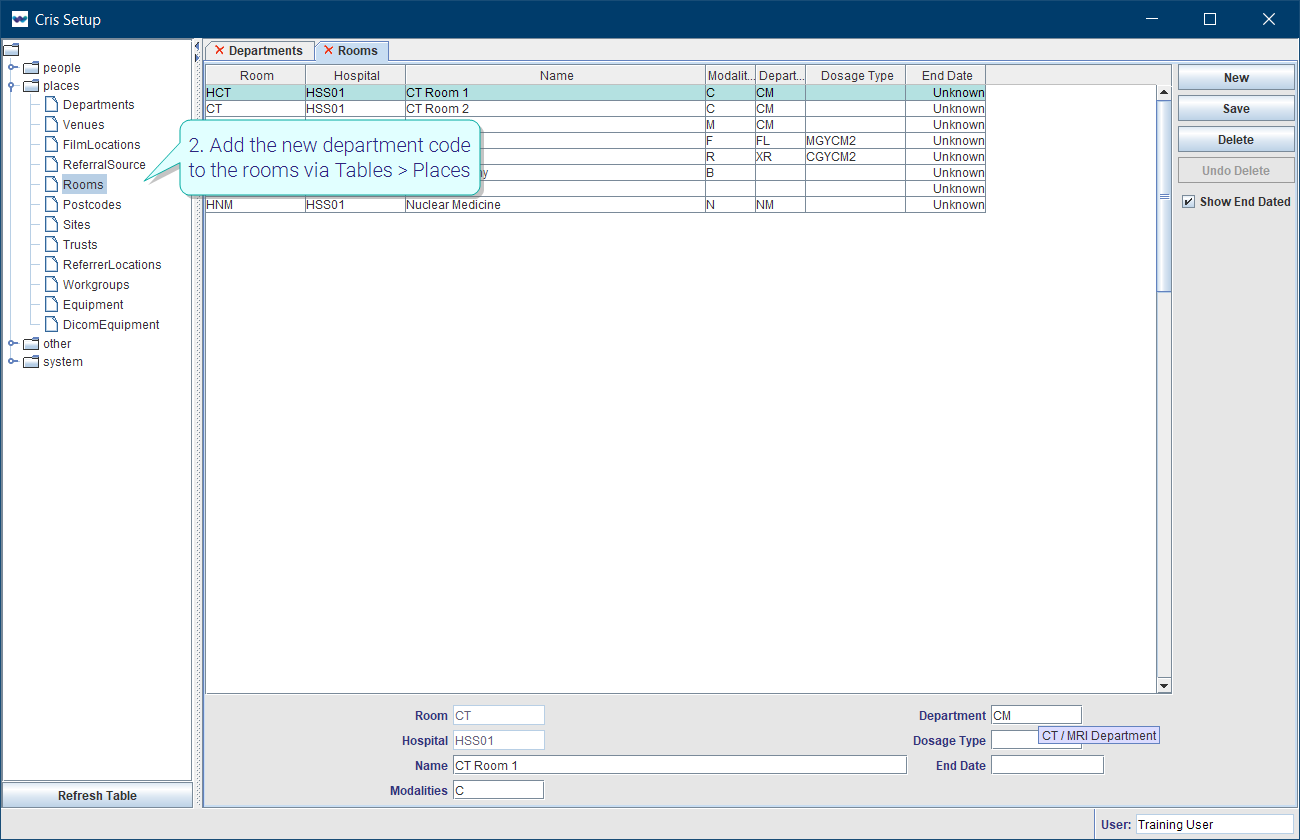
-
Add the new department code to the rooms via Tables > Places > Rooms.
-
Filter worklists by the Department field to see multiple rooms.

Tip:
To make a format for SpeechMike buttons, patient directions, and more, see
.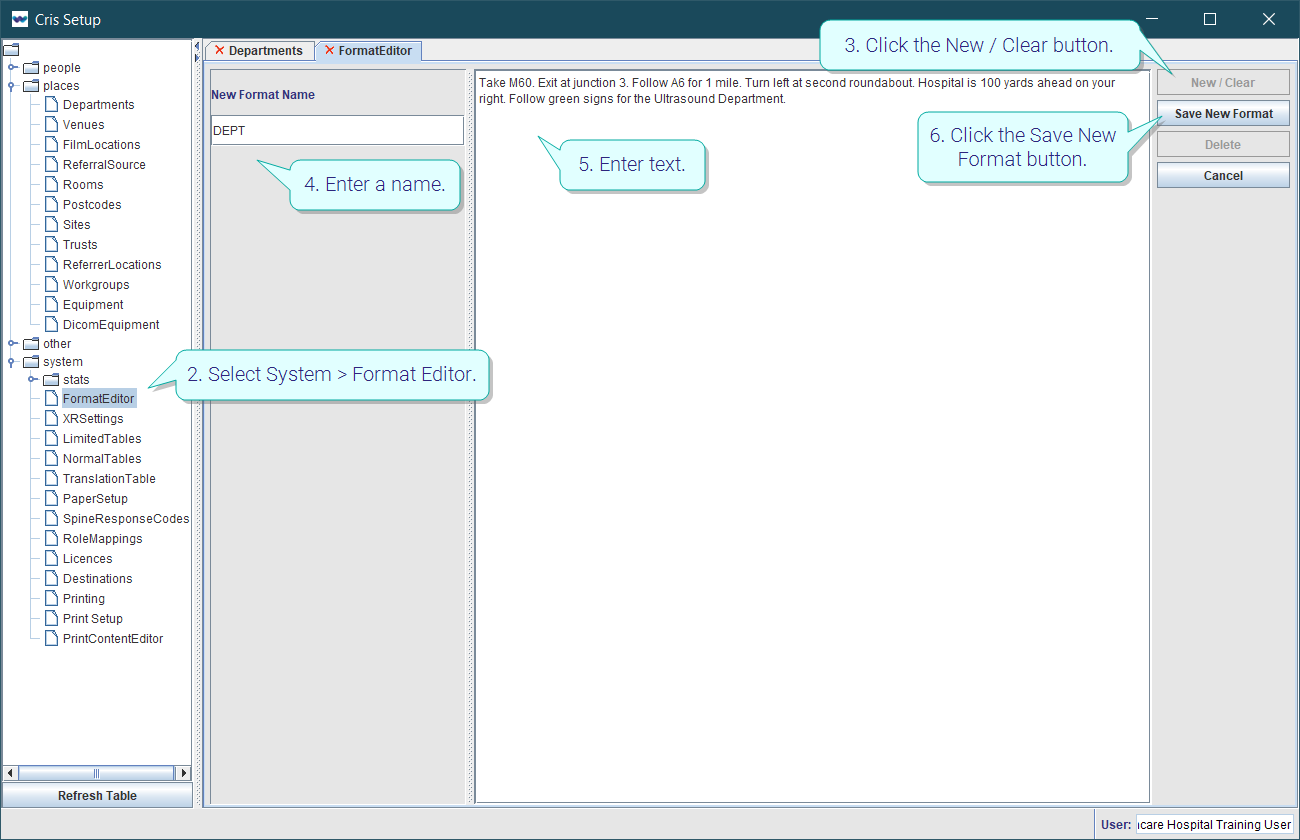
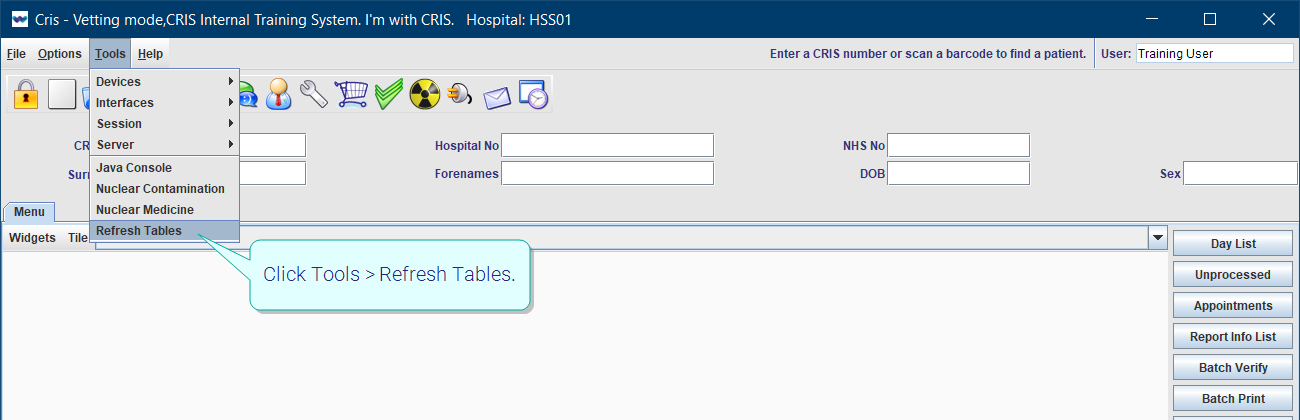
Tip:
We recommend clicking Tools > Refresh Tables after editing system settings / tables to ensure that all changes are applied.
 .
.
System Administration: Places
A group of sites (hospitals or facilities) which may be part of a larger group (consortium).
A hospital or facility which is part of a larger group (Trust).
A group of rooms within a site which typically perform the same type of imaging.
A room within a department which typically perform one type of imaging.
The source of a request for imaging, for example, High Street Medical Practice or Healthcare Hospital.
The location of the clinician who requested imaging, for example, Emergency Department, External Ward, or GP Surgery.
A virtual place created when using Sessions for meetings. It may be a physical location but is not a room which exists in Cris, for example, MDT meeting room.