XR Settings
XR settings are settings which affect Cris at different levels, from terminal (individual machine) to system (consortium).
You will have a standard configuration of XR settings upon deployment. There are XR settings for each module (links below).
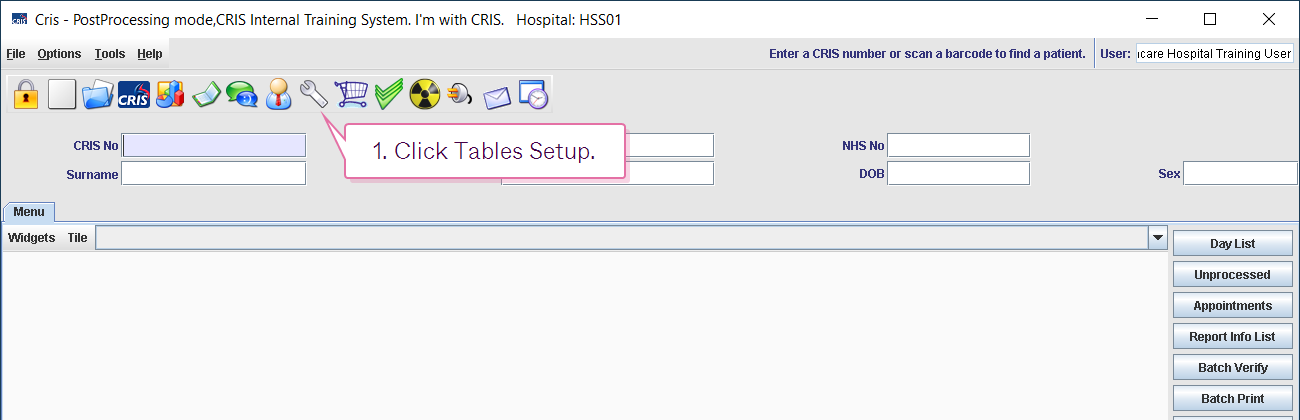
- Click Tables Setup.

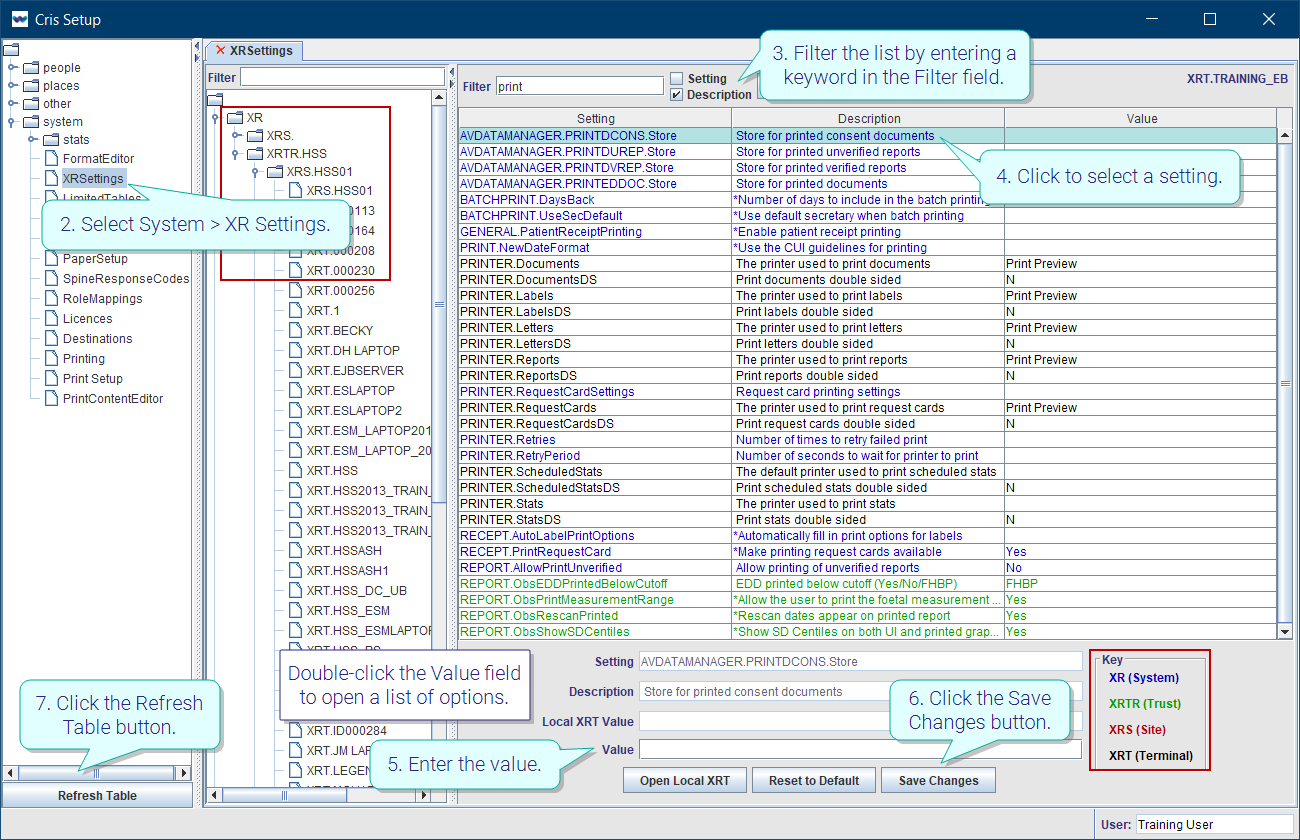
- Select System > XR Settings.
- Filter the list by entering a keyword in the Filter field.
- Click to select a setting.
- Enter a value in the Value field.
- Click the Save Changes button.
- Click the Refresh Table button.
OR
Double-click the Value field then double-click to select a value from the options.
It is essential to consider the level of an XR setting when making changes. System and Trust should not be altered without agreement from all stakeholders.
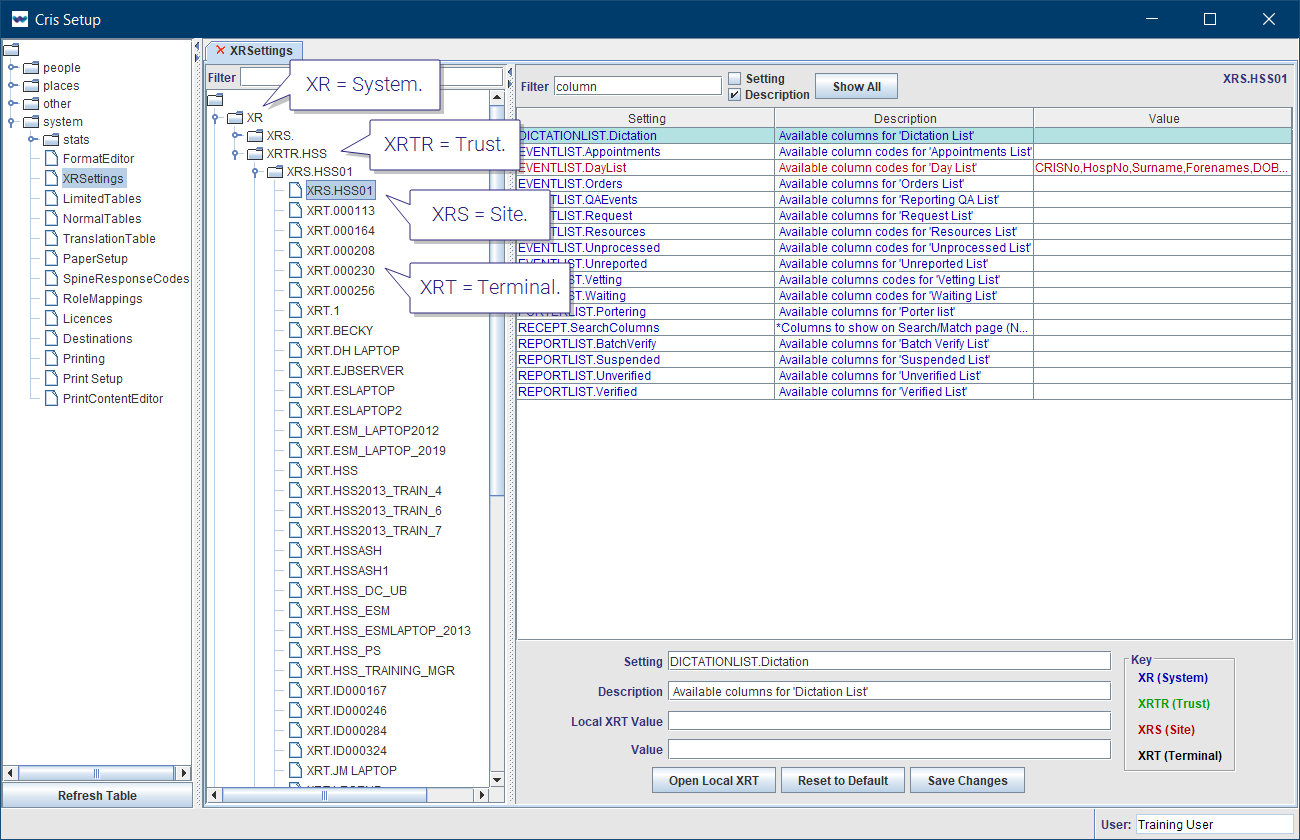
| Level | Description |
|---|---|
| XR (System) | Changes made here will affect the entire Cris system across all connected trusts. |
| XRTR (Trust) | Changes made here will override XR and affect the whole trust. |
| XRS (Site) | Changes made here will override XRTR and affect the entire hospital / site. |
| XRT (Terminal) | Changes made here will override XRS Setting and only apply to that terminal / workstation. |
Note:
When you open the Cris Setup window, you will see that your terminal is highlighted in the directory tree. Therefore, if you change XR settings, they will be applied at Terminal level. If you want XR settings to apply across your Site, Trust, or System, select a higher level folder before making changes.
Tip:
-
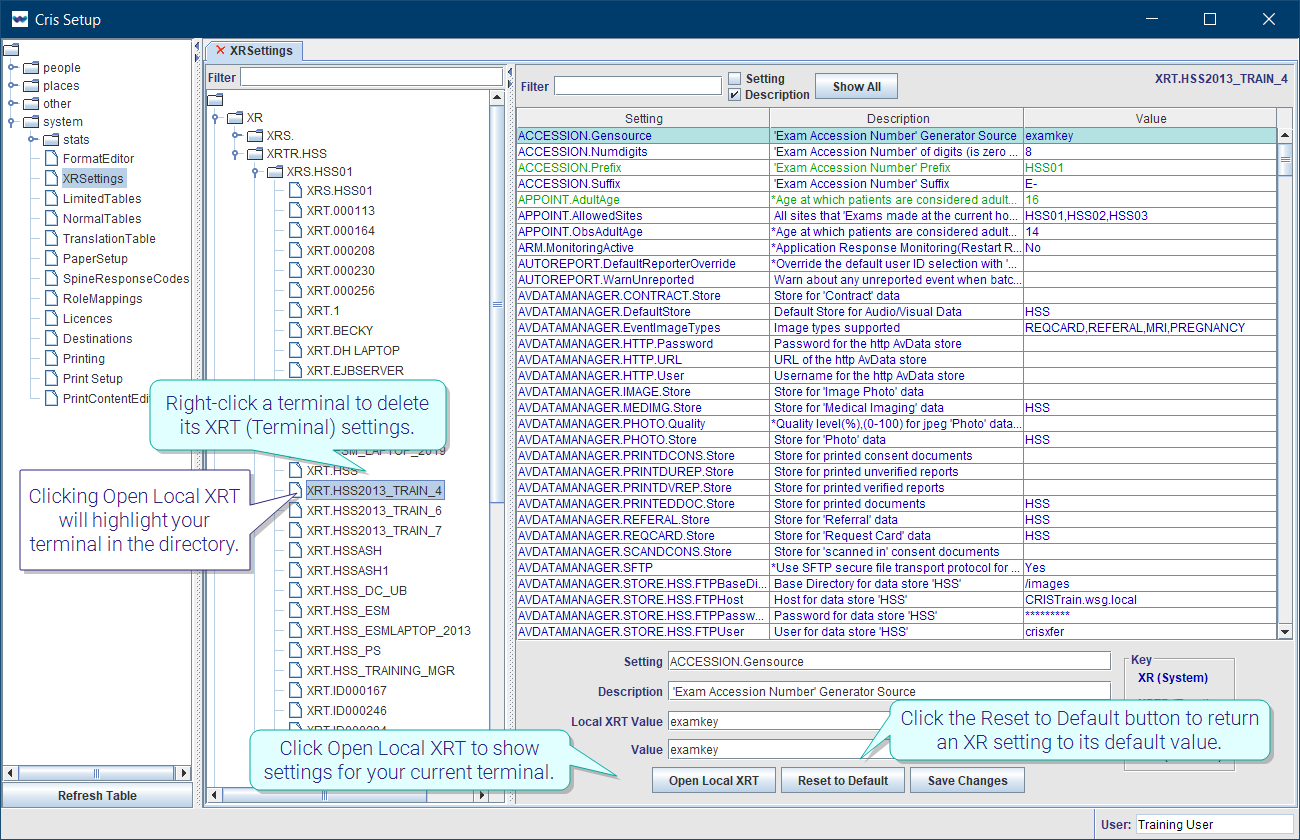
Click Open Local XRT to show settings for your current terminal. Clicking Open Local XRT will highlight your terminal in the directory.
-
Click the Reset to Default button to return an XR setting to its default value.
-
Right-click a terminal to delete its XRT (Terminal) settings.
Tip:
Press the Esc key to exit a field without making a selection from an options list.
System Administration: Basics
Enter a licence key for new modules.
Configure front page messages for users, sites, or the whole system.
Use Back Log Mode to enter data as if it was a different day.
Use Change Hospital to view and enter information as if you were at another site.